
Labyrinth of Galleria: The Moon Society has a number of sections that are difficult for one reason or another. Among the worst are the two bosses at the end of Uru Manor. They both feature some difficult mechanics, a large increase in difficulty, along with some esoteric elements. Thankfully, this isn’t an impossible fight, it just requires the right tactic.
How to Defeat the Discordance Boss in Labyrinth of Galleria: The Moon Society
Defeating Cecilia
While this guide is centered on the fight after Cecilia, I still wanted to explain this fight in the event you’re stuck there.
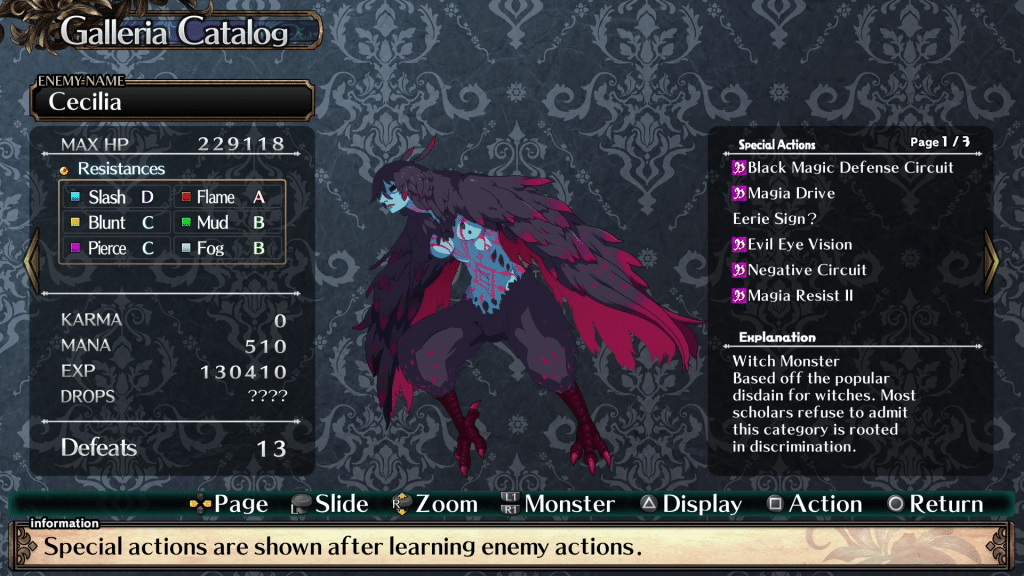
The easiest way to defeat Cecilia is by swapping to slash damage, and either stun locking, or out damaging her. The reason for this is incredibly simple. One of her moves is a massive debuff, which is large part of why she does so much damage. It lasts for three turns, and usually, if not always, uses that debuff when it expires. As a result, you only need to withstand her attacks for two turns. However, if you stun or kill her before she attacks, she will only attack once. Cecilia will respawn like four times, so there is also an endurance element you’ll need to overcome.
In addition to that, I would often use the turns where it was safe to act for buffs, such as Vanguard Sharpen (attack buff for all Vanguard members), and Vanguard Protect (defense buff for all Vanguard members), but the more damage you can do to her the better. Finally, if you’re in a bind, using Reinforce Defense and/or Reinforce Offense help a lot. These are the Use RF Offensively/Defensively items under Witch Petition.
Post fight… fight
Defeating Cecilia will cause the Discordance to appear, which acts as the final boss for this section. Your first attempt will almost certainly end in failure, but that is okay since you won’t need to defeat Cecilia again.
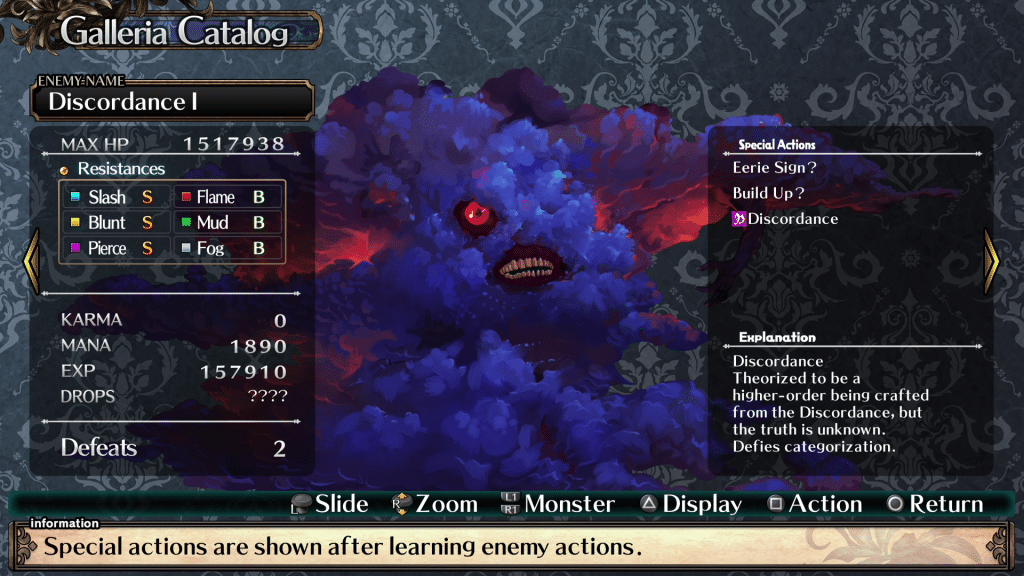

The trick to beating the Discordance I through IX is changing your damage to match their weakness. This is a long, largely confusing process, with Discordance IX being the deciding factor. However, instead of wasting all your time trying to build all these different elements, keep everyone alive, and figure out how to defeat the last one, there is a trick to beating this boss.
Unlocking the Destruction Pact
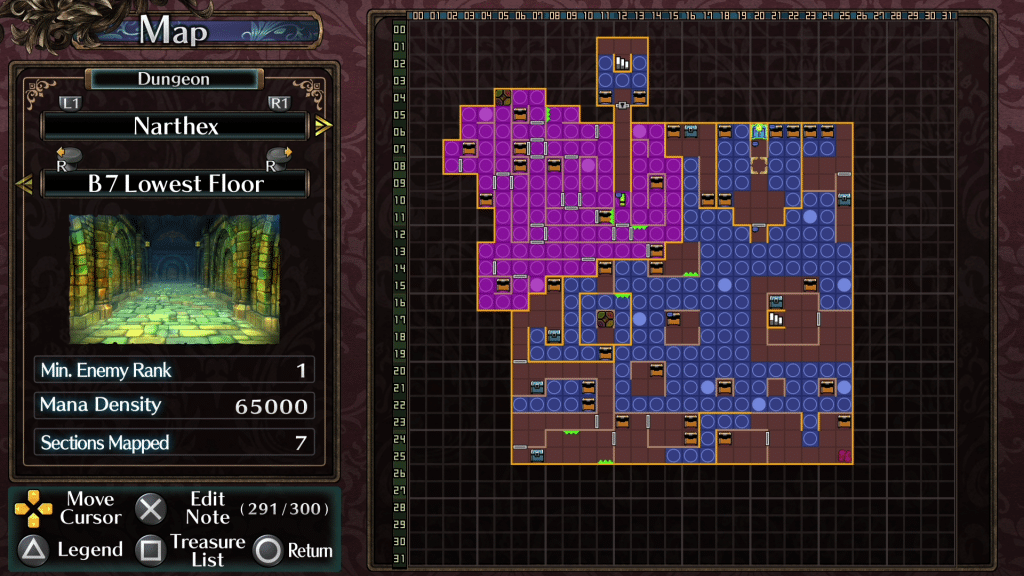
The first step in this quest is to visit Bocklin, who is waiting at 20:07 on Narthex B7 Lowest Floor. Talking to him will reveal some new dialogue, along with unlocking the Bocklin’s Mission series of Request Memos. Your goal is to complete all five, which might take a while since they require some of the rarest treasures in Labyrinth of Galleria: The Moon Society.
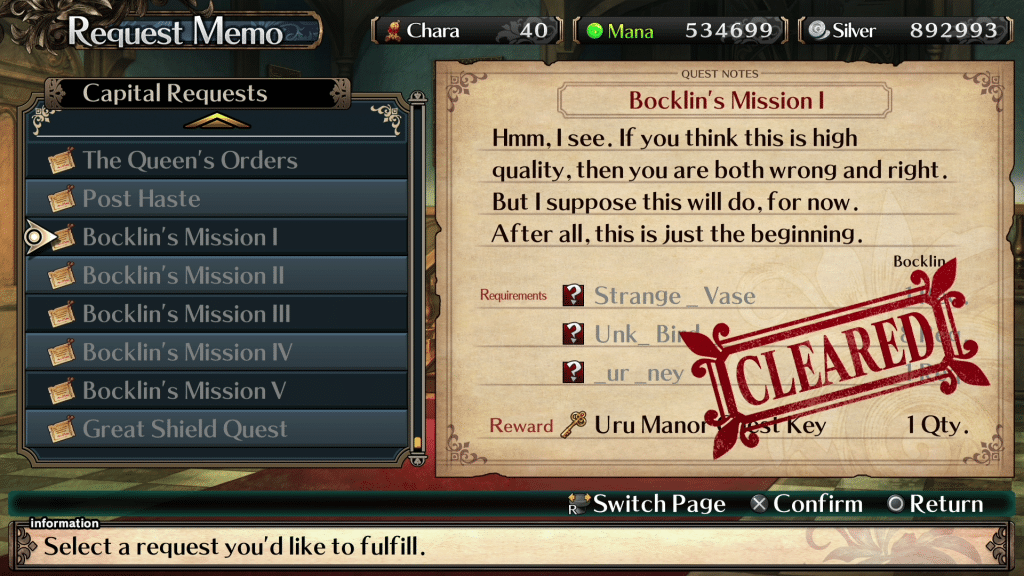

- Bocklin’s Mission I
- Strange Glazed Vase (Narthex)
- Unknown Bird Bone (General Drop)
- Sour Honey (Apes – Floor 4)
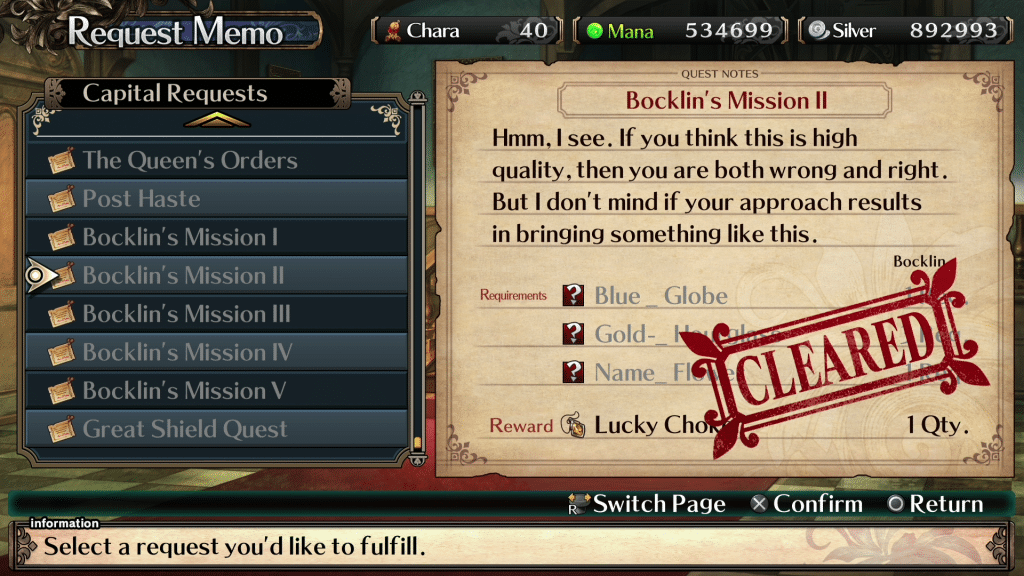
- Bocklin’s Mission II
- Blue Celestial Globe (Apes – Floor 8, 9, and Innermost Level)
- Gold-Dust Hourglass (Galleria Manor)
- Nameless Flower (Crimson Transept)
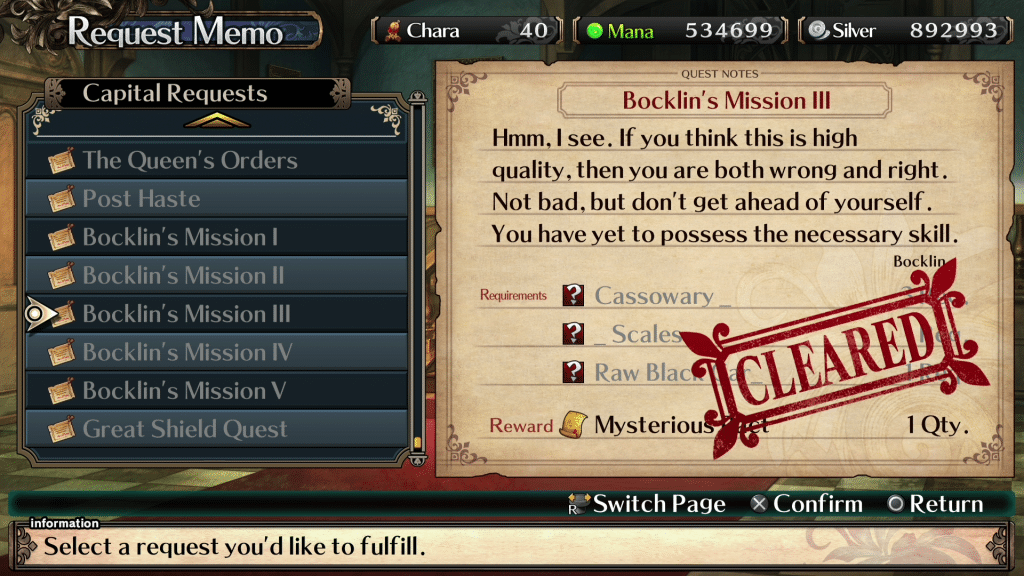
- Bocklin’s Mission III
- Cassowary Feather (Crimson Transept)
- Life Scales (Galleria Manor – Garden Corridor 3)
- Raw Black Garlic (Apartment Floor 91 – 95)
- Bocklin’s Mission IV
- Blue Rose (Indigo Transept)
- Golden Chalice (Yellow Transept)
- Unknown Human Bone (General Drop)
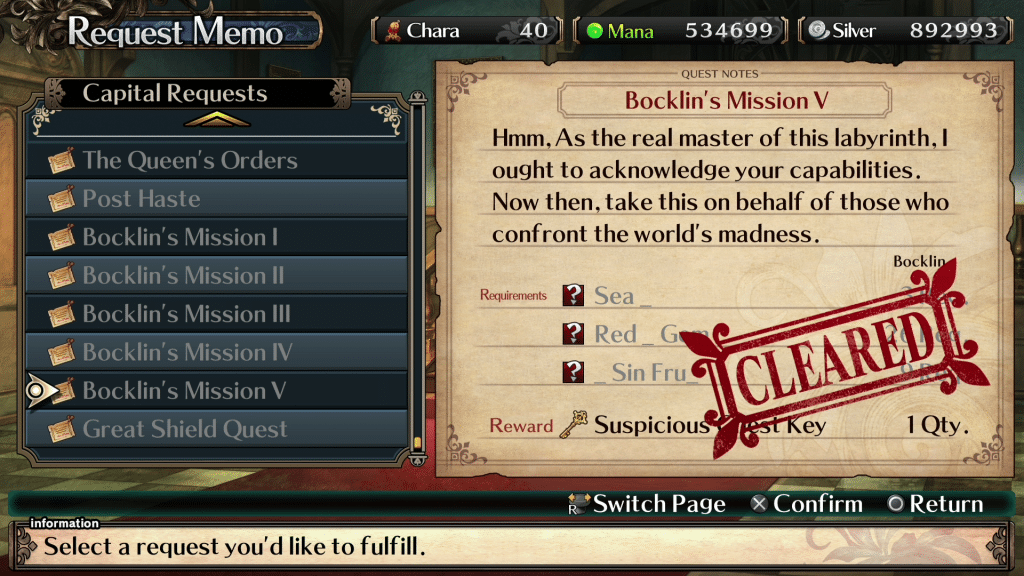
- Bocklin’s Mission V
- Sea Salt (Galleria Manor – Garden Corridor 1)
- Red Magical Gem (Galleria Manor)
- Original Sin Fruit (General Item)
Surprisingly, the most annoying item is Raw Black Garlic, with the rest just coming down to luck. Many of these items are also included in chests, hidden rooms, and more, but it relies on you not destroying (most give higher level Soul Vials), or selling them.
When you finish all the quests you’ll receive the Suspicious Key, which naturally opens the various Suspicious chests. While I suggest getting every chest, as they’re all designed to give you gear that helps with this fight, the only one you actually need is on Narthex B1 at 20:70.
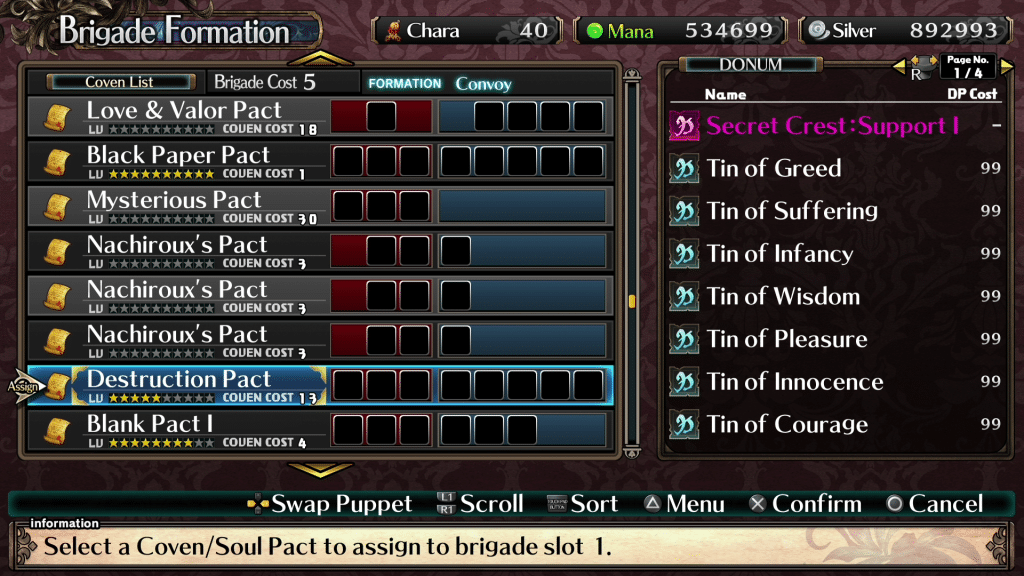
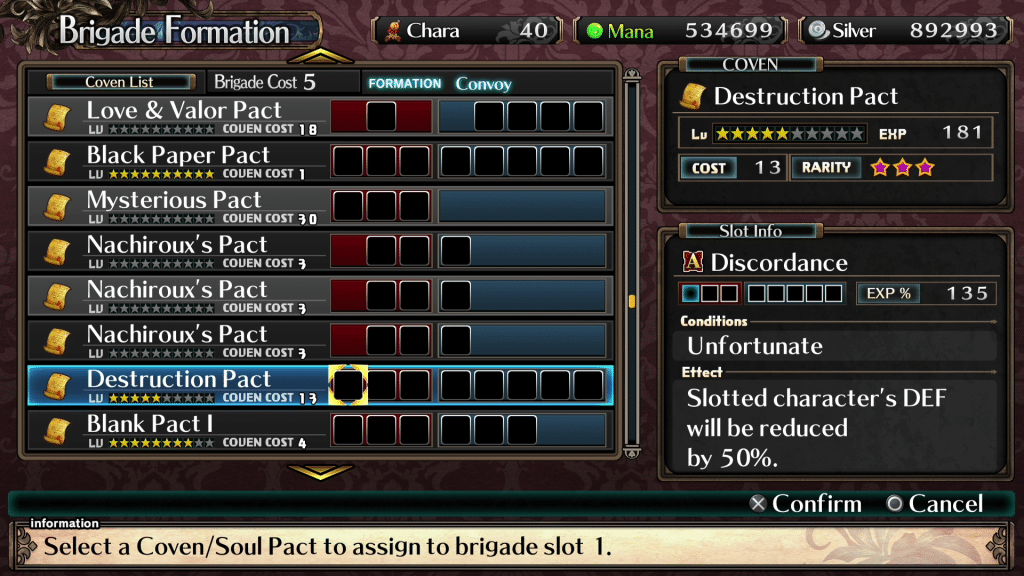
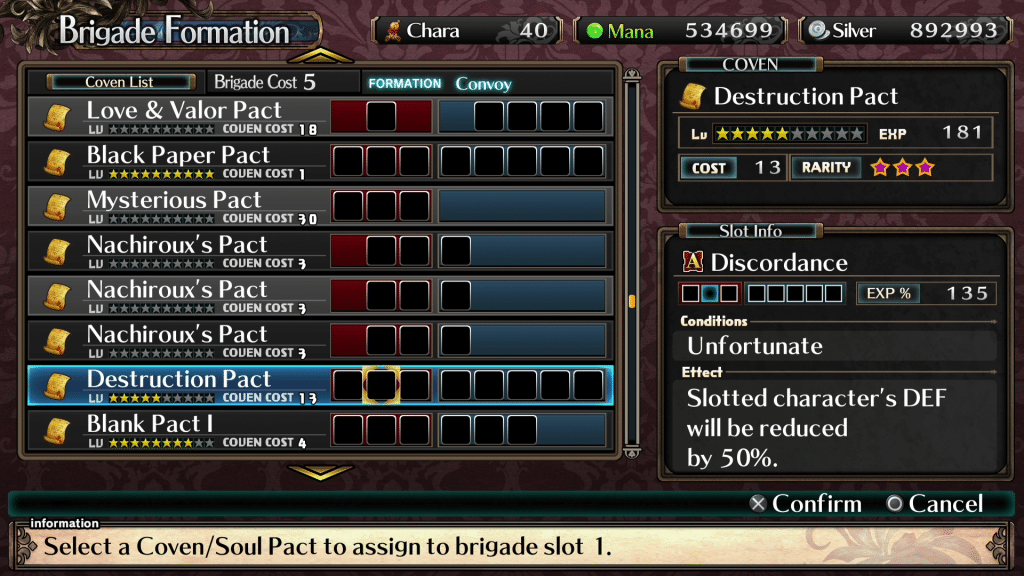

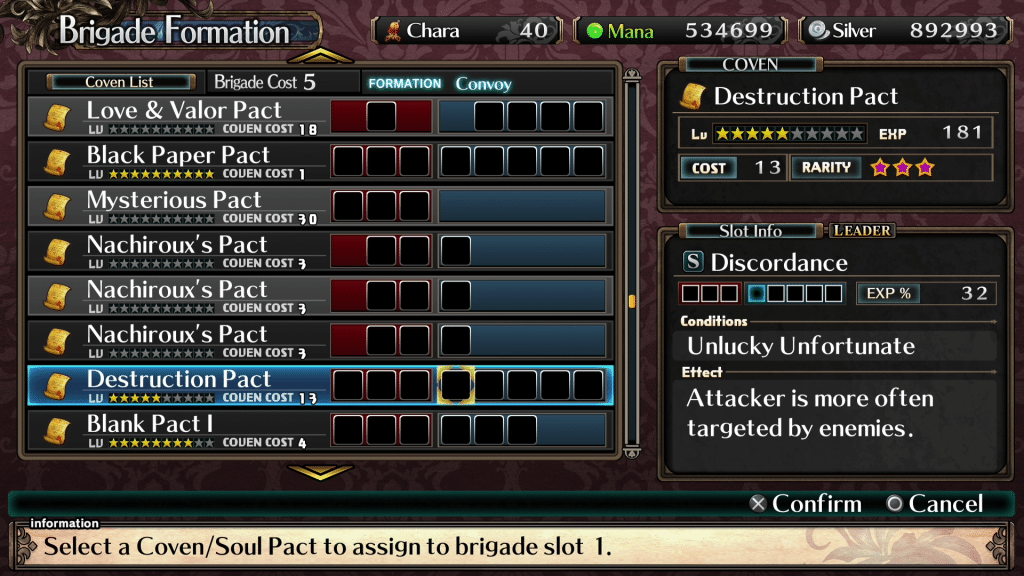
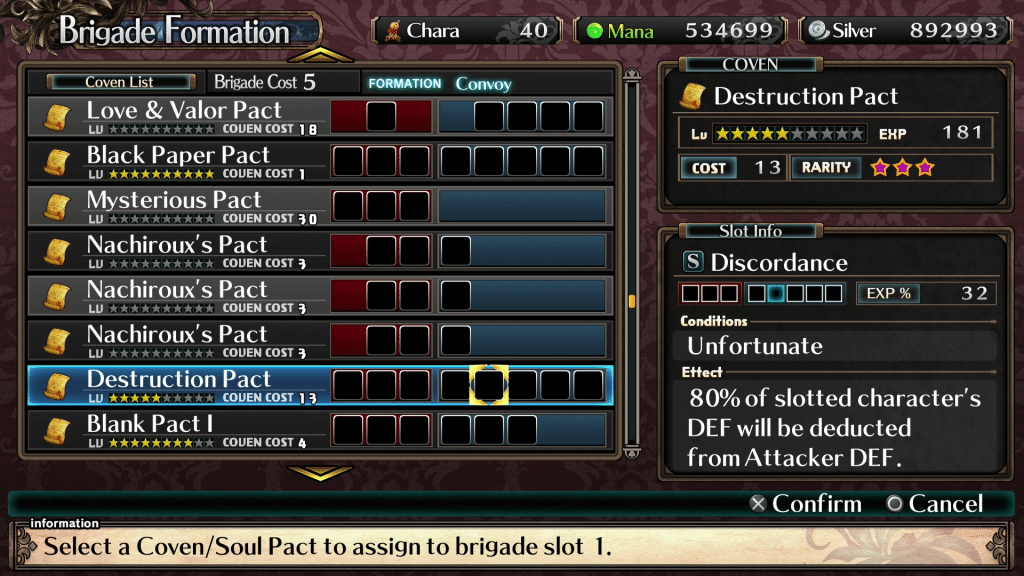
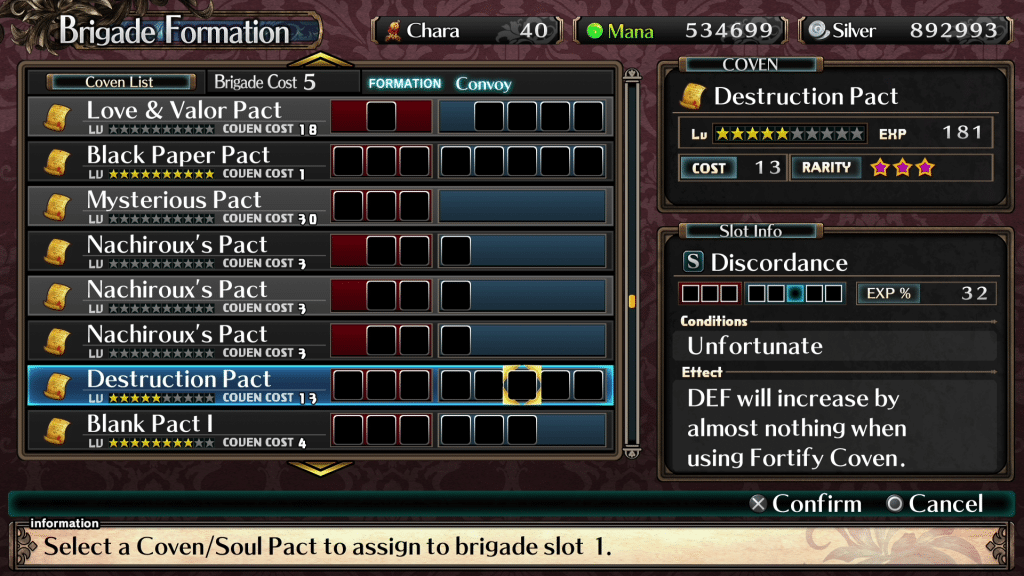
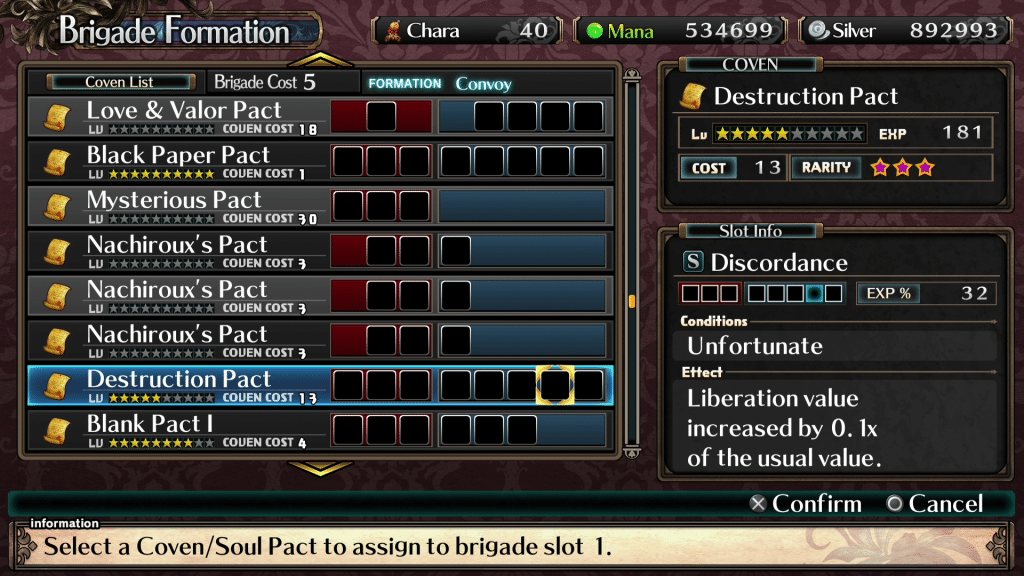

As you can see, it’s a terrible coven to use. Not only does it lower stats and make things harder for those in the coven, only characters with bad luck can use it. Thankfully, you can mitigate some of the hardship by not using every slot, along with planning your team around using Donums and staying alive.
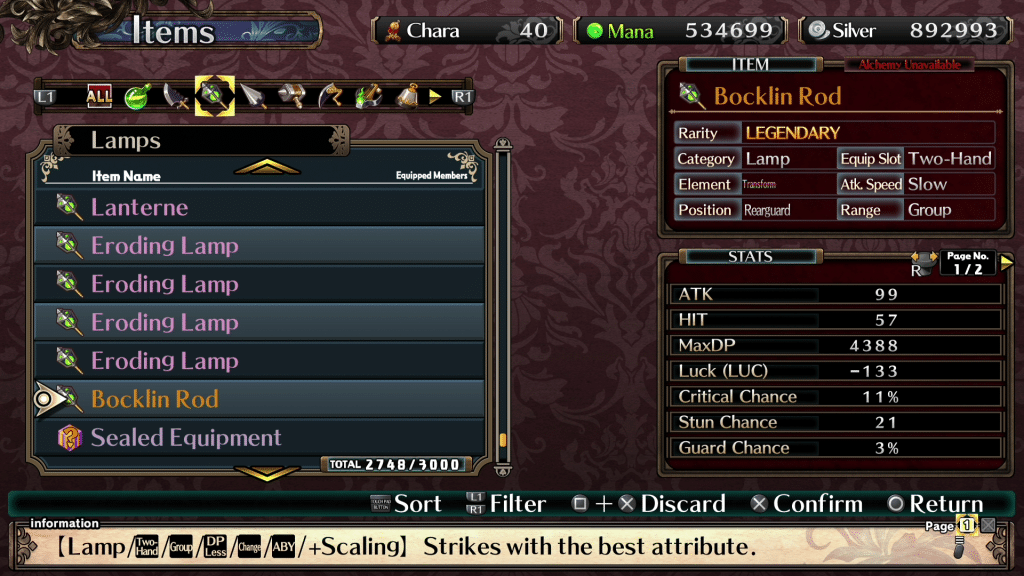
One extremely helpful tip is using Bocklin Rod with this coven. The DP increase alone will ensure you have enough to cast all the magic needed, plus plenty to buff/heal/help your team. With DP costs covered, you can start building your team around health/defense. I personally used a tank and other defensive classes, since damage is not important, and I didn’t need to worry about DP.
Actually Defeating the Discordance Bosses
Once you have all the aforementioned things, purchase 99 Paper Purified Dolls from the shop, and try your luck at defeating the Discordance boss. Unfortunately, while the Destruction Pact helps a lot, it’s only the first step to winning this fight.
The whole point of the Destruction Pact is to obtain the nine Tin of blank Donums. Each of these apply a permanent debuff to a specific Discordance, making it vulnerable to all attacks. Before you worry about which one is Courage, Wisdom, Greed, and so forth, their number matches the boss it works on. So, Greed is Discordance I, Suffering is Discordance II, and you get the point. However, this is also where Labyrinth of Galleria: The Moon Society throws a curve ball.
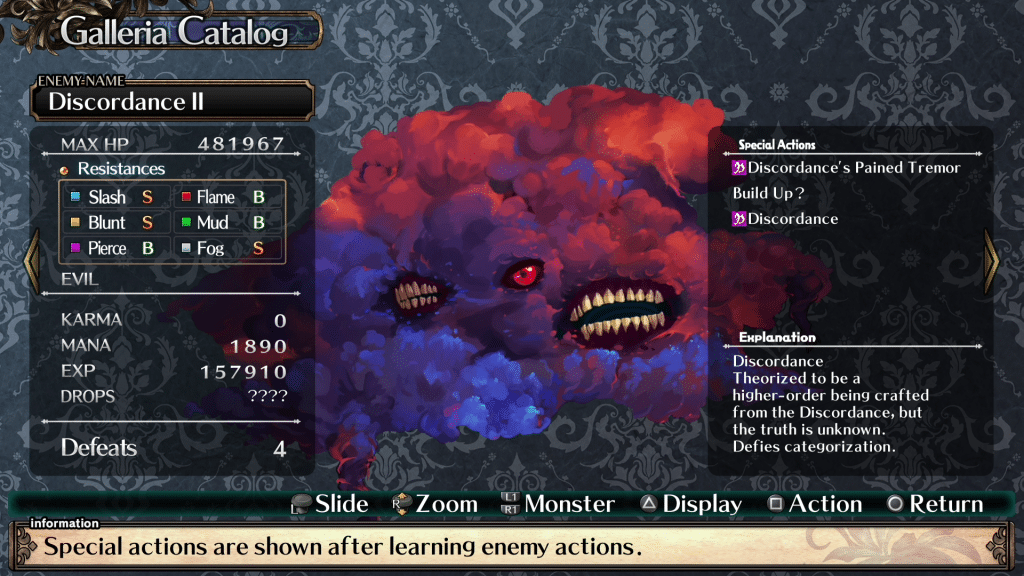
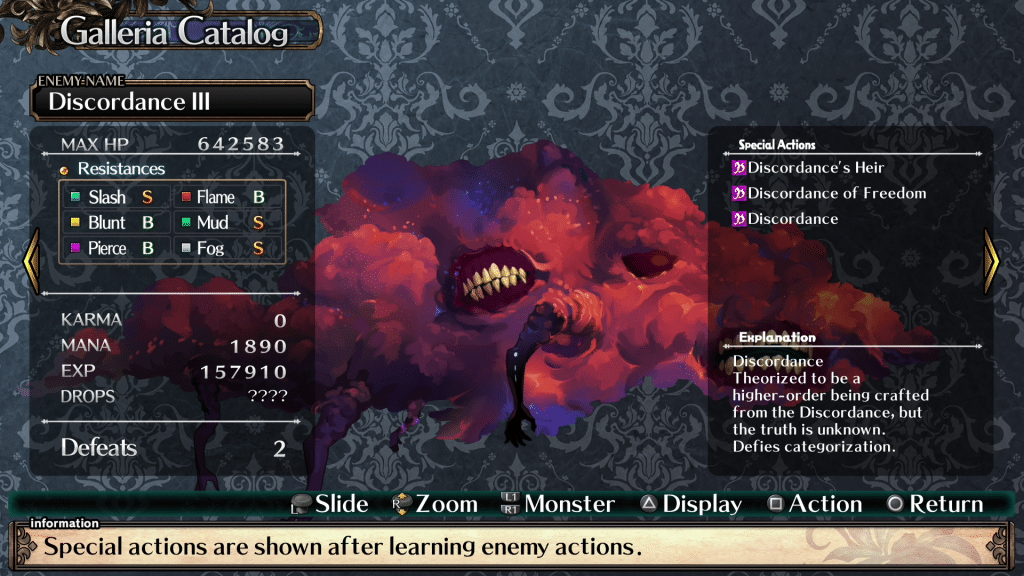
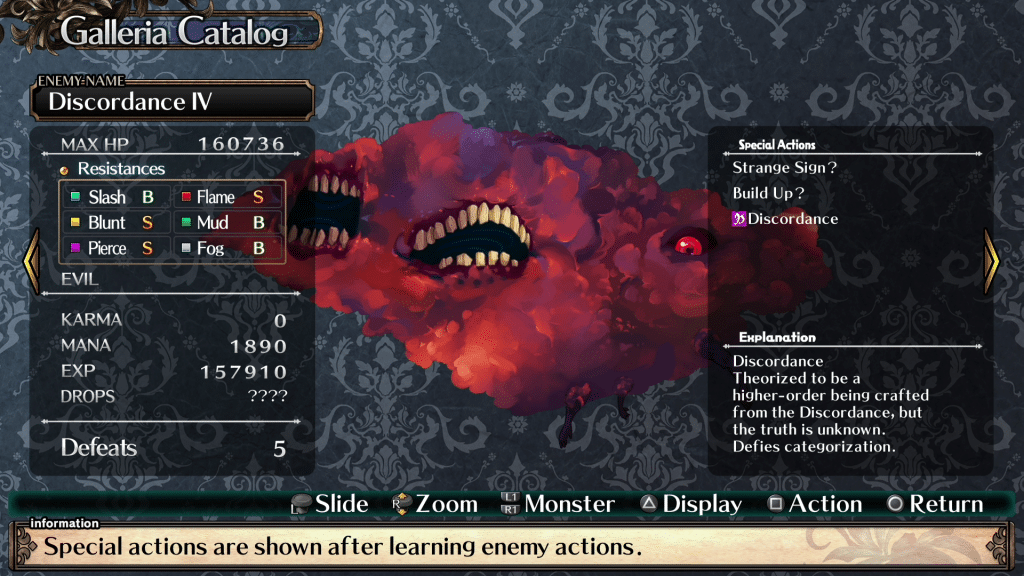
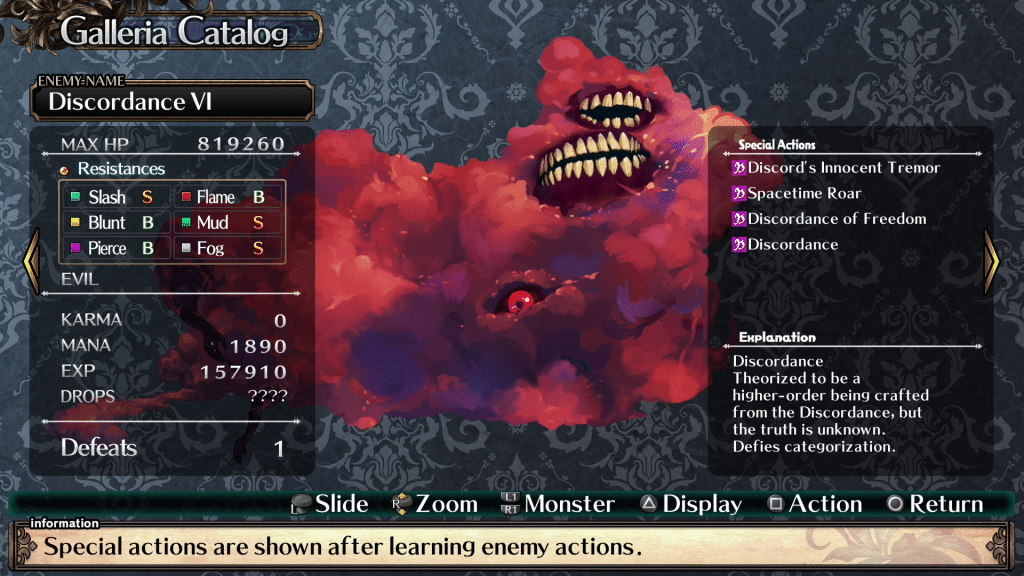
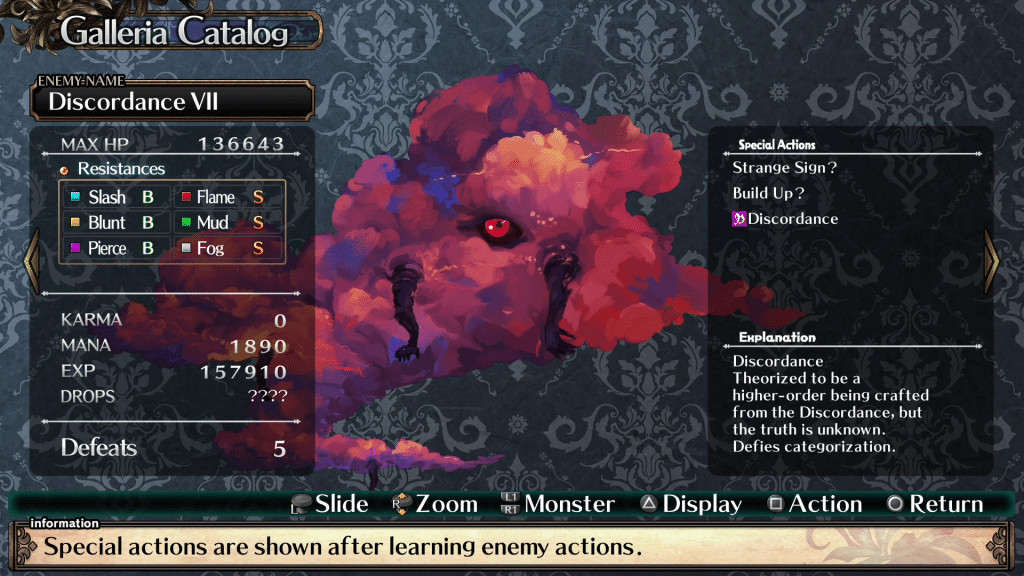
Even though the order is the same as the Donums, every boss has a different amount of health. For example, Discordance I has 1.5 million HP, whereas Discordance VII has 140,000. It’s in your best interest to go in order of health, as killing a boss is one less thing to deal with. With that being said, you can find the ideal order, and the required Donum below.
- Discordance VII – Tin of Courage
- Discordance IV – Tin of Wisdom
- Discordance V – Tin of Pleasure
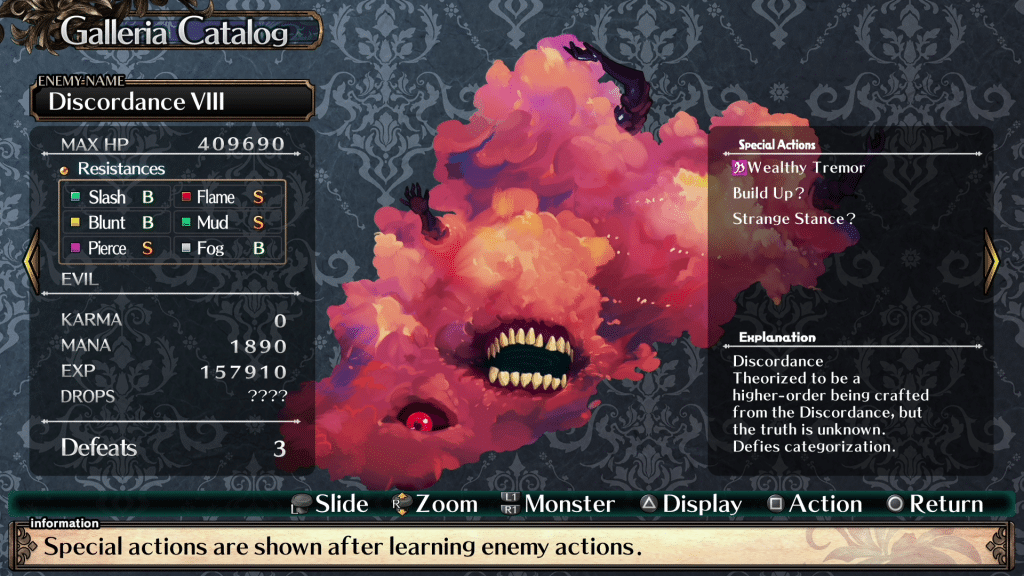
- Discordance VIII – Tin of Wealth
- Discordance II – Tin of Suffering
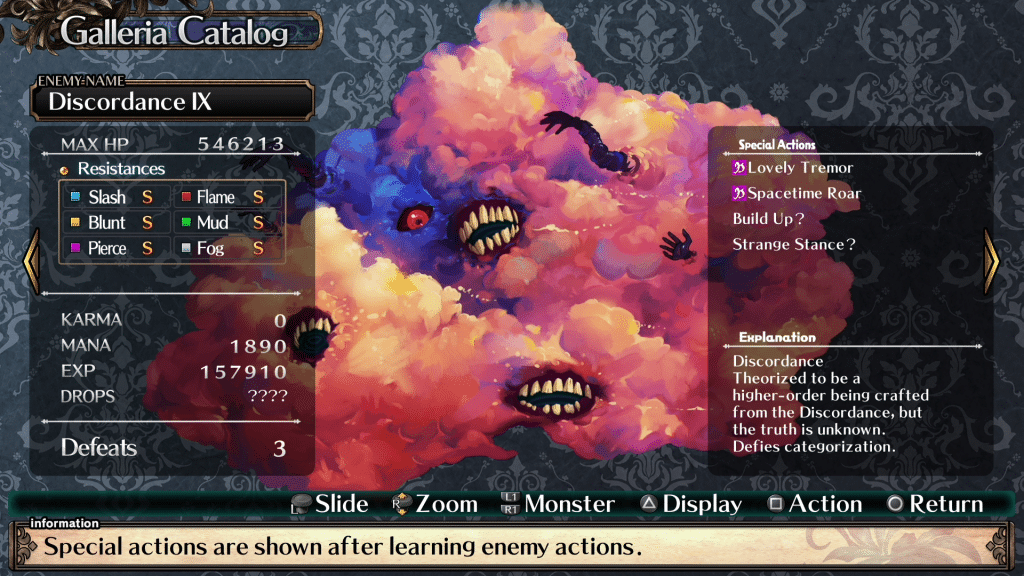
- Discordance IX – Tin of Love
- Discordance III – Tin of Infancy
- Discordance VI – In of Innocence
- Discordance I – Tin of Greed
Since the Donum only debuffs one specific boss, you still need to defeat all of them to win this fight. For this reason, I strongly suggest using the following tactic.
On the first phase I would use Vanguard Sharpen, Vanguard Protect, Gatekeeper’s Proof, plus the Tin of Courage on Discordance VII. With that boss weakened, I would rearrange my team to do damage, with everyone attacking Discordance VII, except the Destruction Pact coven, which is applying the Tin of Wisdom to Discordance IV.
You’ll want to repeat this rotation for as long as you can, but various variables will come into play. There is a chance the Destruction Pact coven will be stunned, which can result in the Tin not being applied. If this you notice any boss is not taking damage, move onto the next one that will, and apply the correct Tin to the Discordance you missed.
In addition to this, it was extremely common for my team to kill Discordance VII and IV on the second turn. Unless you’re absolutely certain your party will go after the Destruction Pact coven, I would use that opportunity to apply buffs. The damage increase should mitigate the loss of a turn, especially if that choice results in more characters staying alive. Finally, every time you defeat a Discordance it will kill a random character. You’re best off staying ahead by reviving them, since this fight increases in difficulty as characters decrease.
Video Guide
In the event you want to see the fight in action, you can find the video below. Be warned, it isn’t particularly interesting to watch, but it might help you understand how to win this fight.
