

COVID-19 impacted the world in a number of ways, with one of the most surprising being renewed interest in projectors. Since they allowed users to gather in public settings safely, they quickly became a huge point of discussion. Around this time there was also a massive push towards smart devices, Google making Android TV even better in the projector space, and much more. While we’ve covered a number of XGIMI products, we had the opportunity to check out another portable projector, Anker’s Nebula Capsule 3 Laser projector. With a well respected name, multiple successful versions, and a wide array of features, is it a great portable projector, or are there better options out there?
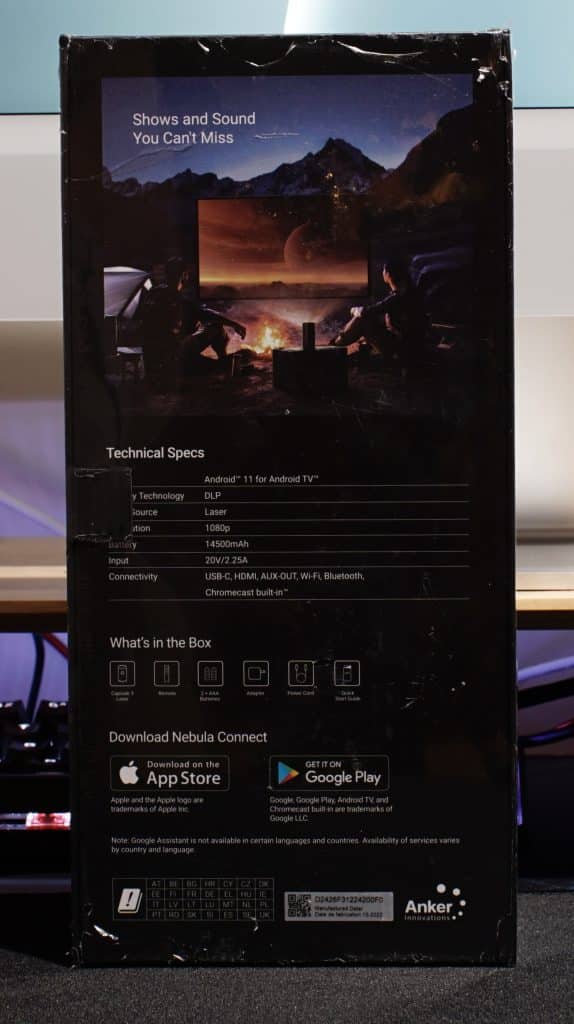
As soon as you look at Anker’s Capsule 3 Laser’s packaging, it’s clear they put a lot of thought into this product. Despite giving little to no information about the product, outside of confirming it uses Android 11, laser light source, 1080p resolution, included items, and connectivity, the box is really appealing. Like some fancier products, there is a magnetic flap that opens to reveal a box containing the remote, along with batteries, with the projector, USB-C cable, and USB-C power adapter (15w) below. It’s probably the nicest package I’ve seen in this space, something that says a lot given companies like Epson use very generic packaging.
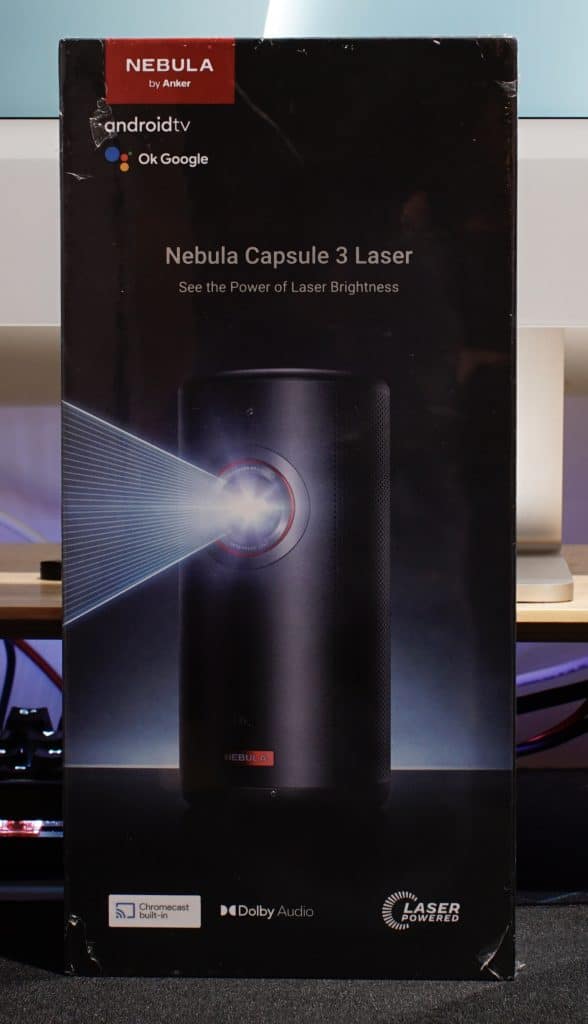
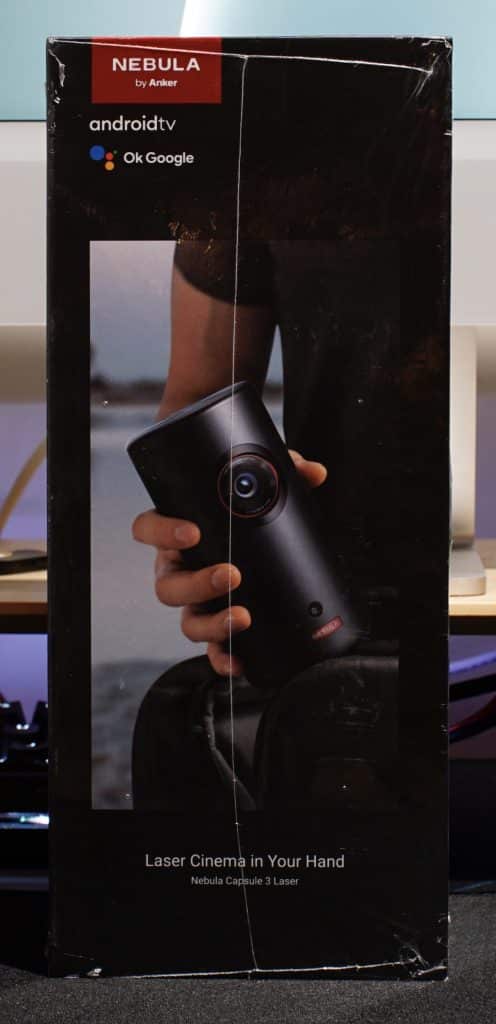


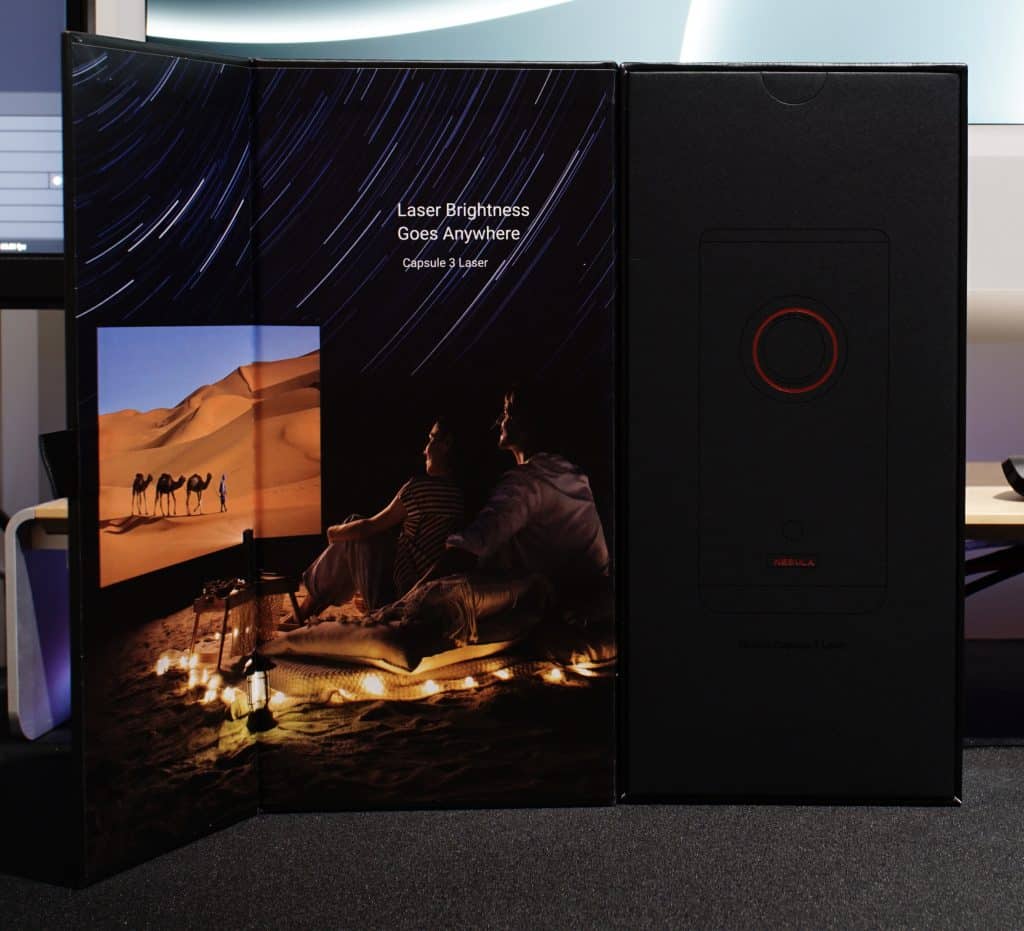
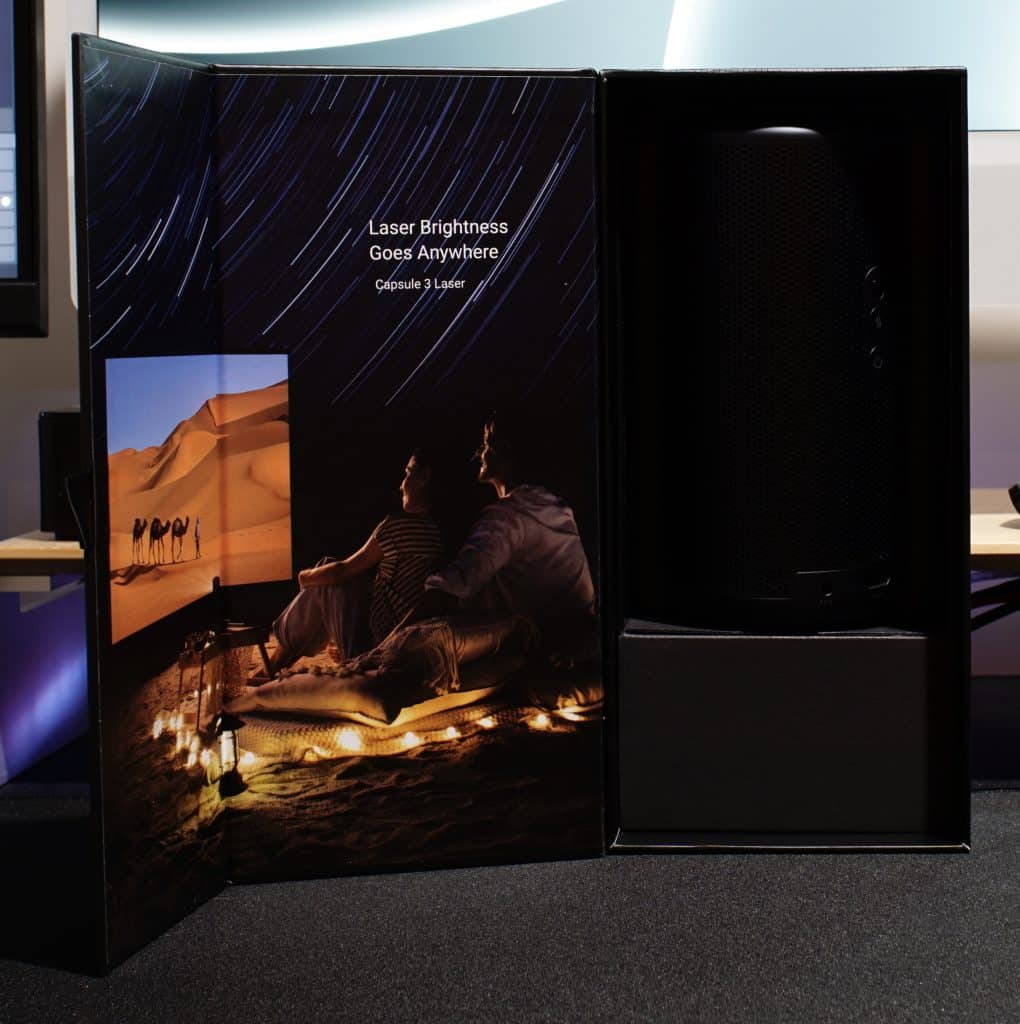
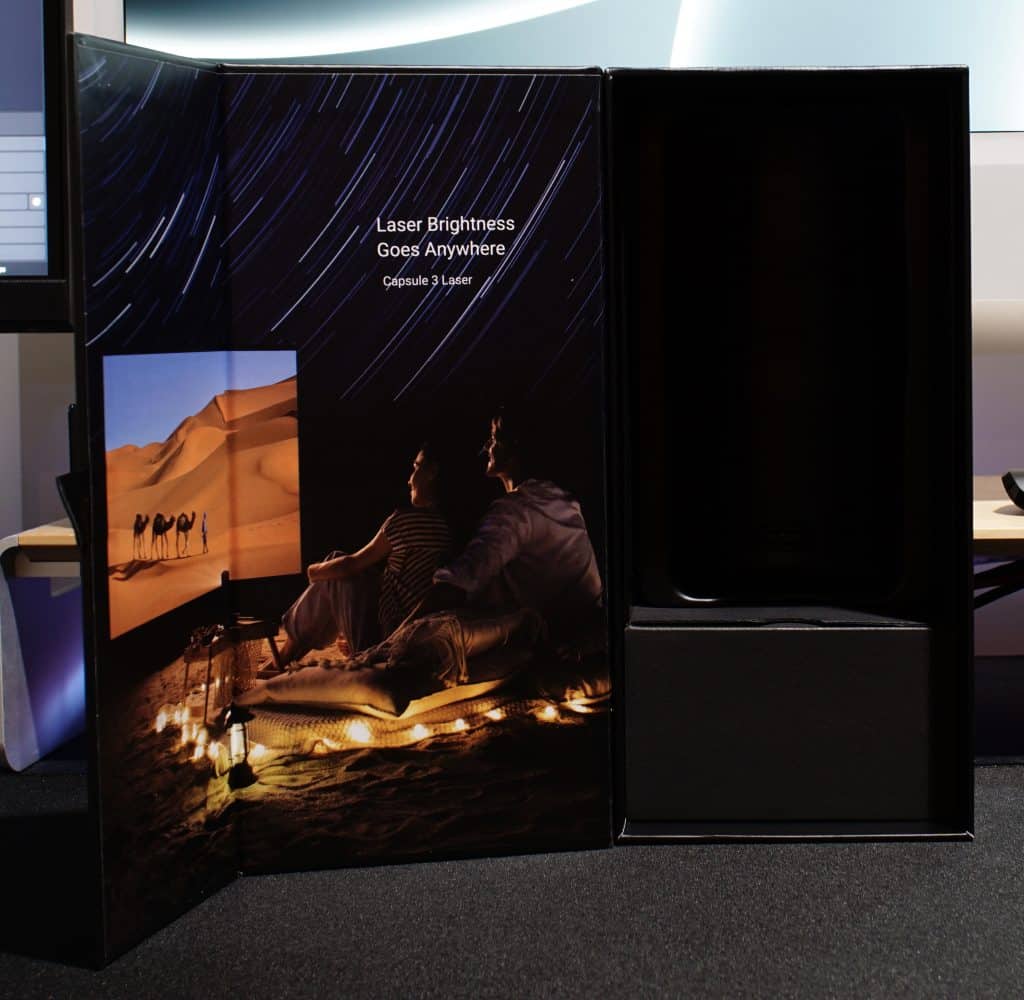
This Looks Like a Premium Product
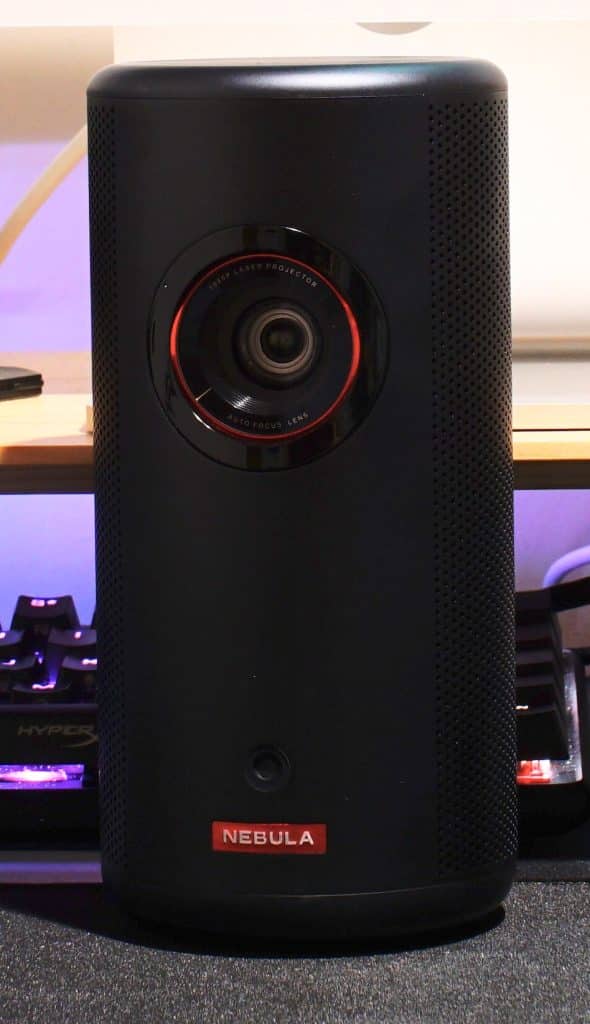
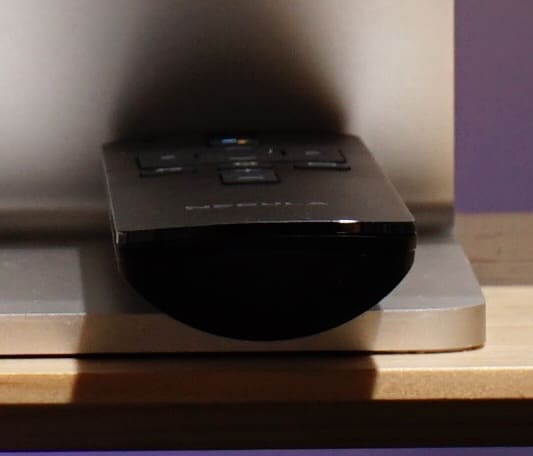
Similar things can be said about Capsule 3 Laser itself. Upon looking at it in light, the color is very similar to midnight blue. It looks black, with hints of blue reflecting off areas where light hits it. This really makes it stand out, as does the red accents, and all metal body. This is a unique design choice compared to what we’ve seen from XGIMI, where only three of the four sides are metal. This choice also results in a cleaner overall look, as the metal body is one continuous piece of metal. It looks nice to the eye regardless of where you look at it.
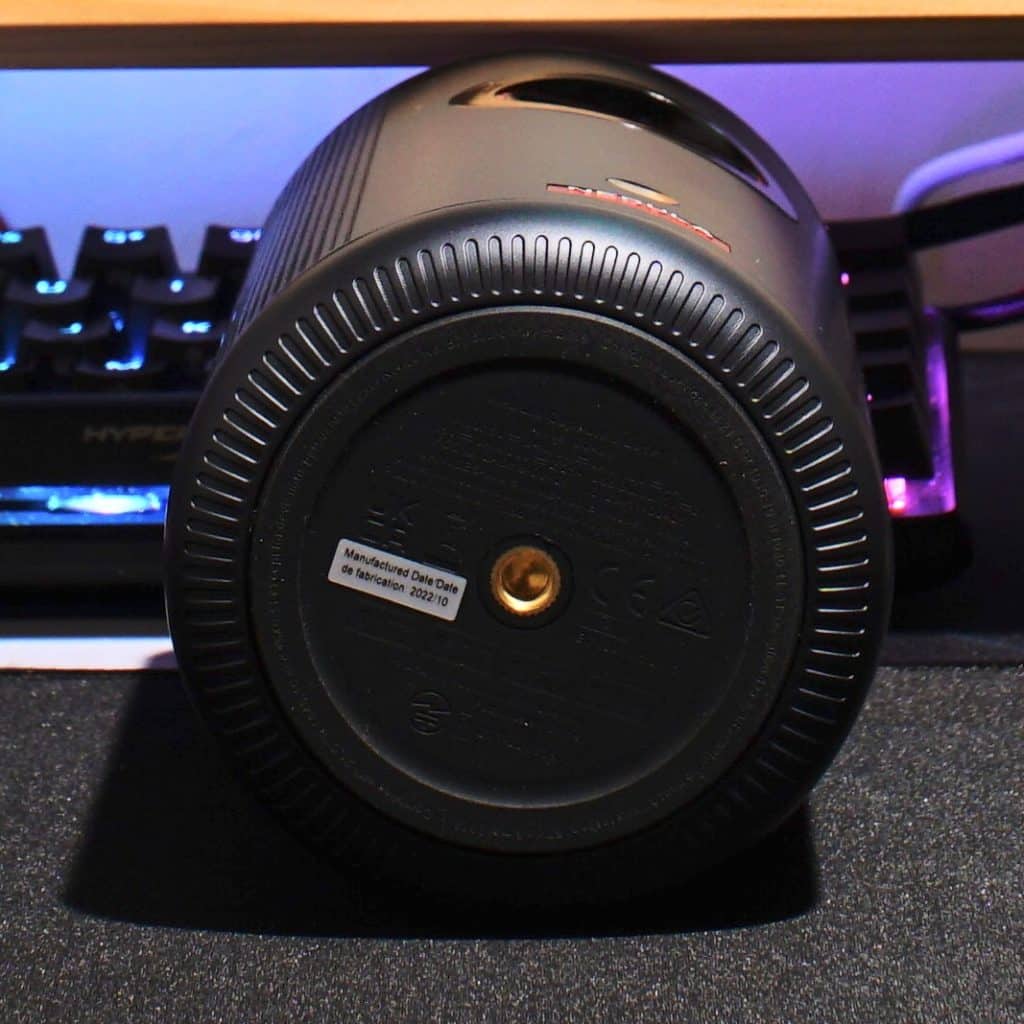
The shape is also quite portable, as it’s more tall than wide. At about 6.7″ tall, with a diameter of 3.3″, it will fit in a number of pockets, or slots. I had no issue getting it to fit in my briefcase’s front flap, though I would advise being careful. A lens cover is not provided, so a lot of these little compartments can result in it being damaged. Especially due to the circular design, which makes it easy for Capsule 3 Laser to move in a less ideal spot.
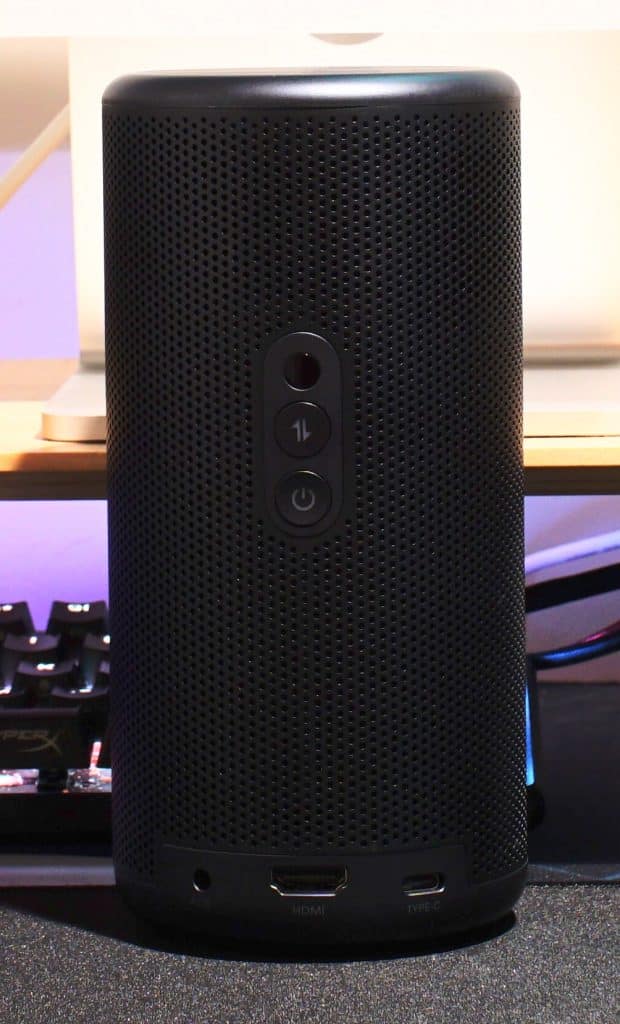
An interesting choice is placing the 3.5mm (AUX), HDMI (eARC), and USB-C connections on the bottom portion of the back. They’re about .5″ from the bottom, with the 3.5mm, and USB-C connections being slightly to the side. This configuration isn’t bad, though it runs the possibility of having issues with certain mounts/tripods. That said, one massive benefit to Capsule 3 Laser is USB-C power. Not only can potentially leave the cables/supply at home, assuming the location has a 15w power adapter and USB-C cable, it can easily be powered from 15w Powerbank. This vastly increases the portability, along with simplifies the packing process.
One downside to the USB-C power hinges on how you plan on using Capsule 3 Laser. While the USB-C port doubles as an input, you can not use both at the same time without a dock. Anker made sure Capsule 3 Laser is compatible, so that isn’t a problem, just something to consider.
Who Needs a Remote?
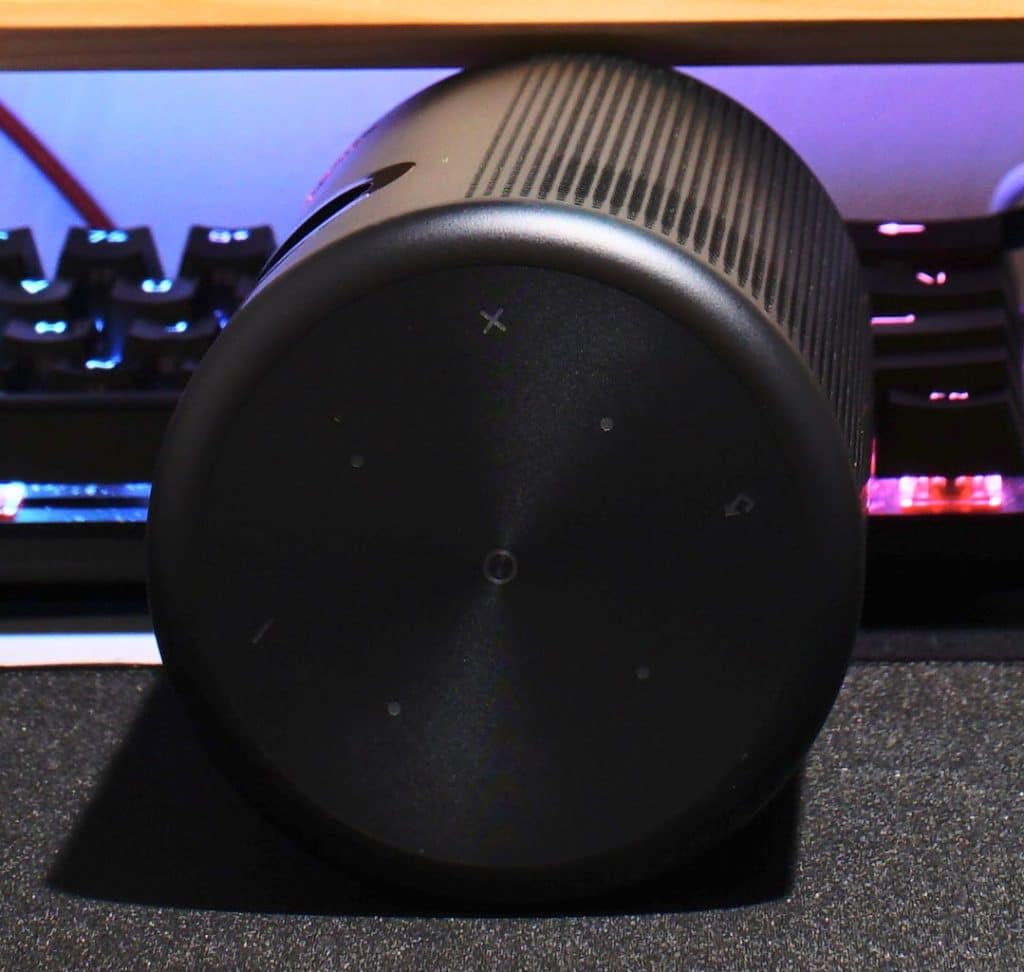
Anker also went in a very interesting direction with the controls on Capsule 3 Laser as well. The top features a full set of arrow inputs (left, right, up, down), accept, back, and volume up/down. I personally would never use them, though I would never fault them for being included. They’re also backlit making them usable in any setting. On the back there is also a button with an arrow pointing up, and another pointing down. Clicking this activates “Bluetooth speaker mode,” where you can disable the screen, and just play music. Another useful feature depending on your actual use case.
Before talking about performance, I wanted to comment on the included remote. I find the included remote interesting, since it’s a good reminder of how little things can cause big problems. First and foremost, Anker went in a weird direction with the remote. Not only do I dislike how it feels to hold, it’s really narrow, the edge pushes into my palm, and my fingers come up too high, the buttons could be better. For starters, every button, besides the one in the middle of the arrow keys, feels identical. You might feel different texture, though it isn’t like you’ll feel back, home, Google Assistant, or anything else.
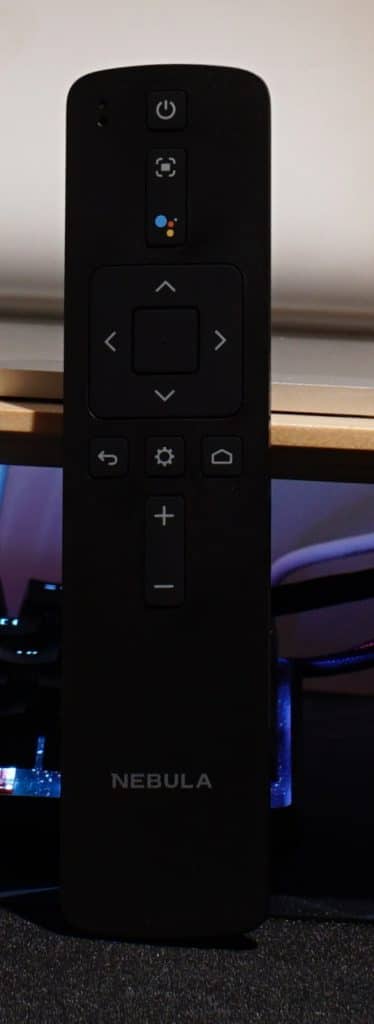

The space between keys is really small at about 3mm, which isn’t enough to accidentally hit keys, though I found myself second guessing commands. This also proved problematic, as the black remote with black buttons is extremely difficult to see in a dark room, even with the projector on. Thankfully, the button arrangement is what I’d say is typical of a remote, though that uncertainty is annoying. Anker also make two other questionable choices with the remote.
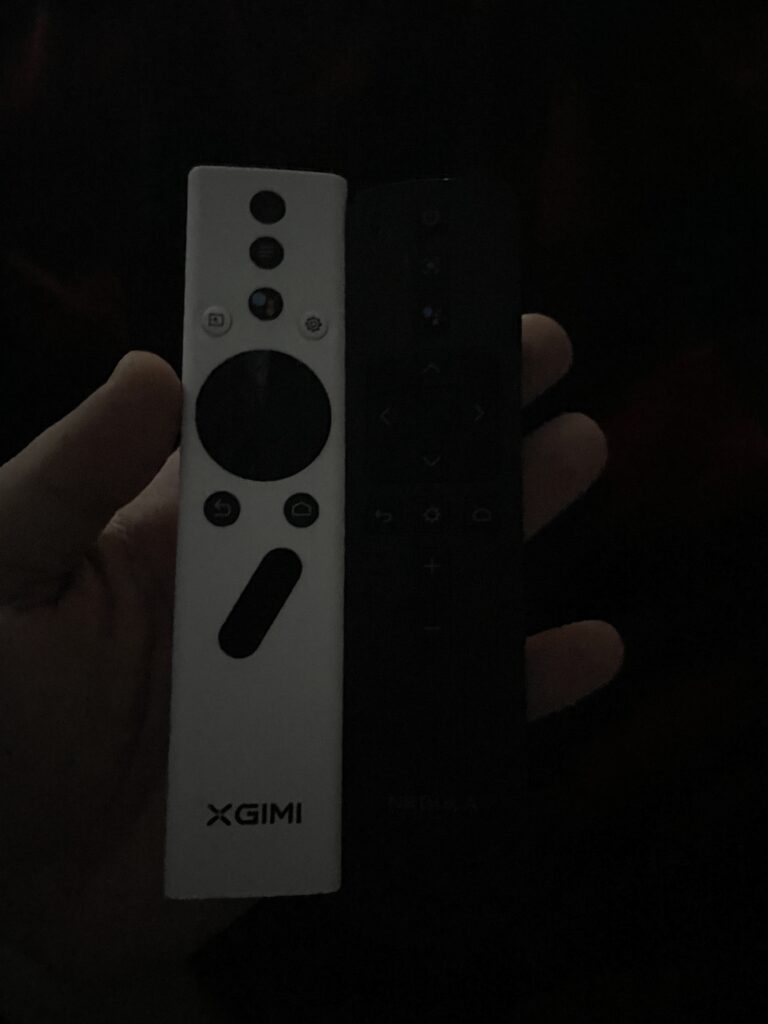
An Idea of How XGIMI’s Remote and Anker’s Look in the Dark
It’s missing a couple commands, most notably input, forcing owners to navigate to them. This isn’t terribly annoying in the grand scheme, mostly because Android TV automatically swaps, though it’s a small choice that could’ve easily been eliminated. I feel the same way about Google Assistant, and focus. These two inputs share a continuous button, with nothing to indicate they’re different. Remotes typically add a divider (raised, or lowered line), or in my TV remote’s case, it slopes inward like a half-pipe. While activating Google Assistant isn’t a huge deal, hitting the focus button will disrupt your viewing for roughly 5 seconds, as it tries to refocus. Stopping it early will cause everything to look out of focus, so once you activate it you’ll need to ride it out. These are all really avoidable issues that are disappointing to see on your primary means of interaction with Capsule 3 Laser.
Anyway, set up is the same as other Android TV device. It will start by asking for your Google account, wifi network/password, various options like enabling Google Assistant, ending with it offering to download apps associated with your account. Those with an Android phone can skip a lot of these steps by going through the phone set up, a choice that I strongly recommend doing.

It retains the modern Android TV look that most newer devices use. As a result, those experienced with it will immediately know what to do, with newcomers having a slight learning curve. As I like to note with all of these reviews, this is the newer version of Android TV, not the extremely divisive ones’ of the past, so the usability should be better than those found four or five years ago.
In terms of use, I found Capsule 3 Laser to be a bit slower than other Android TV products I’ve used before. It gets better the longer the projector is on, though it will struggle with certain quick actions like lowering the volume a significant amount, or browsing. I wouldn’t say it quite hits unusable levels, but it isn’t the most enjoyable experience I’ve had on the platform.
Helpful for These Situations
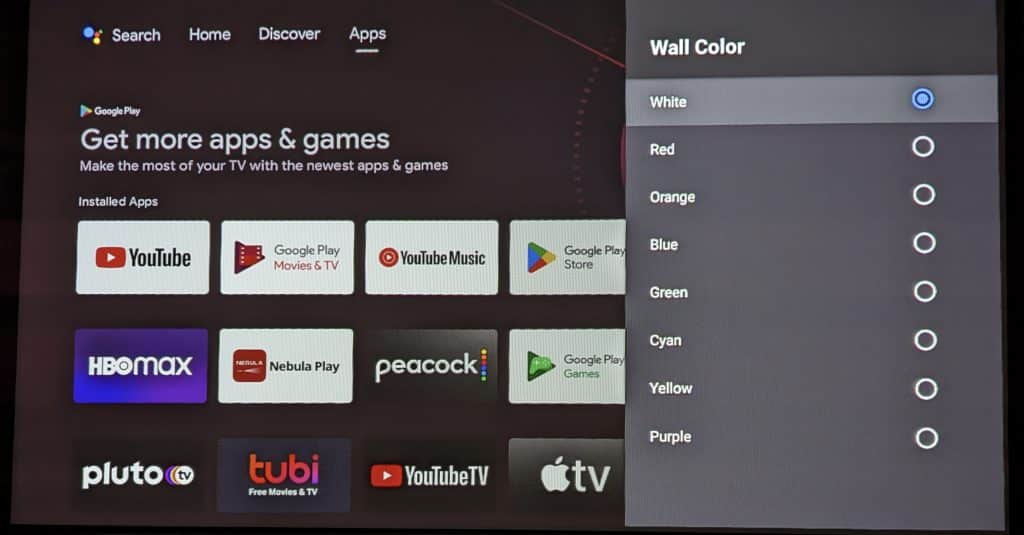
Despite being slow, Anker gave Capsule 3 Laser some interesting settings/features. When checking the projector settings, I found most of the standard customization options, plus some interesting options like wall color. While I don’t have a yellow, or purple (yes, purple) wall to test it on, it changes the tint so I imagine it will look closer to accurate in the event you want it on those colors. There are also options for noise reduction, processing, and MEMC. Similar to XGIMI’s projectors, I strongly suggest removing MEMC, and looking into those other settings as the stock version had extreme soap opera effect.
Since this is an Android TV projector, most common streaming applications should be available. The one exception is Netflix, but that isn’t to say it doesn’t work on Capsule 3 Laser either. Normally, I don’t get into sideloading, or the really complicated side of things, as these options tend to overcomplicate reviews, but Anker tries to bridge that gap by enabling Netflix in an extremely roundabout way.
It’s… better than nothing?
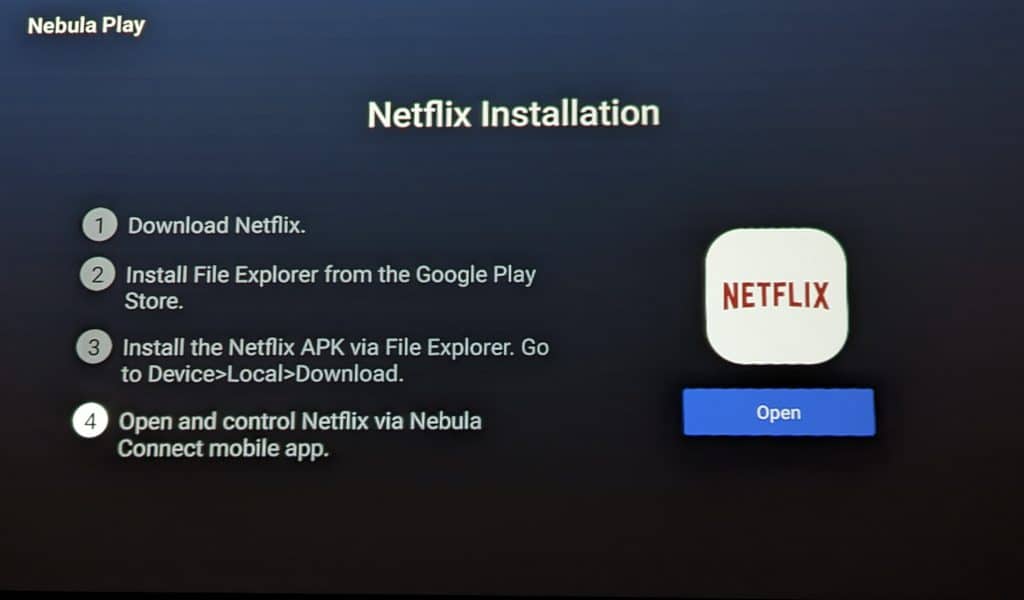
While Netflix isn’t present in the Google Play Store, selecting the preinstalled Nebula Play app will let you install it. This starts with selecting Netflix installation under tips, which should be the very first thing you see. You’ll then see the image pictured above, where you can start the process. Basically, you click the install button for the APK, click it again to go to the Google Play Store for the File Explorer application, and then you select local, download, Netflix to install it. At this point you can use the application, but only if you install and connect the Nebula Connect mobile app. In addition to being unusable without your phone, something I repeatedly tested, it also does not install Netflix on your home screen. Instead, you need to go through Nebula Play every time you want to use it, or enable the Nebula Play list on the home screen, which offers a shortcut to the page to open Netflix. This is better than having no option at all, though it isn’t far off. Unfortunately, like XGIMI, this is a Netflix choice, so it will be like this until they decide to change things.
Once everything is in place, set up, and ready to go, Capsule 3 Laser does an okay job. The picture experience was pretty clear, with darker areas not being particularly amazing. It’s enough where I’d have no issues watching most sitcoms, or network shows, it’s more prestigious offerings through HBOMax, Amazon Prime, or Apple TV+ that fall short.
Of the things I watched, I also found certain shows were overcorrected, resulting in a sharp image. I do believe with enough trial and error you can find a good balance, but it’s one of those things where different programs will have different considerations.

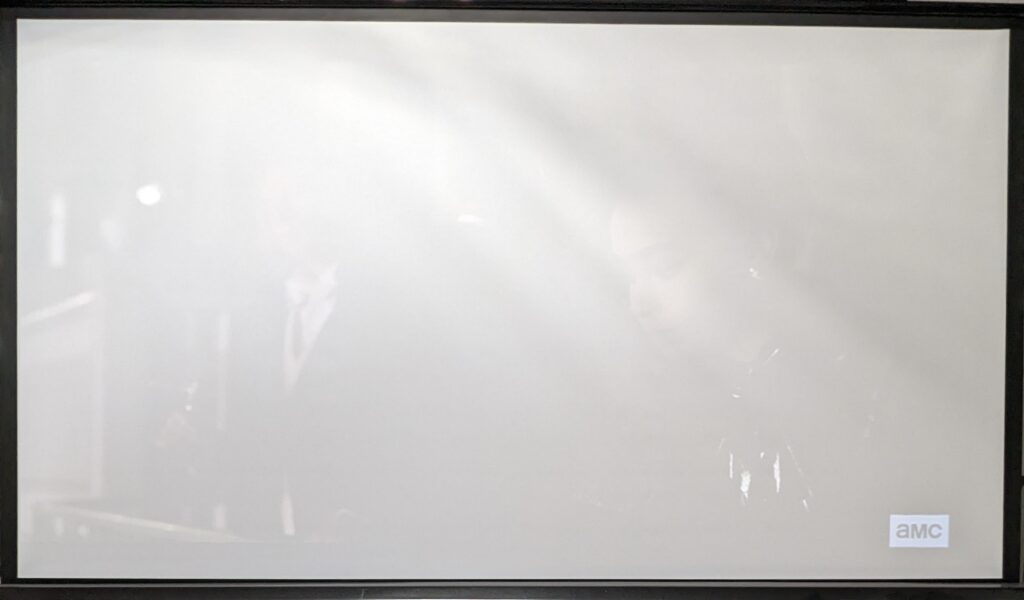
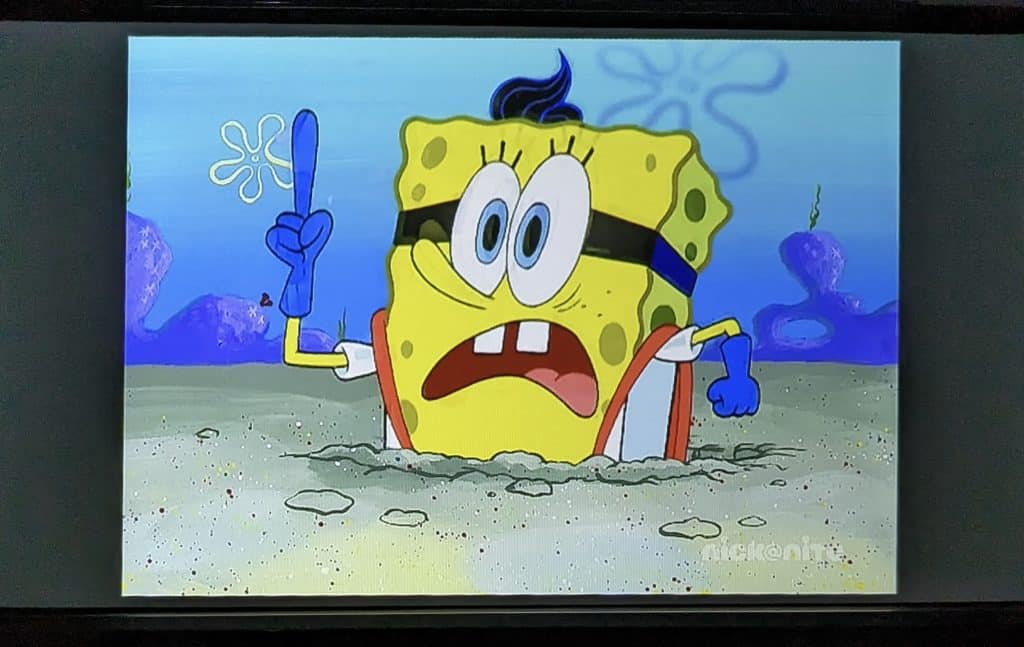
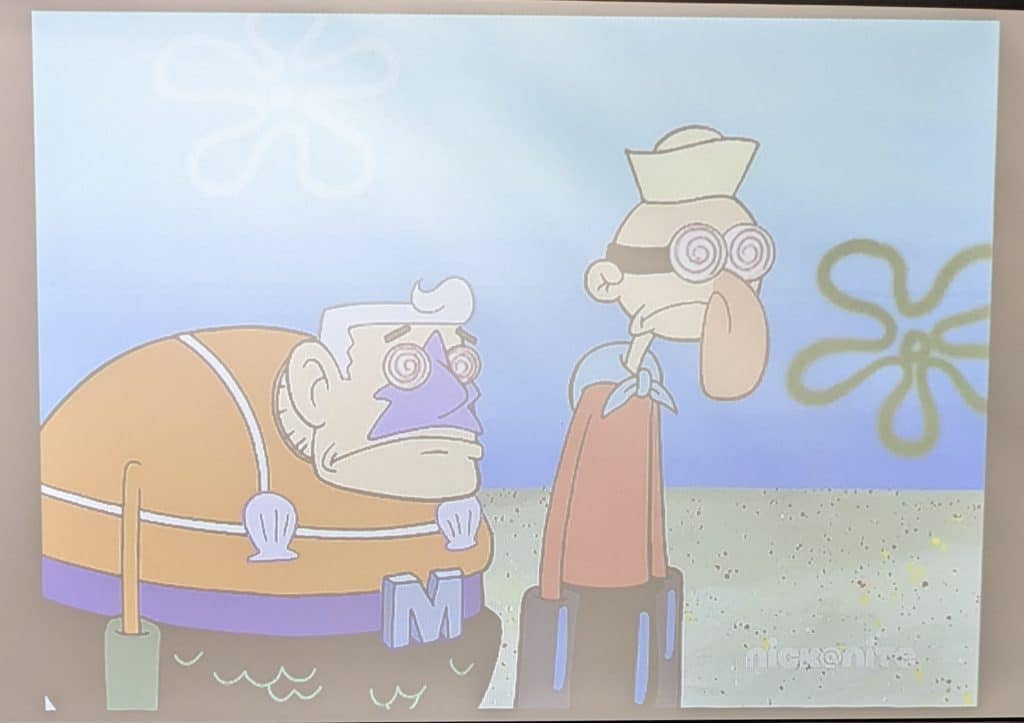
When watching shows in brighter settings, Capsule 3 Laser’s performance varied. To make this easier, I took some pictures of Capsule 3 Laser being about 7′ away from my screen, with a bright, and dark example. While Interview with a Vampire looks okay with the lights off, you’d probably have no idea what the second image is of besides something on AMC. A brighter program, such as SpongeBob SquarePants, did really well in the dark, and was still watchable in the light. In a brighter setting, such as noon outside, I wouldn’t expect much out of Capsule 3 Laser, but darker times, especially with a brighter visual like Mario Kart, will probably be fine.
With Anker giving Capsule 3 Laser an HDMI 2.1 port, there were a lot of questions about gaming performance. Having played a lot of Monster Hunter Rise on PlayStation 5 for our review, I can say it’s good, but not particularly great. I’m use to playing on a screen with a roughly 35ms delay, which this is slightly above. I could feel the delay ever so slightly, though it wasn’t to the point where it impacted my performance. For this reason I wouldn’t try to play a hardcore FPS with it. Something like Mario Kart, Super Smash Bros. (at least casual play), and things of like would probably work without a problem. Beyond that, Capsule 3 Laser is not able to fully utilize the gaming features people associate with it, so the actual advantage of HDMI 2.1 is small.
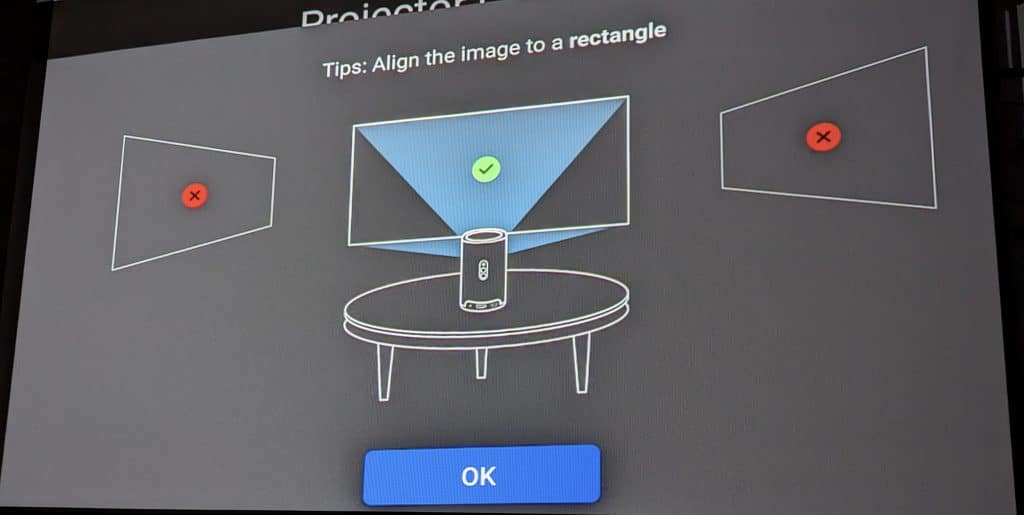
Like MoGo Pro+, Anker gave Capsule 3 Laser Keystone Correction, and some other adjacent features. These are huge, though the overall experience was fairly unenjoyable. I applaud Anker for trying to make these settings easier to understand, something they accomplish with various screens, images, and steps, though I was sad to see it lacked intelligent alignment. What Capsule 3 Laser will do is make sure the screen is straight, and in focus, just not within certain confines. Some of these things are nice, as it’s one less step you need to do, though it’s something that would push me to consider Halo+ or some of the other options with that feature if I planned on using it a lot on the go.
Similar to picture, sound is in an unusual place. Capsule 3 Laser is able to achieve an impressive volume, to the point where I could easily see it working in an open setting, it just lacks quality. I would describe the sound as flat, hollow, and without much depth. It’s still at a point where I could see most people using it, just not at one where I would take it over a cheap Bluetooth speaker. Thankfully, it offers an array of options (HDMI eARC, AUX, Bluetooth), something that I would absolutely suggest over using the built-in speakers.
Anker Capsule 3 Laser Projector Review
In the grand scheme of things, Capsule 3 Laser makes a lot of sense if you want a portable projector above all else. USB-C power is a massive win for portability, as is the shape. It’s even easy to hold, something that isn’t always true for other brands. Unfortunately, the operating system, remote, and other features start to weigh Capsule 3 Laser down in other categories. At least to the point where I’d consider better, but less portable, projectors like Halo+.
[Editor’s Note: Anker Capsule 3 Laser projector was provided to us on loan for review purposes. It was reviewed on an entry level projector screen.]
