
The first of the two new dungeons included in The Witch Queen dungeon key set and it’s pretty challenging. Duality will test your Destiny 2 skills and ability to adapt, making it a good dungeon for skilled players and a solid test for those not so skilled. Thankfully, it follows some pretty doable patterns, so let’s get into it.
Destiny 2 Duality Dungeon Guide
Finding the Quest

First and foremost, to start Duality you need to obtain a quest that is given by Suraya Hawthorne in the Tower. Simply talk to her, she will tell you to do the dungeon and then it’s playable on the moon.
Basic Information
Duality relies heavily on a new bell mechanic. Every encounter uses it in some way and it is extremely important to understand. The basics are simple. In the normal world it can be freely shot to be transported to the nightmarish world where different paths and places are accessible. To exit the nightmarish world you need to be within the inner circle of the bell.


Please note, activating the any bell will kill anyone outside of the circle. Players can be inside a different circle, but they must be inside one of them to survive. A big part of this mission will involve waiting and relying on others to use the bell at the right time.
This dungeon also works best with a good array of weapons, including Sleeper Simulant, Trinity Ghoul, Divinity, St0mp-ee5, The Lament, Gjallarhorn and similar things.
Getting to the Sorrow Bearer
The first section is surprisingly straightforward, though the first room can be rather confusing. What you basically want to do is climb up the various platforms to get as close to the ceiling as possible. Once everyone is high up, ring the bell and some additional levels will appear. Jump on those to get to the room above (it will have light emitting from it) and continue forward. The remaining rooms are basically just a cycle of moving forward, finding the light and when you reach a dead end looking for a bell.

Sorrow Bearer
Start by assigning each person a role. Two people need to obtain standards and the remaining person needs to kill Bellkeepers to escape.
Standard People
What the standard people need to do is help clear adds on the normal side until the Bellkeepers are dead and ring the bell. After that, the four corners will have a door open, with one on each side having a bunch of War Beasts and a Psion. Killing the Psion will spawn a standard with a symbol on it. Anyone familiar with the original raids will already know these, but if you don’t it will both say the symbol and show you an image. Once both are obtained, go to the active bell and swap back.
The four corners will have different symbols that correspond with the standards. Go to the one that matches your symbol and activate it. This will open the door and cause a bunch of War Beasts and a Colossus to spawn. While none of these need to be killed, it is helpful to at least clear the War Beasts and just avoiding the Colossus. When both people are safely in the room, have the third person ring the bell from the outside.
At this point those two rooms will be closed off and roughly six low health versions of the Sorrow Bearer will spawn. These can be easily killed with a sword or via Sleeper Simulant. When all of them are dead, the doors will open and when both sides are done the boss will take damage.
One final note, for this and all encounters, dying with the standard causes it to disappear. It won’t cause a wipe, but you will need to reobtain it.
Bellkeepers
This job is incredibly straightforward, though it has a bit of risk. Basically, during every phase there will be a couple orange bar Incendior (they have the tank on their back) who you need to kill. Once all of them are dead, the bell can be rang. Since these sections have a time limit, your job is the most important, as standards can be done one at a time if absolutely required.
The most important time to kill them is when the Standard people are fighting the copies of the boss. This allows for maximum DPS and extremely important for any successful run.
Damaging the Boss
When both sides are clear (they can be done one at a time), the boss will take damage. It’s best to unload as much as possible, though remember to keep some resources for the following phases. If you do find it’s a bit too hard, there are an unlimited number of phases, meaning you can kill adds until you’re ready.
Four Statue Room
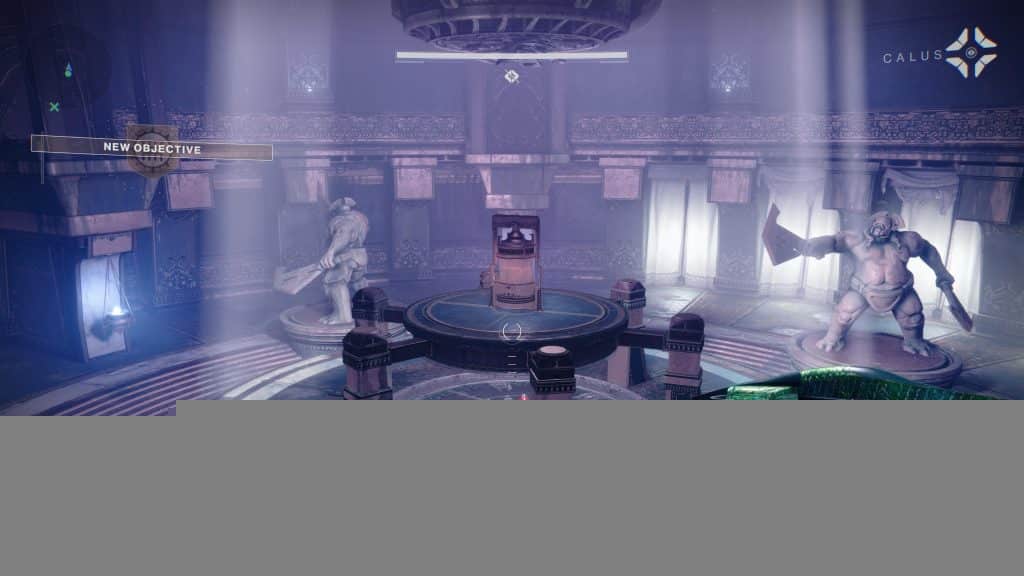
In the next main room you’ll see four statues around a bell. What needs to happen is all the statues need to have their axe point towards the center. Long term people might figure out the exact rotation, but my advice is to just turn them all once and stop turning any that are in the right position. If you’re ever confused, remember you can stand near the ones that need to be turned on the normal side, just not the red side.
Vault
Unlike the other areas, this one can be a bit rough. Basically, you need to look at the center and determine which symbols you need to go to. There will be the usual four and each will have a matching symbol on the other side of the barrier on that path.

Like the previous section, standard people go to their symbols and the bellringer sends everyone to the nightmare area. The standard people need to clear adds to obtain the standard, with the bellringer person needing to kill the same enemies to activate the bell.
Please note, you do not need to do this in one go and if you lack skill or resources it helps to have multiple people go the right direction. Also, killing the wrong symbol keeper is basically an instant wipe, so do not mess up.
Like the previous section, get the standards, return to the bell, ring it and then go to the symbol. Once three versions of the boss is dead the encounter will end.
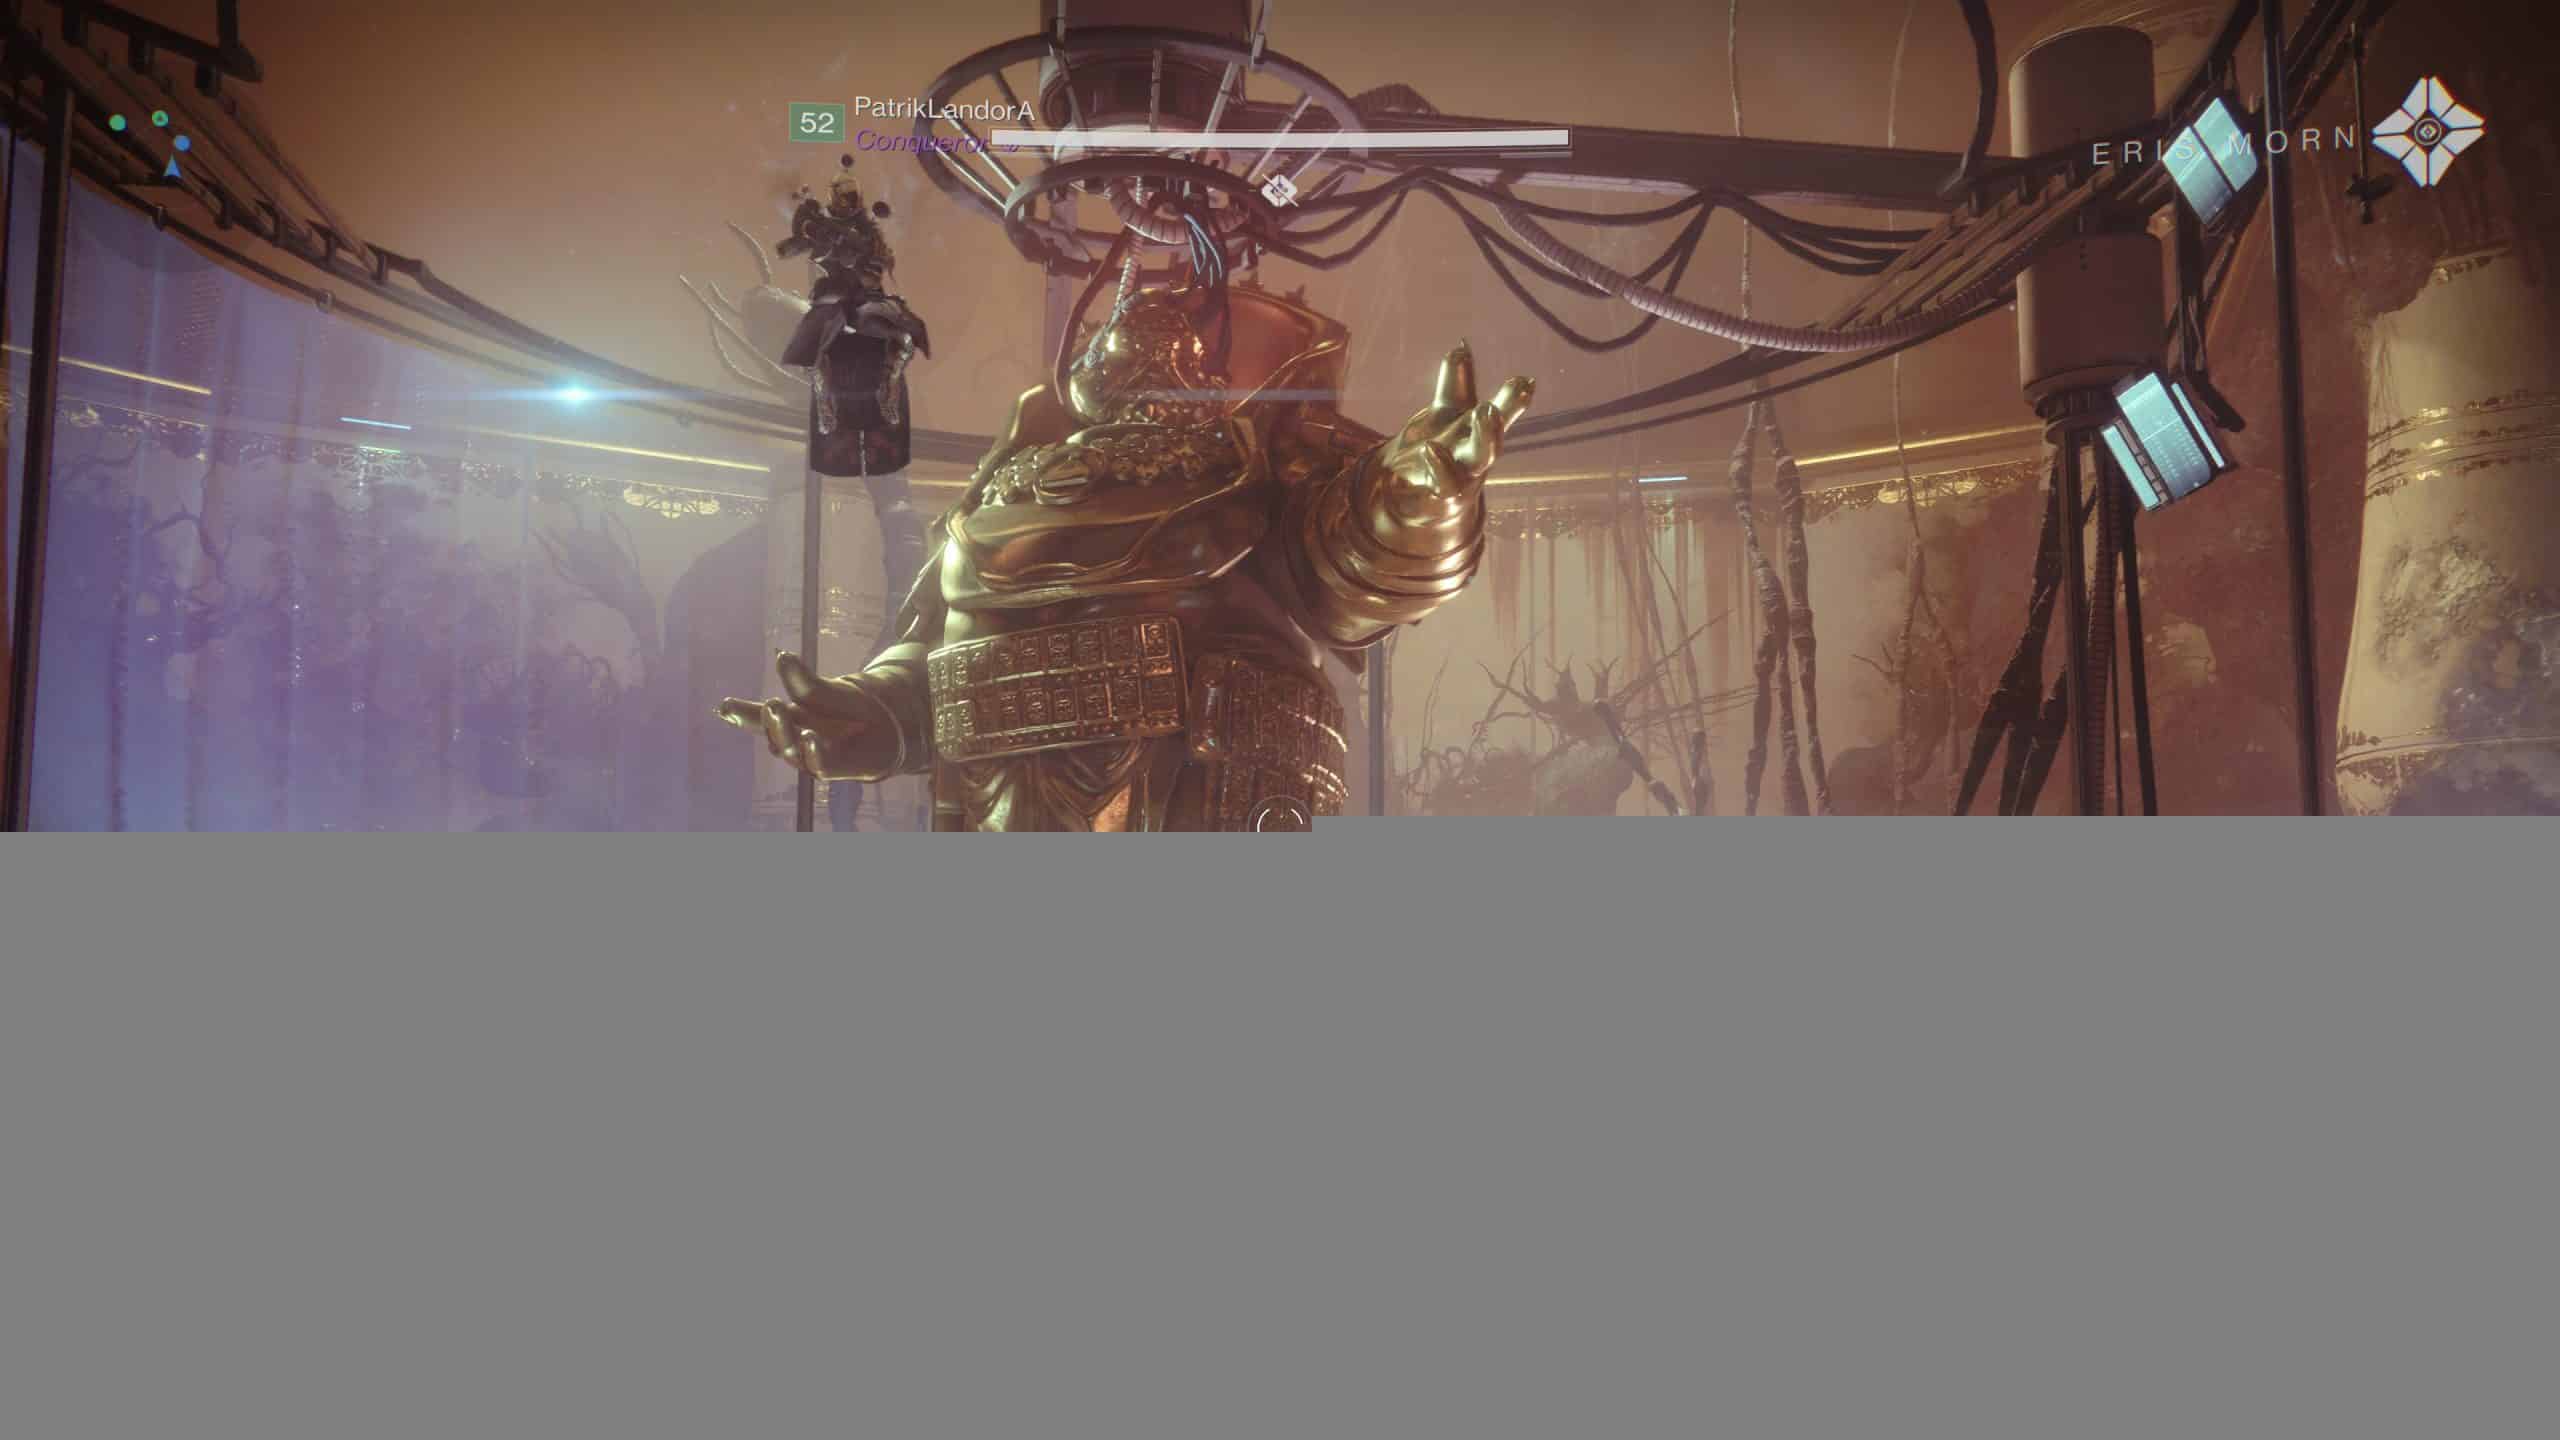
Nightmare of Caiatl, Princess-Imperial
For the final fight things remain the same. Two people get standards with one getting the Bellkeepers. For the standard people, look at the chains and you’ll see two of them have a symbol. This symbol will match two of the four ledges, so clear adds, go to the ledge and then ring the bell. Simply kill the Psion, get the standard and survive until the bell can be rang. Note, picking incorrectly will reduce your time, but not kill you.

To make it make it easier, the top right symbol is axes, bottom right is chalice, bottom left is war beast and top left is sun.
When four standards are inserted you can shoot the chain to have Caiatl teleport you to the nightmare world. This time everyone needs to kill Bellkeepers as quickly as possible and pay close attention to where she is going. Before she slams her foot, you need to ring the bell to stun her briefly. To maximize damage, each player needs to be within the bells circle to receive a buff that does more damage. It also helps to get in her path, as she will commonly stop to attack.
Similar to the previous encounters, there is no time limit and you can use adds to restock ammo if that is proving to be an issue. Repeat until she is dead.
Post Clear
Those wondering might be disappointed to learn the quest doesn’t give anything, but redeeming the triumph will give an emblem (pictured below).

Finishing before Aug. 31, will also unlock the ability to purchase a pin or hoodie.
