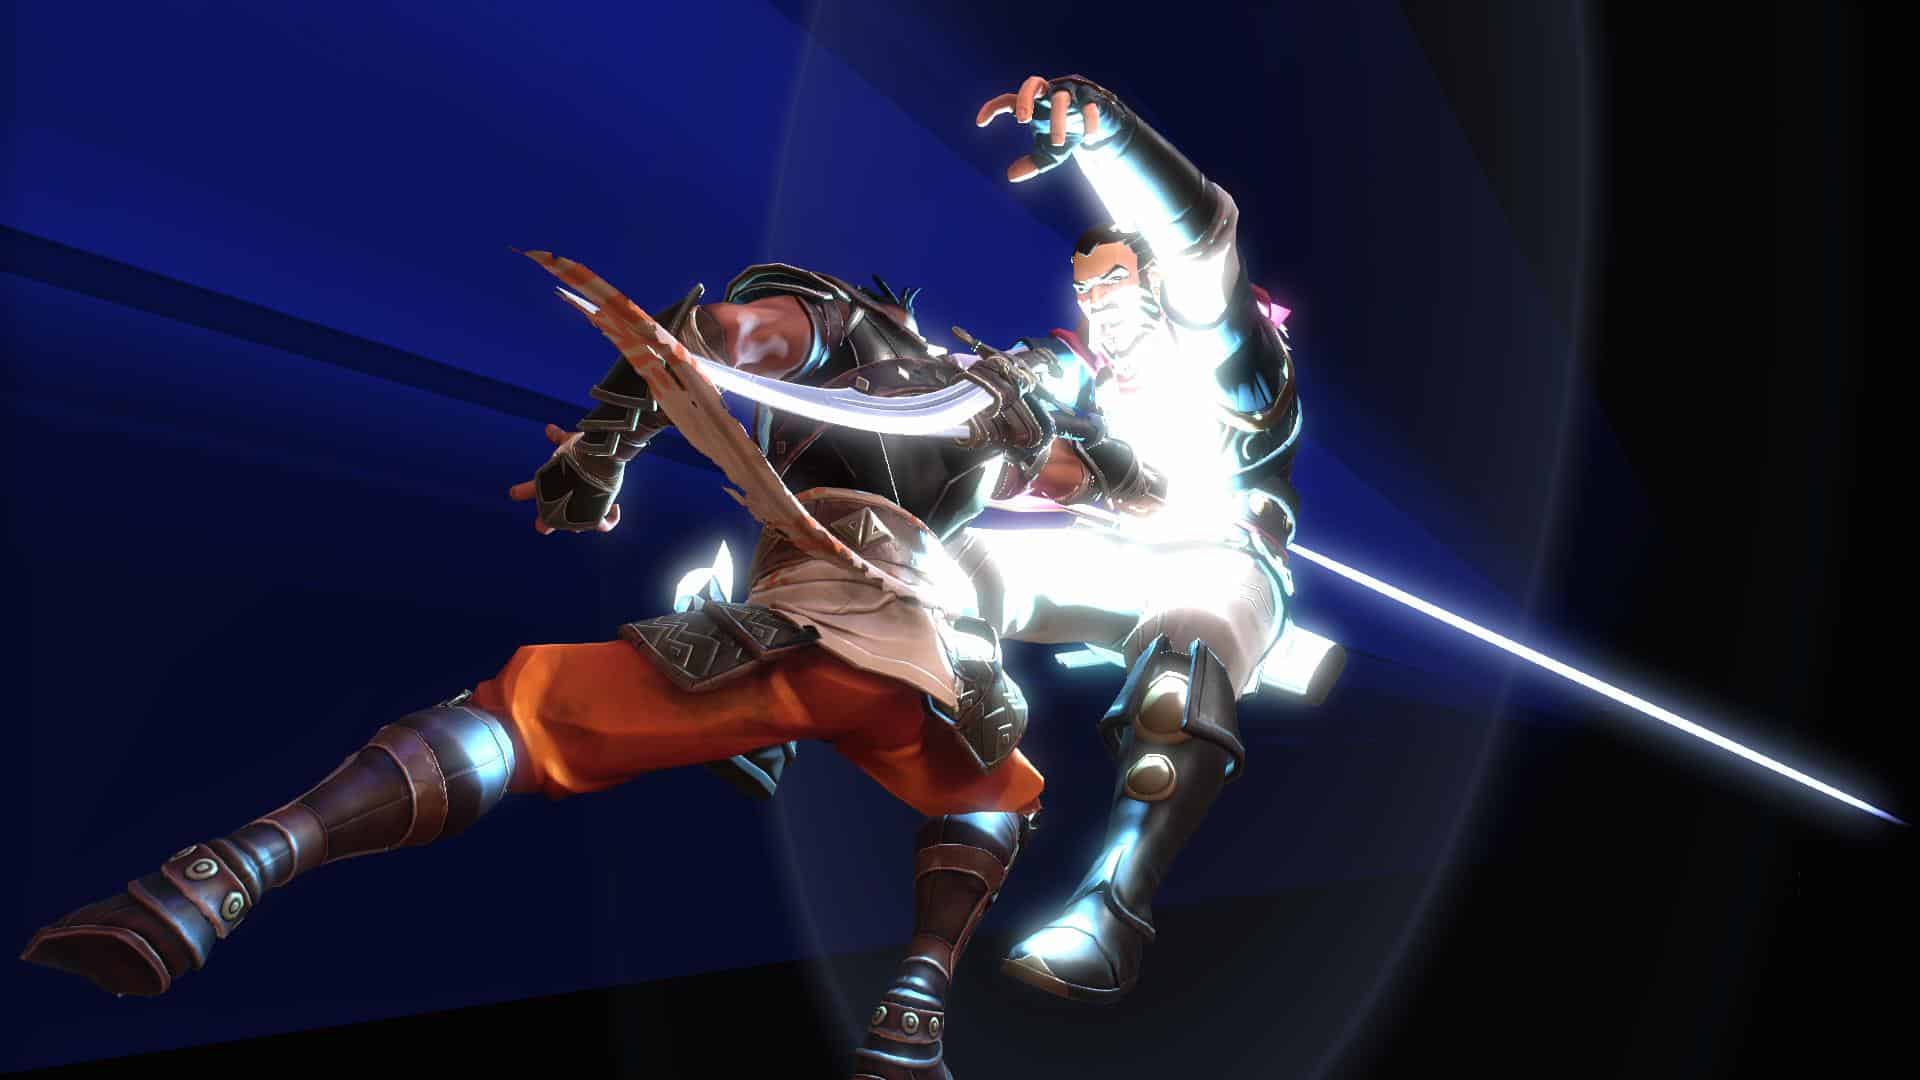
Azhdaha is another Prince of Persia: The Lost Crown boss that is rather tricky. Most of this is due to weird dodge timing, though it doesn’t help Azhdaha is good at punishing any mistake. While it might take a few attempts, this guide will help make the process a lot easier.
How to Defeat Azhdaha in Prince of Persia: The Lost Crown
Basic Information
While it’s more than possible to win with no upgrades, it helps to return to Lower City’s The Haven destination. Here you can speak to a couple different venders and upgrade your gear. The latter is especially helpful as the right build can be surprisingly broken.
Since this is a Metroidvania experience and what you have access to will vary based off how much you’ve explored, we simplified the process by listing what we think are the best amulets.
Best Amulets
- Blade Dancer
- Void Blade
- Verethragna’s Wrath
- Turning Wind
- Will of Rostam
- Wolf-Bride
- Dragon King
- Mount of Damavand
Now it is not possible to wear all these amulets at the same time. We suggest picking and choosing based off your individual skill. Those who can dodge/avoid damage will want to build towards power, whereas those who struggle should go the defense route.
It also helps to note several of these have little to no value depending on the fight. As much as I love Blade Dancer, several bosses won’t allow you to perform the full combo. Likewise, with Void Blade and other damage boosting amulets it’s possible to hit a point where normal enemies die long before the combo happens as well. Still, it’s better than nothing.
Athra Surges should be Verethragna’s Smite, and Shahbaz’ Spirit. These are two of the best you should have at this point, both of which work fairly well against this boss.
Azhdaha Phase One
Nothing about the first phase should give you any issues. As long as you dodge, stay in the air an extended period for the laser attack, and play defensively you should get past it without any issues.
Azhdaha Phase Two
During the second phase a couple big things happen. The first is Azhdaha gains a move where its tail appears in the middle and shoots lasers across both sides. These follow a set pattern, so just jump, crouch, and jump run to avoid any damage.
There is also a parry attack, though it’s on the harder side to successfully land. I found avoiding to the far left, followed by using an Athra Surge did more damage than successfully landing the parry. This is especially true if you have a damage boosting amulet.
Azhdaha’s laser also gains an after effect at this point. The trick is to make a shadow, run forward, followed by returning to the shadow to avoid all damage. If you’re struggling to make it work, it can help to leave a shadow in the middle, and simply wait until the attack appears. By doing this you’re guaranteed to have viable positioning, along with not having to worry about direction.
Azhdaha Phase Three
For the final phase Azhdaha enhances every attack, plus gains a slightly different laser pattern. This might sound overwhelming, though it really comes down to playing smart. Instead of having extended openings, attacks are frequent, and slightly more involved.
Sometimes this can be rather annoying, like the beam pattern is designed to punish following the previous path, along with an increased reliance on harder to avoid attacks. However, as long as you play smart, avoid unnecessary confrontation, and always save your Athra Surge for the right moment, you should walk away alive.

