
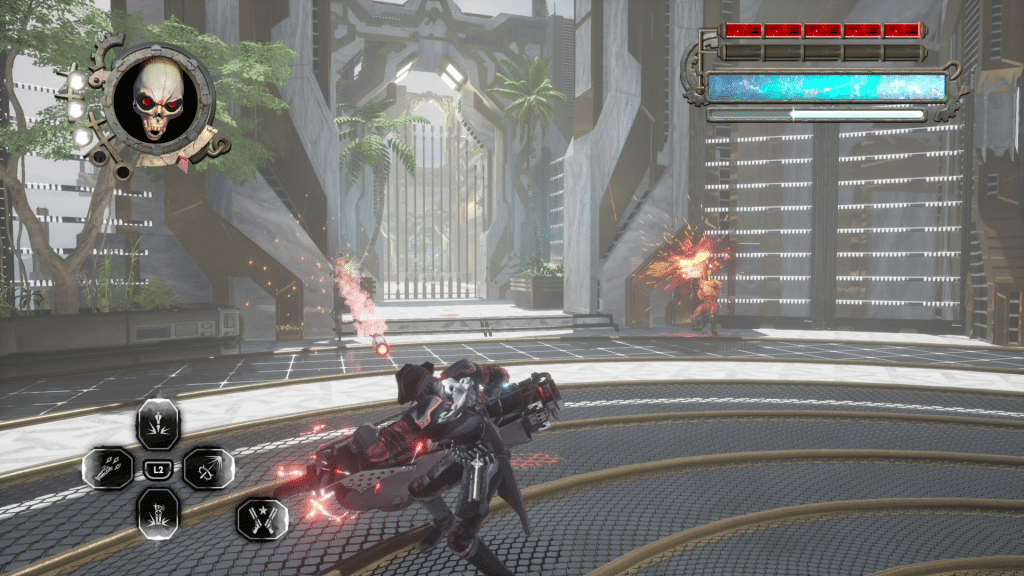
If you’re looking at this guide, you probably started Gungrave G.O.R.E on hard or read posts about the modes difficulty. Needless to say, it’s a massive increase in difficulty from normal, with a lot of situations that will force you to take damage, or come up with a creative way to win. As someone who beat hard, under the hardest conditions, I wanted to make our Gungrave G.O.R.E hard mode guide as simple as possibly by listing every trick or notable element I think would help beat this mode.
Gungrave G.O.R.E Hard Mode Guide
basic Information
Should I Play Hard First?
Before playing hard I strongly suggest playing through easy mode first. This will unlock the Golden Cerberus weapon, which is needed to balance out the difficulty found on hard. It also helps to beat normal for Evo Death Hauler, since that increases demolition gauge charge time. To make this easy to understand, we made a brief video showcasing the difference between these weapons and the default set on one of the hardest sections in Gungrave G.O.R.E.
In addition to being helpful for hard, the trophy/achievements for easy/normal does not unlock with competition of hard. This requires another play through, so you might as well get them out of the way first.
Best Unlocks
While you should unlock almost every upgrade by doing easy/normal, the only upgrades you actually need are as follows:
- Storm Barrage: Dodge Shot
- Storm Barrage: Jump Shot
- Every stat upgrade
- Hellhound
Stats and Storm Barrage: Dodge Shot are the most important, with Hellhound being useful for a single situation. Outside of those, while Death Hauler Damage Upgrade sounds useless, at max level it can break a shield in a single hit. This makes it a lot easier to deal with enemies without having to rely on other means like Storm Barrage: Jump Shot or Fury.
How to Use this Guide
To make things easier, this guide only focuses on key sections. This is largely due to most situations being more about running around, being creative, or just not dying to stupid choices. This makes a lot of videos useless, in addition to a lot of pointless explanations. If you feel like there is a section we missed, please comment below and we will try to help you out.
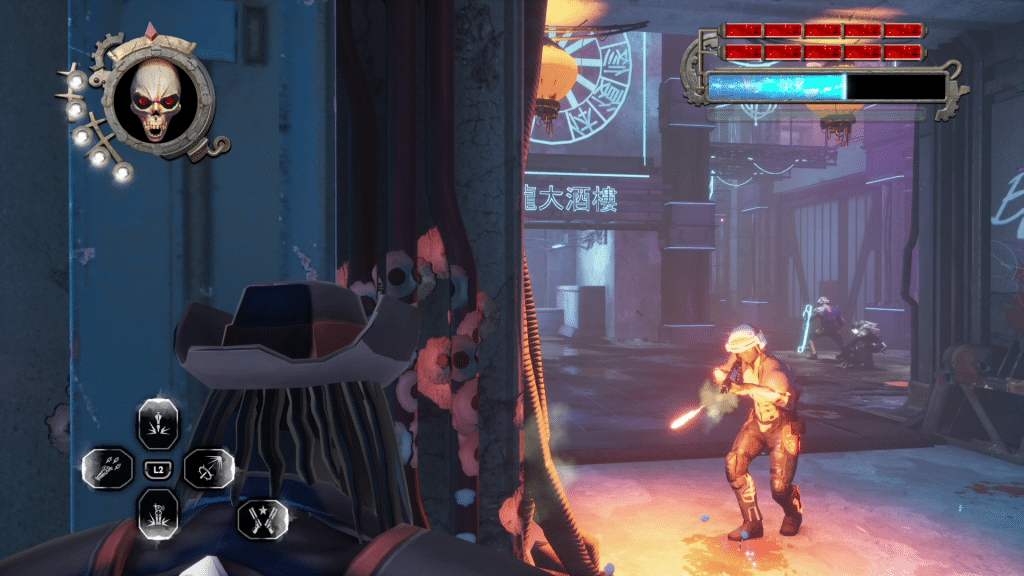
Basic Tips
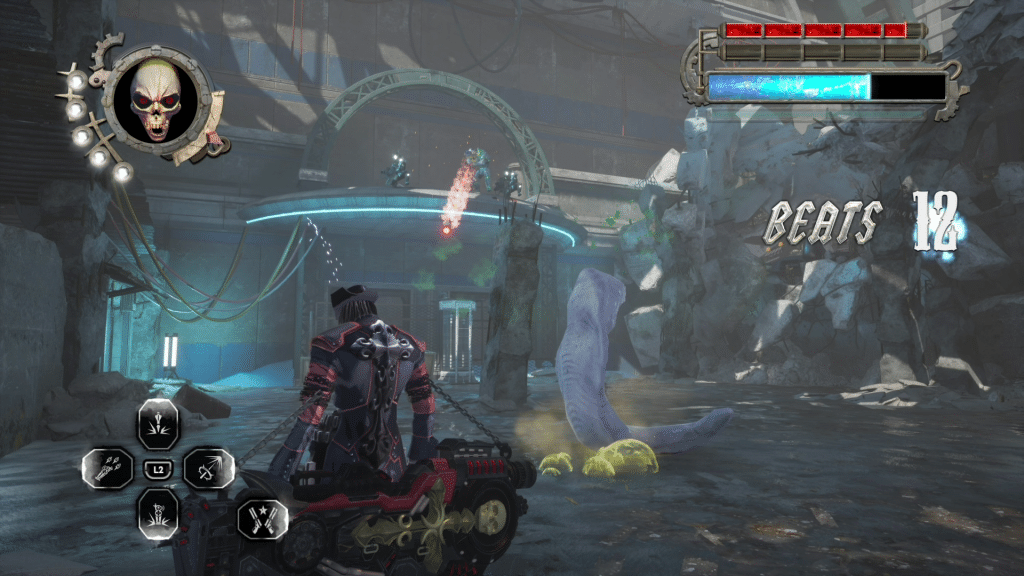
- Orange enemies have a lot of health, but can be grabbed for a great shield or instant kill (you just toss them after grabbing)
- Fury (both back triggers), Death Spear (charged shot), and reflected rockets can also break shields
- Don’t bother reflecting grenades. They throw them too frequently to gain momentum
- Remember finishing armored and rocket enemies pulls you towards them, so don’t bother if it ruins your position
- Orgmen are not that powerful, so just kite until they die
- Demolition Shots heal and offer invincibility frames, so don’t be afraid to use them
- Sword enemies can be stalled indefinitely by simply shooting them. They’re also extremely easy to kill by using a rocket, or charged shot, to knock them down and simply shooting them. When they’re not reflecting bullets, they can also be grabbed
- Leeches are extremely common in water
- Some levels, especially Vietnam, have mines scattered around. Either shoot them or fire a Death Blow to destroy them all
- Enemies typically appear on top of houses or ledges, so keep an eye out
- Rocket enemies and shooter Orgmen are two enemies you should always focus on first, followed by snipers, shotgunners, and then everything else
Level Guide
Scumland Outer
Big Wall
It’s the tutorial, so you shouldn’t have any issues until the boss.
Boss Fight Wasakin
There really isn’t much to this boss. Basically, move around and reflect its rockets.
Abandoned City
Ironically, this is more of a tutorial level. There isn’t anything that should pose much of a threat.
Infected Sewers
This is another easy stage, at least for the most part.
For the second timed section it doesn’t start until you’re about halfway through, so I suggest killing every add before that. Once you trigger it, fire a rocket to knock down every enemy and turn to burn through them so you can make it in the door before getting crushed.
Boss Fight Ligabu
This fight is a lot easier than Wasakin, since you just need to move back and around the boss. Beyond that, as long as you know when to dodge roll and avoid the ice breath it should die with ease.
Central Subway
This is the last introduction stage and is more of the same. Move forward, shoot enemies, don’t die. If you’re struggling with shielding, just grab grunts to take some fire off you.
Sumland Inner
Freight Train
Try to stay as far back as possible and slowly move forward. Enemies are constantly at the left and right side.
Several rooms have enemies fall from above, so you want to stay back to mow them down or deal damage.
On the train top there will constantly be robots to the side. Slowly advance.
On the last train section only, the very end is timed. Everything else you can take as quickly or slowly as you want.
About here is where the timed section actually starts. I suggest killing the enemies before advancing, followed by making a mad dash for the end.
SEED Refinery Perimeters
The first section has a difficult time limit. It helps to rush sections, especially in the first room where you can easily run up to the crate, spawn every enemy and blow through them. It also helps to skip a lot of the second room if you can survive.
There aren’t many good ways to deal with the hoard. I suggest destroying all the explosives and hanging out in the right corner. This will be the one directly in front of you when you enter the room, hidden behind some vehicles. If you pick the wrong corner, enemies will spawn on you, and it will likely result in death. Beyond this, use Fury (both back triggers), Death Spear (charged shot), or if it’s safe rockets to break shielded enemies shields. Using melee will just get you killed.
SEED Refinery Area 1
If you engage enemies in the second room from the first room, you can fight the hoard without locking yourself in that room.
In the large hanger area where enemies shoot down from a ledge (it’s room like four), you can kill about half the enemies by shooting them from the door. With maxed lock on it’s also possible to hit enemies closer to the left side than right. There is a weird cut off that some enemies will move to and die faster. If you can get the enemies in the lower area it will spawn the rest, making it easier to defend from there, though I don’t know if it’s possible to shoot them fast enough.
When you reach the huge room that has an island in the middle of the room with stairs, it helps a lot to defend that point. Also, focus on the flying robots first, as they die fast.
SEED Refinery Area 2
The container section simply sucks. What you want to do is keep an eye out for rockets, while killing enemies on both sides. Rockets go left, and then right (it’s next to the wall leading to the next room) in the first room, with the second room being left (right when you get past the wall divider), and then right (floating just before the end). It also helps to get ready for a grenade at the start of the second room on the right side. None of these things will kill you, but they can easily knock you off.
No Man’s Gate
Most rooms are a lot easier if you engage from the previous room. It gives a lot more space, in addition to additional waves taking longer to make their way to you.
Hong Kong
Grave’s Base
For the dark room, shooters appear in front and behind you, so it helps to shoot a rocket at one side as you kill the other.
At the end there is a large gauntlet (if you peek through the door and see a vending machine it’s the spot). This can be engaged from the previous room, which funnels enemies through a door, making it a lot easier to either rocket stun or kill outright.
Hong Kong Rooftops
Most of this section can be completed by moving forward to trigger the encounter, followed by moving back. If you’re having issues killing them fast enough, Fury helps a lot. There shouldn’t be any reason to stun enemies, nor should you be taking a lot of damage, making it a good option.
When you go on the crane, do not finish anyone. Grabbing a rocket guy will instantly kill you. In addition to that, hugging the crates is the best position. Hard to get knocked off, and the enemies behind you will have issues hitting you.
Hong Kong Back Alleys Area 1
At the end of the level there will be a massive hoard in a small square room. The best tactic for this is to use red enemies as shields to regain your shield and ignore the shielded enemies. By just wondering around shooting the enemies that shoot back you should avoid them. At the end, either use Fury to destroy every shield or just slowly break the while circling the room.
Hong Kong Back Alleys Area 2
In the poison gas rooms there are yellow containers. Destroying them will remove the gas. To get to them I would just finish enemies to replenish my shield.
Market Streets
Once you get in the fenced area, focus on melee enemies since they’ll die faster. They also make a great shield, which can be used to mitigate some damage/buy time.
After jumping off the truck, hang back and wait for the melee enemies to rush you. They’ll die before the ranged enemies even spawn, making that section a lot easier.
Boss Fight Yensen
This is a three phase boss fight, though at least two of the phases have checkpoints between them. For the first fight you just want to strafe and shoot. The boss is likely not going to hit you, unless you let him rush you.
When you get to Yensen’s first form you need to watch him and avoid projectiles from his clones. Shooting them can remove them, along with Death Blow doing damage to both of them. Towards the end he will teleport, swing his sword and fire a wave attack at you. Just wait for it, pick a direction, followed by dodge rolling to avoid it.
Yensen’s second form can be really hard without a lot of upgrades. He will move around a lot, without seemingly any pattern or reason to where he goes. The trick is to watch him, figure out the tells, and then just prepare.
If multiple versions spawn, either shoot them, or get ready to dodge roll when they start flying higher. Doing enough damage to kill them prevents the attack, though anything else is just a waste of time. When he does the swing attack, it’s teleport, swing, teleport, swing, teleport, reset. You want to have a good idea of where he is and dodge in a direction away from the slice. There is some luck involved, so just master the general timing and hope for the best. When his health turns yellow he gains a third slice that creates a V shape slice, with a second one of those at red. Similar things apply to his standing five direction slash. At yellow and red he does more in a row, something you need to dodge as best you can. I found dodge rolling back left, or back right works best. The more range you have, the greater distance apart they are, making it easier to just move away from the attack. Finally, there will be a jumping attack that does a lot of damage. I found it’s best to try and finish one or two of them, followed by moving as much as possible. If you’re bad at timing, just use Hellhound the second he does that move to use the invincibility frames to protect you.
Skyline
This stage is balanced around a single build, so it’s one of the most reasonable and doable stages without an actual tactic.
Vietnam
Vietnam Alley Area 1
This level is as easy as you want it to be. If you rush it, you’ll probably die, but if you move slowly, trigger every ambush, and move back it should be cake. Just remember to grab army guys to recovery shielding.
Vietnam Alley Area 2
Positioning is super important on this level since there are many places to fall and instantly die. Hang back and make them progress or plan to constantly grab enemies to maintain your shield.
When you reach the rocket turret section they are as follows:
- After the first section, to the right
- Almost immediately after to the left (you should now be warned of rockets)
- When you see the bridge there will be one in front of you and one to your right
- After jumping down, when you reach the arrow with a forklift by it there will be one to the top right
- Once you go up the path and see the house, there will be one directly in front of you
- On the back left of the house there is one on the top (it will hit you if you get distracted with adds)
- When crossing the bridge there is one to the right (it generally only shoots once you’re at the end)
- Immediately after passing the house there will be one directly in front of, you, with another next to the objective marker
For the final gauntlet you want to move towards cover and constantly grab adds to regain your shielding.
Mercenary Base
This is another stage where taking it slow is all you need to do. It helps to use rockets before entering a room with mines, as they typically blow everyone up.
After seeing the hazmat enemies there will be four rockets in the outside area. One is directly in front of you, two are to the left and right of the red gate, and the last one is to the right of the housing area.
Boss Fight Zell
Zell isn’t a hard boss, but he is annoying. Initially he will alternate between throwing mines and shooting his sniper. Generally speaking, getting an idea of the timing between blasts, along with more range, helps a lot.
Towards the end of the fight he will teleport around, summon adds, plus shoot a blue laser safely from a corner. The trick is to know when to focus on him, and when to deal with everything else. If you’re really lucky, he won’t summon adds, though it’s a very common move for him.
Secret Refinery
Like the other stages, take things slow and pull enemies back over rushing them.
Vietnam Cave
For the bridge section, run forward and then back. There are larger platforms that are easier to fight on than the narrow walkway.
With the jumping section you don’t need to finish it. Enough time/mess ups will eventually open the gate. This is usually a better tactic, as fewer rocket enemy’s spawn.
Secret Laboratory
This is another take it slow and burn through the enemies stage.
For the poison bridge section, it helps to move forward, spawn enemies and then move back. The starting area, where the red orgmen spawn and the exit do not have poison. You can also finish enemies to replenish your shield to tank more of it as well. Hanging out in the red orgmen room is also a great way to regain your shield for the second half.
Boss Fight Brhatu
There really isn’t anything to this fight. Just shoot it and when it attacks, dodge roll back. If timed correctly, you shouldn’t take damage.
Experiment Cave
Since you play as another character, this is another stage with fixed difficulty. There isn’t much to this stage besides freeze and then melee hit enemies.
For the jumping section, the third set fall when you step on them. I find the left path is the simplest to get through it. In the event you do struggle with it, you can find a video below.
Malaysia
Hanger Base
Yet another engage and retreat stage.
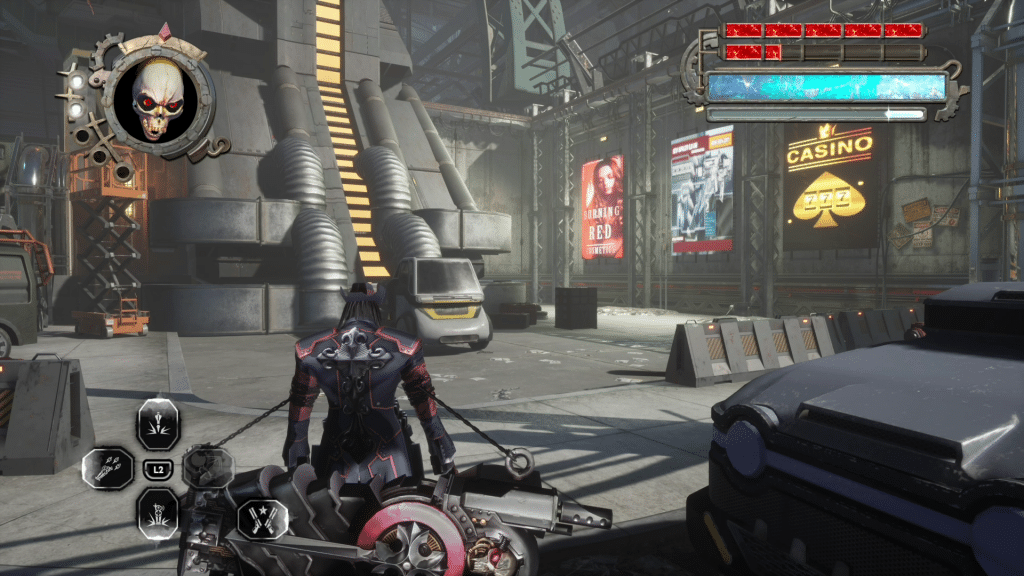
Royale Casino
Since enemies come from both sides, it helps to enter and then try to move back to the previous room to engage. There will also be a lot of sword enemies, which can be really overwhelming, though they can be killed via Storm Barrage. This is one of very few levels where you’ll consistently have the score to easily do that.
For the room with a stripper pole in the middle, you can engage enemies without entering it making it a lot easier.
When you enter the elevator and it goes dark, it helps to grab melee enemies and toss them at the others to knock them all down for easy bullet damage.
Big Wushen’s HQ
Boss Fight Helicopter
This boss doesn’t do much besides shoot at you. It helps a lot to stay need the fortification on one side to block incoming damage.
For the first gauntlet, use Fury to break every shield, followed by trying to use finishers/grabs to maintain your shield as you work through the enemies. The general pattern is gunners on the right, with rockets/snipers on the left.
The second one is very similar to the first, though you have a lot of cover. It ends with several lock-on rockets and snipers, so make sure you have resources to quickly dispatch them. I personally like a rocket to knock them down.
Boss Fight Brhbau
Like the red version, Brhbau is easy. This version shoots poison swings its arms like a windmill and rolls once you get the health bar to change color. Basically, keep your distance and you won’t die.
HQ Summit
The first room has a lot of rockets, especially lock-on ones, so you’re best bringing them down the stairs to you. Ignore the indicator that there is an exit behind you, as it is pointing to the level above you. When the room is finally clear there will be a broadcast telling you there is an exit. Do not rush it or you’ll probably die.
At the top of the stairs there will be a bunch of rockets waiting for you with a lock-on one. Make sure you’re prepared to run or reflect.
The spiral staircase has a bunch of shooters, shields, and sword enemies. If possible, use fury to burn down as many as you can, followed by using Storm Barrage to kill the sword enemies. At the top there will be a rocket enemy and a lock-on rocket enemy.
For the next three sections you’ll have a brutal series of gauntlets. With the first room, slowly advancing should bring shooters and shielded enemies forward. Kill them, and then advance further. There will be a machinegun enemy on the right, with a rocket on your left, kill them and then move to the next room.
Before entering the room, prepare a Death Spear, followed by advancing as little as possible. You should see a sword enemy that you can knock down and finish, followed by a couple shields and gunners. You want to kill these enemies as quickly as possible without moving further than the gate. If you do this correctly, the sniper enemy will never engage, making it a lot easier to deal with the peons. Charge another Death Spear, knock the sniper over, and then finish them to clear this room.
Start by slowly advancing into the next room. Once you reach the bottom of the stairs, enemies will spawn, which is your cue to go back to the previous room. By doing this enemies will appear in a more isolated location that is easier to kill. When they seemingly stop coming, there will likely be some rocket enemies coming. Rush back, try to damage/kill them before they shoot, and prepare to reflect their rockets. The final wave is red Orgmen, with the room ending when you’re told about a door.
Slowly advance into the next room until enemies spawn. Rush back to the exit, kill them, make sure everything is dead and then repeat the action. When you do this a second time two lock-on rocket enemies will appear near the start, along with two snipers. Kill the rockets, followed by the snipers. Finally, red Orgmen will spawn. Simply kill them to finish this brutal section. If you’re unsure the section is over, you’ll be told to enter an elevator.
Boss Fight Big Wushen
Good news, this fight is the easiest of the main bosses, but the bad news is that it’s very tiring. All you really need to do is strafe around the map, staying out of her sound attacks, and immediately focus on any adds that come.
Her second phase is a bit more demanding, though there are only two things to keep in mind. The first is the arena is now floating, meaning her wall attack will push you to your death if you let it. In addition to that, I believe this is the first time you encounter the shooter Orgmen, which will destroy your health if you keep them alive. Make sure to focus on them above everything else.
Singapore
Streets of Singapore
For the second encounter there is a small hideout to the left of the exit. Kill the enemies there and hold that spot as enemies rush. Towards the end rockets, many of which are lock-on, will appear. Just reflect their rockets to either kill them or burn the various enemies coming for you.
Like the previous room, you want to take control of the area where the two Ogrmen come from at the very start. It’s a great tactical location that has plenty of room to retreat if things go south. After killing the initial set of enemies, another will spawn once you’ve advanced about halfway through the area. When you see the Orgmen spawn, repeat the previous tactic to clear the room.
After the Orgmen hoard room, there will be two flamethrower enemies waiting at the top of the stairs. You must engage them by running up, so do that followed by immediately dodging backwards. In the next room there will be three lock-on rocket enemies to the left and an Orgman to your right. Enter the room, look left, and shoot your rocket. With max firepower you should be able to kill two of the three rocket enemies before they stand up. The third will either die before shooting, but if it does shoot, get ready to reflect. If you’re confident in your ability, you can also enter and prepare to reflect their rockets. They all fire at the same time, so you’ll either take three rockets and probably die, or kill all three instantly.
As soon as you enter this room, engage Fury to destroy every shield, followed by looking to their right to kill the rocket enemy that spawns. After that, move to the back right of the starting room. Every enemy will rush you, along with Orgmen appearing in that room. Your goal is to rocket the hoard and slowly work your way through it. If you have Storm Barrage: Dodge Shot or Storm Barrage: Jump Shot, use it to burn through the hoard. These work well since you’ll likely get multiple rockets to stun loop until there are just a few enemies you can casually kill.
Next you need to beat the bridge section. Thankfully, falling is not an instant failure, though getting ahead of yourself is. The enemy arrangement is as follows:
- Machinegunner on the left
- Two rocket turrets on the left (the cover to the right of the Machinegunner will open)
- Machinegunner on the top left
- Three rocket turrets on the right (same as the other, the gate will descend to reveal them)
- Lock-on rocket to the left (in the little gap area)
- Machinegunner to the right (above the first rocket on the right)
- Rocket enemy on the right (above the third rocket on the right)
- Two rocket turrets in the middle
- A couple machinegunners and a sniper in the middle
- Once you reach the middle an Orgman will break through the wall
- Lock-on rocket and machinegunner to the right
- Rocket turret in the middle, with a lock-on rocket and rocket enemy, plus another machinegunner, followed by two snipers
When you jump down, try to stay in the initial room. When enemies stop appearing, leave the room and look for anyone still alive. There will probably be a sniper above where you were waiting.
Upon reaching the broken building gauntlet, hang out in the bottom left corner near where you started. Once the Orgmen are dead, rockets and snipers will appear. Ideally you can reflect their rockets/kill them, allowing you to move towards the middle. Shoot at the sniper to your right, while keeping an eye on your left for a rocket. Next, angle yourself so the left sniper’s line-of-sight is blocked by the broken pillar. If done correctly, it will not shoot you. When it dies, if you’re not told of a way to move forward, it means there are enemies above where you’re currently standing. Finish them and get ready for the next room.
When going up the next section, there will be a flamethrower and machinegunner on the left, with a rocket and sniper on your right. Kill the right group immediately, followed by finishing the left one.

For the final section, you want to hold the location where you start. Enemies will rush, so let them as you finish off the least deadly set. The remaining enemies will be rockets, including lock-on one’s, along with snipers. It helps to use a rocket, blow them up and finish off as many as you can. After the initial set, another wave will appear once you make your way towards the exit. As soon as you see an enemy, retreat. Repeat the previous steps to finish the remaining enemies. The music should change when the encounter is finally cleared.
Underground Garage
While a lot of the sections are annoying, there really isn’t anything special to them. Basically, you want to rush and retreat. Since there are a lot more normal enemies, you can rely more on the fundamentals. Storm Barrage: Dodge Shot is also invaluable for the Orgmen hoards.
Boss Fight Panisto
This is an annoying fight since there really isn’t anywhere to go. All you really need to do is get within striking range, but not so close you’re out of dodging range. The goal is to stop it from moving, so it can never get closer enough to be unblockable.
Beyond that, you want to use rockets when it does the rain attack. This should mitigate all the damage from it. When Panisto throws the rock at you, it can also be reflected like rockets.
Broken Sanctuary
When you reach the open area with rockets and snipers, you want to pick angles where snipers can’t hit you as you deal with rockets/gunners. Once they’re dead, deal with the Orgmen, followed by snipers. If you’re low on health, a well-placed Death Spear will knock them over for an easy kill.
Towards the end there will be a massive wave of aliens, these can be killed in seconds with Storm Barrage: Dodge Shot.
For the outdoor window shootout, just take it slow and reflect as many rockets as possible. It will clear the room for you.
With the church shootout it helps to be under a pillar on the side where the exit is. Lock-on rocket enemies spawn on the opposite side to the right, with a sniper on the left. It’s best to clear the room, followed by killing them. I prefer focusing on the sniper and using the reflect when I hear a rocket fire, though you can also just shoot a rocket, finish a side, and then finish the other.
With the last section you want to stay near the start, clear the enemies, followed by saving a bunch of rockets for the snipers at the end. Ideally, you can have them group up for easy damage, knockdowns.
Turonty’s HQ
Shortly into the level there is a yellow-colored room. When you get to this point, go left and there will be a lock-on rocket enemy. Kill him, followed by the three or four additional ones that spawn. After this, slowly progress forward by killing enemies as they come. At the end of this area a bunch of rocket enemies will spawn. Destroy all nearby explosives and just keep reflecting until they die. If you’re low on health, use a rocket to knock enemies down and get some breathing room.
Upon reaching the circular room with each side having a set of stairs, wait in the starting area for enemies to spawn. As soon as they get near you, use a rocket, and then pick the either the left or right side. There will be a small room that makes it a lot easier to deal with these enemies and ignores the snipers outside. When you finish, peaking out just enough should be able to shoot three of the four snipers without getting noticed. Jump out and finish the last one to clear the room.
While there is no trick for the lasers, if you want some help the video below starts with a guide for that section.
Boss Fight Turonty
Turonty is probably the most frustrating boss in Gungrave G.O.R.E. He only does three attacks, at least before red health, though one is just devastating. What worked for me was strafing to a side to create as much distance as possible. This makes avoiding his stun and poke attacks super easy. Unfortunately, I never found a consistent way to deal with his red orb attack, so I suggest picking a side, followed by dodge rolling.
When he hits red health he will spam blue bubbles. These will destroy your health if you let them. Simply avoid them while shooting Turonty. Eventually you’ll hear the distinct sound of her red orb attack. When you hear it, or at least see it, immediately do Death Blow. Do not do any other attack, as it will end at a random time, which could ruin the run.
During the second phase it’s largely the same core tactic. Move to the side, avoid his attacks and wait for the lock on move. If you’re unsure if you can dodge the lock on, simply use Death Blow to effortlessly survive it.
Scumland Center
No Man’s Gate Revisited
This stage… sucks. It’s just one gauntlet, so the best tactic is to slowly move forward, trigger as few enemies as possible and slowly work through them. When the Orgmen hoards appear, shoot rockets, and use any form of Storm Barrage to deal damage/recover power. If you do it right, you’ll finish without too many problems.
Harbinger’s Pit
Congrats, this is, in my opinion, the make-or-break stage. The stage isn’t terrible, though the boss fight simply sucks.
Following the initial room there will be a small circular area with a gauntlet. This section comes down to avoiding damage and focusing on targets. Simply run around, only shooting at the Orgmen that can shoot back. They will keep spawning, eventually becoming overwhelming to deal with. At this point, use rockets to knock them down and follow up with Storm Barrage to melt every enemy. Ideally, you’ll hit everyone in a single go, with enough energy to repeat this until everything dies.
In the next room you just want to use as much cover as possible to mitigate damage. The first section has some nice formations to hide behind, with the second offering a lot of potential through kiting. It will likely take some trial and error to do, but well worth it to focus on safely shooting enemies than quickly burning them with Storm Barrage.
Boss Fight Ganpo
Ganpo is, without question, the hardest boss in Gungrave G.O.R.E. Not only are his moves similar, the damage he deals is massive, even on easy.
The first trick is to ignore his rushing move. He will cancel out of it all the time, often resulting in you making a move that gets punished. Both his punch and stun can be avoided by dodge rolling to the side. I strongly suggest dodging as soon as you think he is going to do either, as the punch can almost one hit on hard. His other two attacks have specific methods to avoid taking damage. When he shoots the laser, dodge roll to a side, and just keep running. He will not be able to catch up, saving you from taking a lot of damage. The other move, his jump, is avoided by jumping. When you see him do it, remember to jump, not dodge. It also helps to move back, as being too close will also deal damage to you. At low health he will do multiple jumps, which are avoided the same way. The only thing to keep in mind is the timing is different for the last one. You must wait until you see the circle to jump or you will take damage.
When you bring him to his second phase things get rough. Nothing about this fight is impossible, though it asks a lot of players. His grab, unless you evade it when he releases you or break free, is an instant kill move. Avoid it at all costs. His punch is avoided like the other one, though this time you want to go back and to the right. The two handed slam is another jump move, so make sure to watch him for it. When his health is red he will have a lightning animation before doing it, making it easier to avoid. Finally, there is the laser. The trick to timing it is to wait until it almost hits you and dodge. It isn’t too bad to avoid, honestly it isn’t too bad to take the hit, it’s the triple version when he is at red health that burns through your life. For this reason I strongly suggest having Hellhound and using it to be invincible for the duration of the attack. If you don’t have it, you can decline continuing the fight, go to the lab on the main menu and obtaining/equipping it before continuing the fight.
Alien Ship
There are basically two ways to get through the jumping puzzle. Going to the lowest level, hoping you get close enough to the edge with enough momentum to get across, or shoot the Orgman and finish him. I personally prefer the finishing method, though the option to finish him will not appear on every run.
For the room with the giant structure in the middle, you’ll want to kite it like the others. If enemies get too close, use a rocket to gain some additional distance.
When you reach the drop-down room, you’ll want to get 50 beats on the generic Orgmen, wait for the red/shooter ones to reach the middle and then alternate between rockets and Storm Barrage. Finishing this section is largely luck based and will probably take a few attempts.
With the remaining rooms you’re going to want to either engage and retreat like earlier sections or kite enemies around. They alternate, though in several cases either method works, with the biggest limit being how often you can use Storm Barrage to burst enemies down.
Boss Fight Balladbird Lee and Bear Walken
This fight is both easy and hard. Bear Walken can be killed by dodge rolling in a counterclockwise motion as you shoot your guns. He shouldn’t be able to break your shield, it just comes down to you preventing Balladbird Lee from hitting you. The only move that might hit you is his electric sword. It swings to the right, so even randomly dodging has a chance of avoiding it. I suggest trying to time it out, though either works.
When he dies, you just need to kill Balladbird Lee. Nothing about this fight is hard until he hits red health. At that point you want to keep towards the middle and avoid his rush attack. If you can do that long enough you should be able to win. Using Hellhound also works to avoid it, though as you can see in the video, there is a chance you’ll get out of it just in time to die.
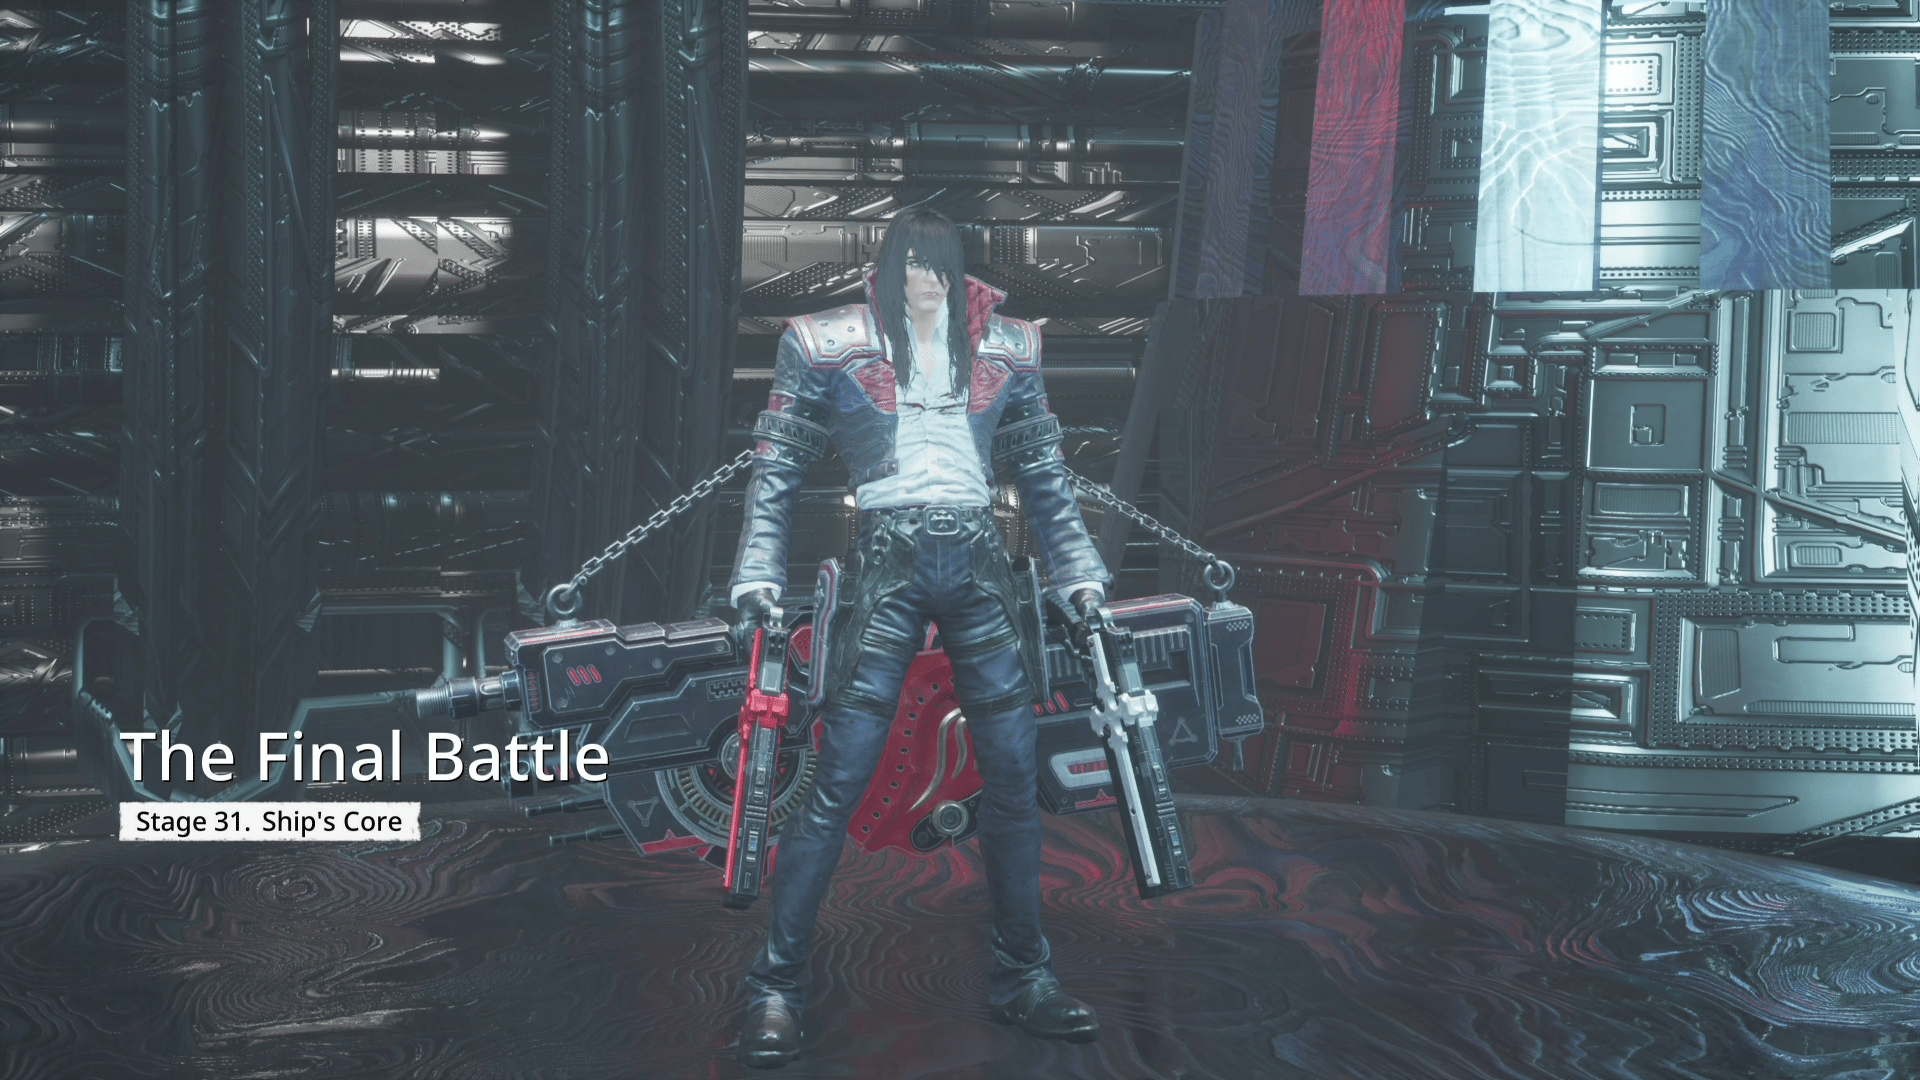
The Final Battle
Every room prior to the boss is either kiting enemies, or engaging or retreating, with using Storm Barrage to melt everything. Unfortunately, there just isn’t any other way to approach these encounters, making it all skill/luck based.
Bunji section is balanced, so you shouldn’t need any crazy tricks besides hanging behind cover when you need it.
Boss Fight Who-Knows-Who
Who-knows-who is not a hard fight. It’s basically Turonty with a laser attack. You should be able to beat it without too much trouble, provided your laser positioning is good. I found wondering to the sides and then to the middle is better than getting locked in a corner.
Congrats! If you made it this far you earned a rest or are ready for the next level to unlock the final costume.
