
Easily the most annoying thing in Rainbow Six Extraction is studies. They’re optional objectives that unlock a substantial portion of the cosmetic items. What makes them annoying is most of the objectives you’ve no doubt completed before, it’s just doing them with the study. It’s also that they change how you approach the game, can be very tedious in a lot of situations or require specific builds.
Despite there being about 112 total tasks, this guide is going to focus on objectives we think you might need help with. Killing something like a breacher or bloater will just happen, as will finishing specific missions or other things. That being said, if there is one we missed, please comment and we will try to help you through it.
Rainbow Six Extraction Studies Guide
Please Note: This guide is broken up based off stage and either the study task or grouping. For studies where we list the grouping, we tried to mention each specific study name in the explanation.
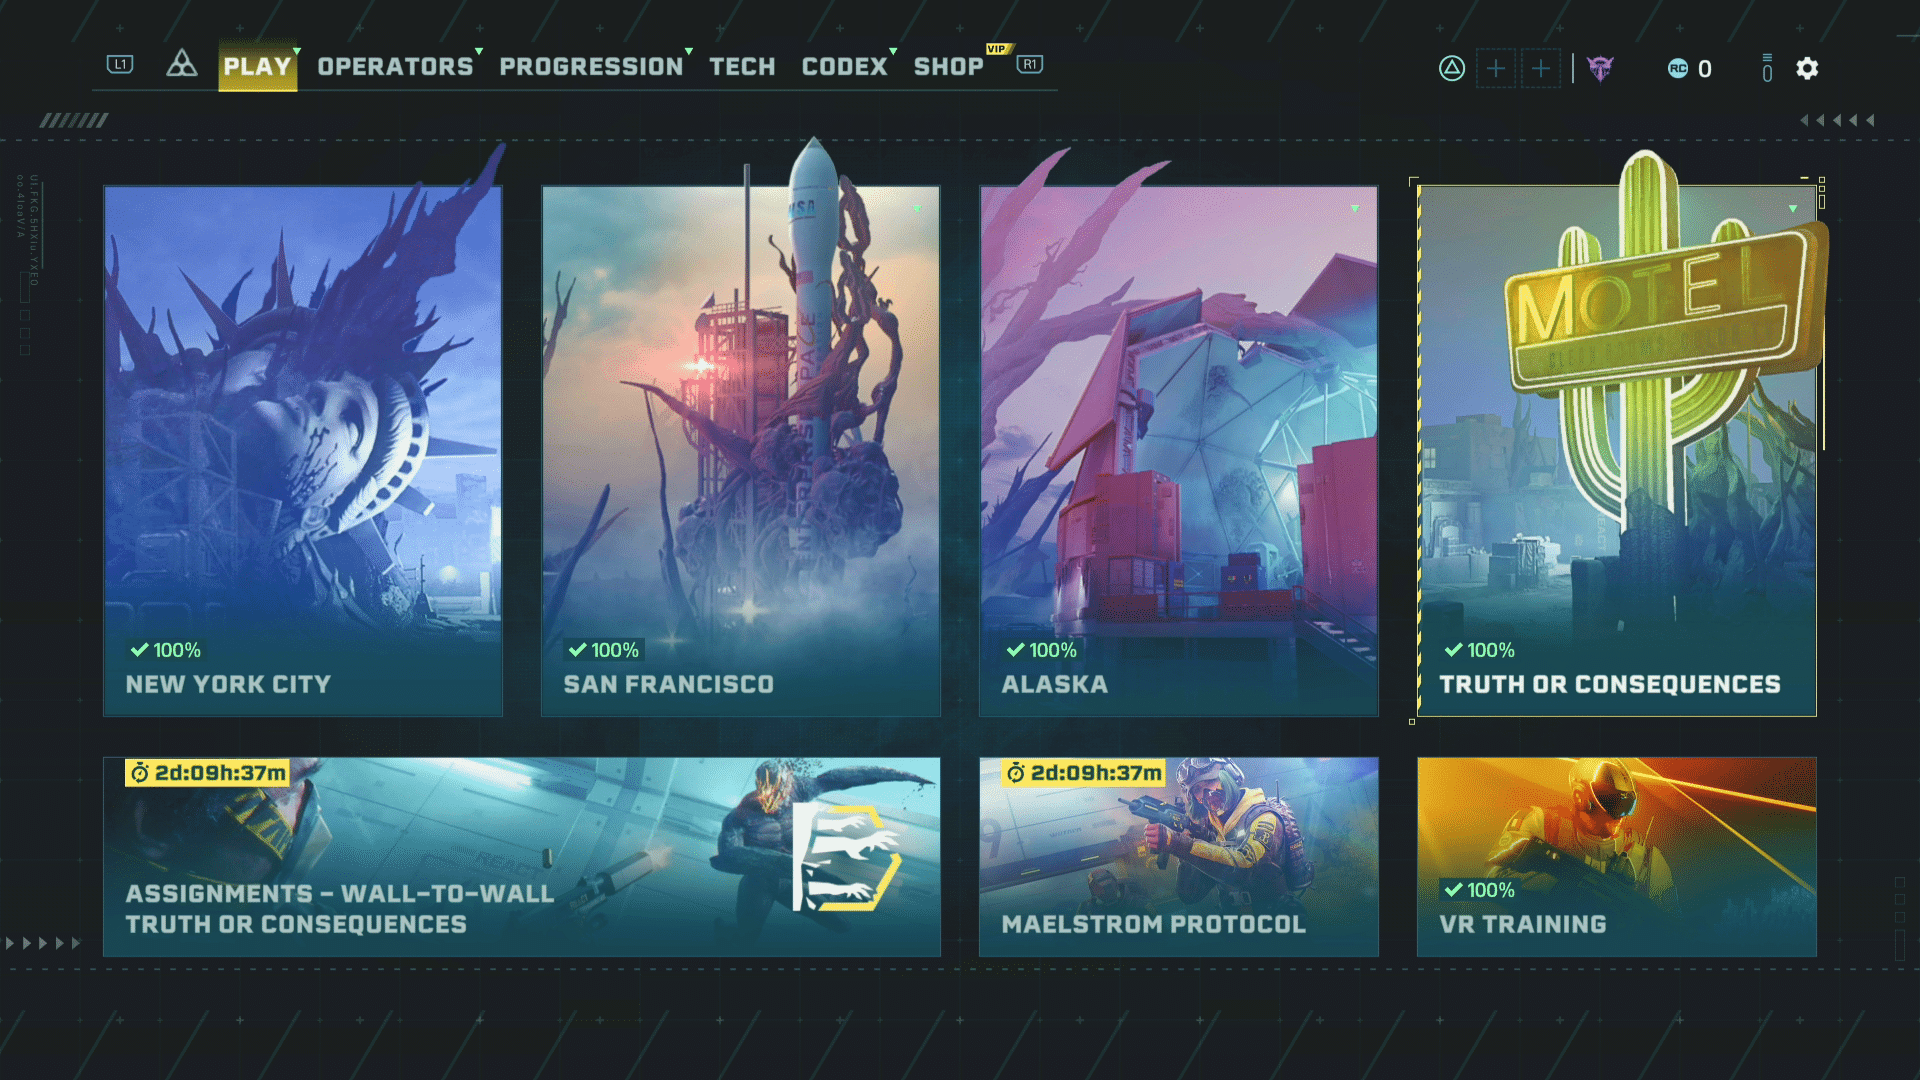
New York City
Spiker Studies
Spikers are an uncommon enemy that shoot at you with their arm spikes. Unfortunately, there is no way to guarantee they will spawn, though it’s helpful to have smoke or stun grenades with you. As long as you hit them with either before they notice you, it will guarantee earning Gunned Down, with smoke giving Smoke ‘Em.
Customized
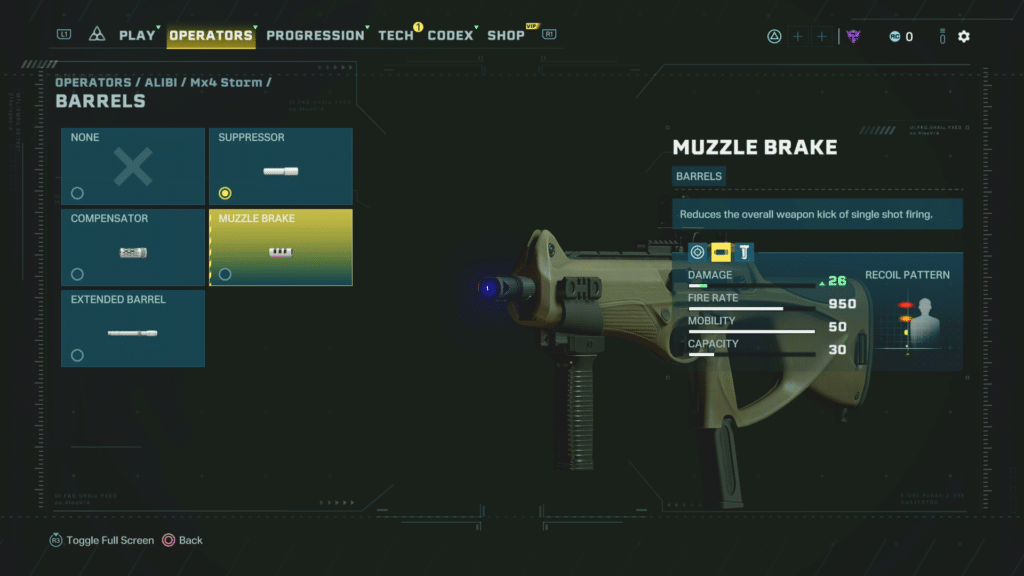
It goes without saying Muzzle Brake is a type of barrel gun attachment. However, a lot of guns don’t actually have the ability to use one. To make it easier, Alibi’s Mx4 Storm can equip it, as can Finka’s Spear .308. These are not the only units to have it, but two that you both start will and have it unlocked at level one.
High Precision
This task sucks, since it isn’t immediately obvious what you need and a lot can actually go wrong. It also, ironically, is super easy if you know what you’re doing.
First and foremost, Rainbow Six Extraction means shooting through destructive surfaces literally. Shooting through a broken wall won’t give you the bonus, but shooting the enemy through an actual piece of the wall will. This can make it very hit and miss or run the risk of accidentally messing it up. To make it easier, you might want to wait until you have IQ to do it.
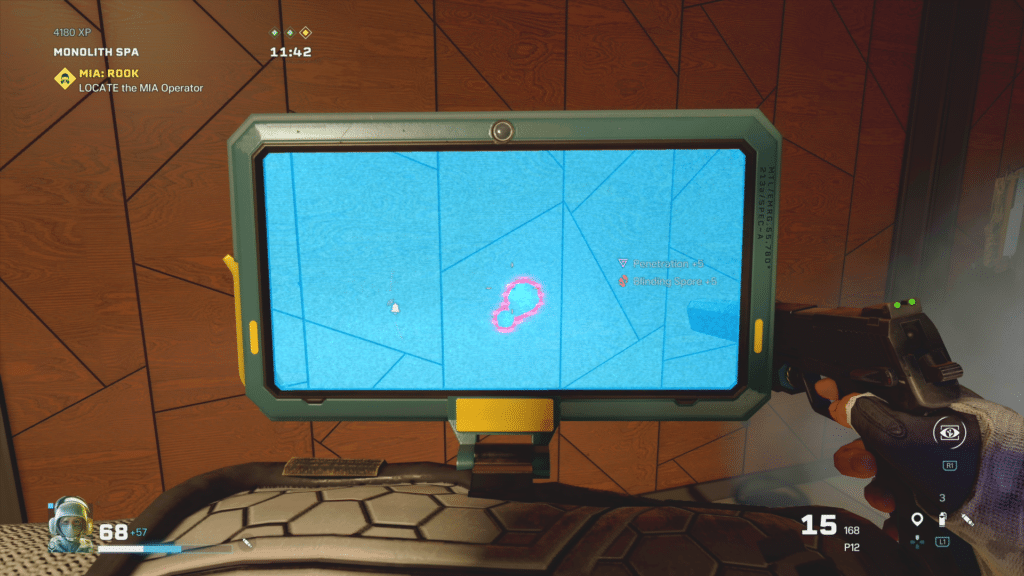
IQ has two things that makes this super easy. The first is her ability is infinite and it also shows enemies behind walls. Your goal is to find some spores and simply shoot them through the wall like pictured above. Any time it says penetration it means you did it correctly. If you’re really in a bind, lining up a shot where you take two spores at in a single shot will also unlock it. This isn’t as easy to do, though great if you don’t have a wall nearby.
San Francisco
Holo It’s Me
Similar to Muzzle Break, some guns can swap sights. This is a lot more common and includes ELA’s Scorpion Evo 3 A1 or Alibi can put in some serious work and also do that with his Mx4 Storm.

Caustic Buddies
This is a shockingly simple set of missions. Keep it Clean can be unlocked by throwing a grenade at it, Watch Your Step simply requires you to kill it before it notices you and In The Walls is simply pinging it on the ceiling.

The ideal is noticing one, pinging it and then tossing a grenade at it. Doing this will unlock all three instantly like I did in the image above.
Dedicated Scanner
There are a couple ways to get dedicated scanner. The first is throwing scan grenades or you can use the drone and go around scanning the area for enemies. The simplest way to do this is to throw scan grenades and then shoot up the room. It also counts spores as five, making it fairly easy to do.
Opportunist
Stunned enemies is a specific state, one that is different than smoked. For this you can use ELA’s skill or you can just throw stun grenades.
Sower Mitigation
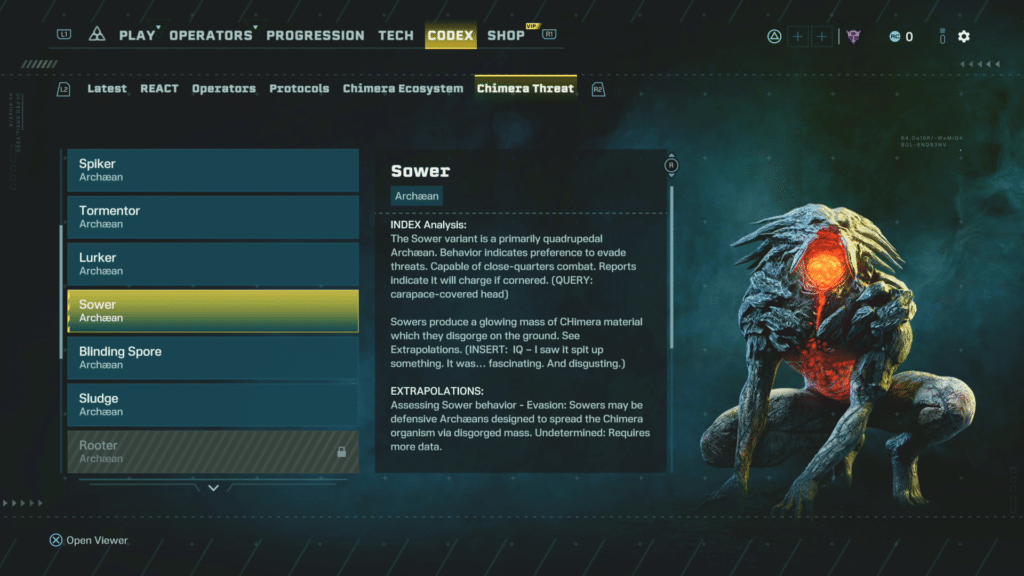
Unfortunately, Sower are uncommon enemies that appear on some maps. They have an obvious weak point of under them and drop mines. The best way to do this is to either hope this run has two of them and defeat one quickly and keep the other alive just long enough to drop bombs or kill it and hope there are enough on the map. There will, unfortunately, be no right call, though if you find either it means to keep an eye out for it.
Alaska
This is where the objectives start to get really annoying. So get ready for a lot of issues and RNG.
Theatre of Torment
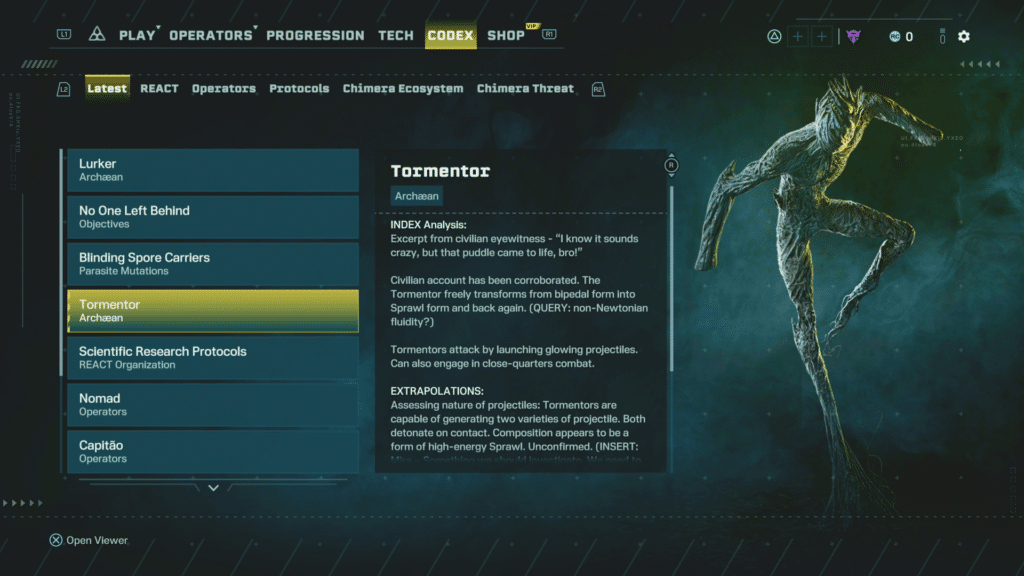
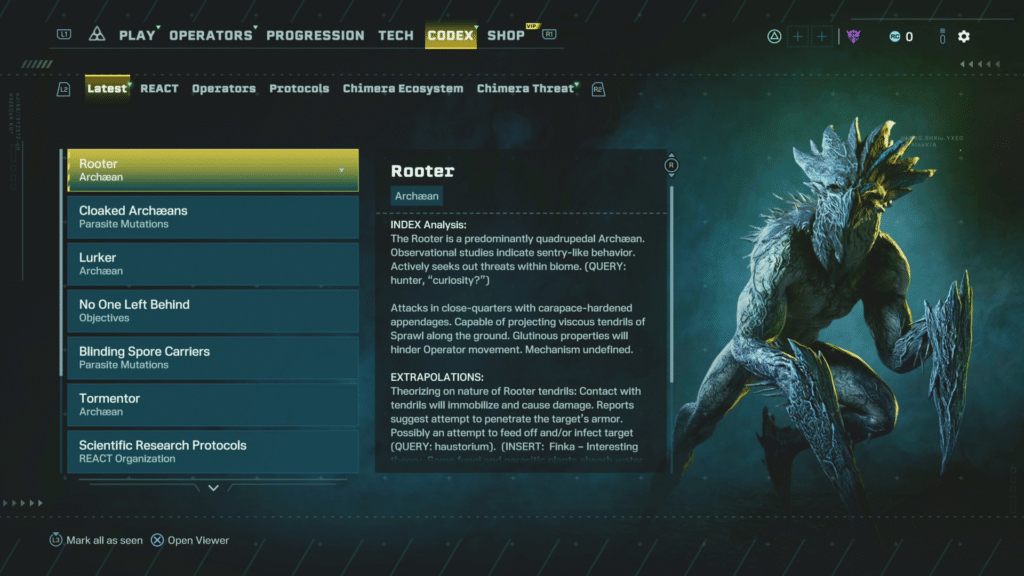
At this point, you probably haven’t seen a Tormentor. They’re a more powerful enemy that is somewhat uncommon. Based on my experience, I do believe Moderate and Cautious limit them to hunting quests, with Severe and Critical making them a bit more common. generally appears on hunting objectives. Interception is kind of annoying since you need to wait for a specific attack and shoot it. The slow-moving attack is giant and really apparent, it just isn’t as common as the other one. I suggest trying to get it before killing the enemy. Explosive Reaction is also somewhat luck-based. It helps to make the Tormentor attack you or throw it the second it pops from the ground. With enough luck, you’ll hit them and unlock it.
Silent Streak
First and foremost, this objective is kind of annoying because things like spores break your streak. For that reason, I suggest only killing enemies you know can be done with stealth, which has three solid tactics to do so easily.
The first is playing with others and only killing inactive hives. A takedown or even shot is a guaranteed stealth kill, making it easier to get. It doesn’t matter what they do, just that you don’t get any non-stealth kills. The second is avoiding enemies and just destroying hives solo. With enough patience, this can be done, especially if you can constantly headshot enemies for stealth kills. Finally, I didn’t test it, but you should be able to cheese this objective by
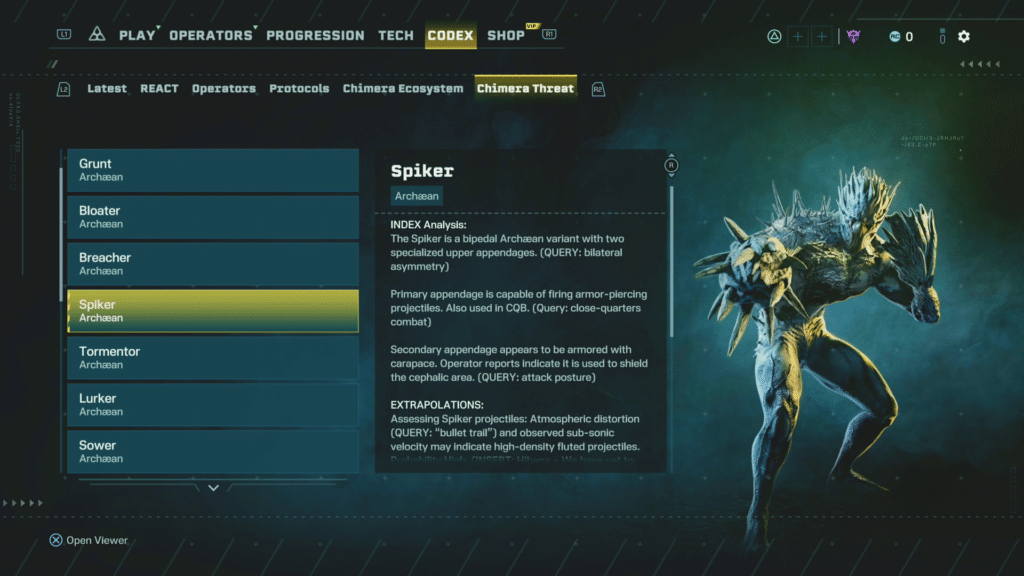
Lurker Busting
At this point you probably know what a Lurker is, it’s The Demogorgon (Stranger Things) looking enemy that cloaks itself and enemies. If you haven’t figured it out, the Lurker Vulnerability is its head, which will often be covered. Having it chase you will expose it.
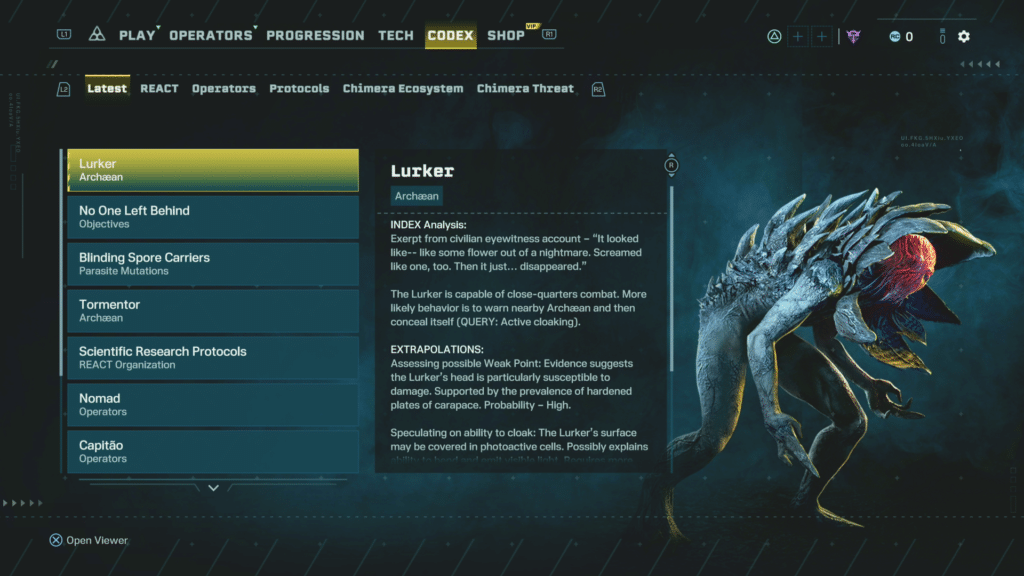
The hard part is getting Specialized Reveal and Grand Reveal. First off, there are a lot of ways to uncloak either, but the only one I can confirm unlocks both is stun grenades. What I personally did was found one, let it cloak an enemy, and stunned it. I repeated the process three times and then focused on the Lurker itself.
To easily make it cloak itself, escape from it and you’ll see it standing still with its head covered. Shoot it to alert it and that will instantly cloak it. After this, stun it and you’ll be free to kill it.
Trait Adjustment
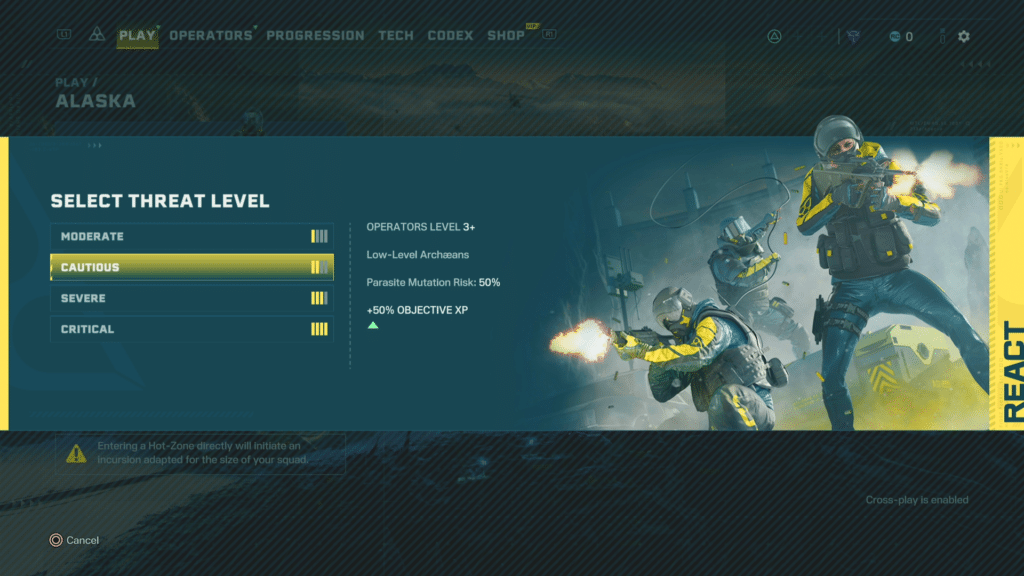
This should be pretty easy, but if you’re confused, basically Cautious threat level and higher have the chance for some random modifier. This increases as threat decreases, meaning you need to accomplish one objective on Cautious difficulty or higher with a threat active.

It only counts if you see the icon at the bottom, which will or will not appear at the start of a game.
Deadly Accuracy
Performing a five weak point streak is ironically both easy to over and underestimate. The biggest stopping point isn’t going to be a lack of skill, it’s being lost in the moment. Hives, spores, and things like that don’t have a weak point, so killing them automatically breaks your streak. It’s also easy to get forgetful during an intense firefight or during certain foes. But, there is a way to do it that is almost fail-proof.

On moderate difficulty, it’s fairly common to see Breacher and Bloater enemies. All you need to do is hit the massive thing on their back and it counts as a weak point kill. The only negative to this strategy is chain reactions work against you. Still, if you’re playing smart and taking the shots you know are safe, you should get it without much of a hassle.
Always Ready
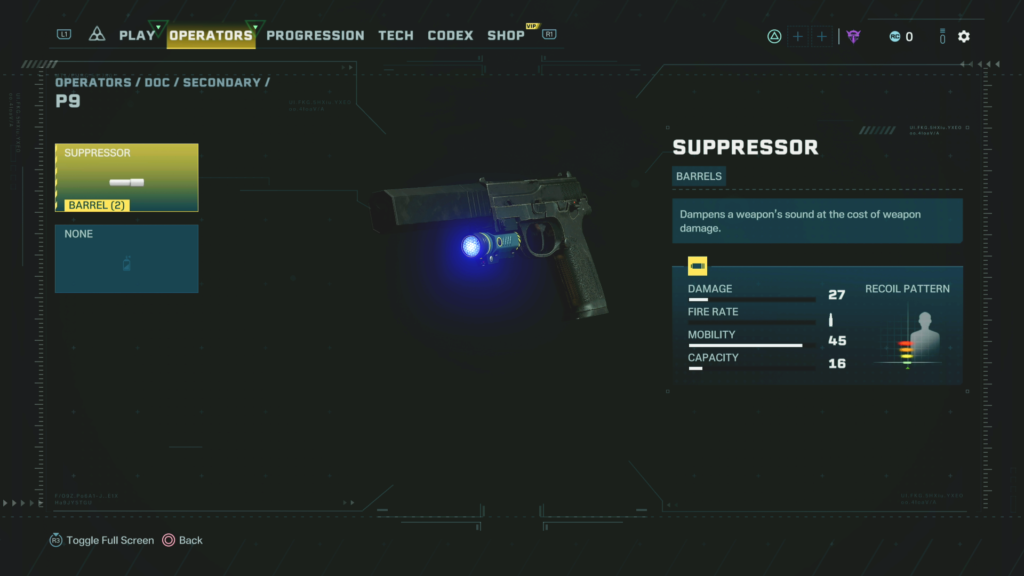
Suppressors are far more common than other barrel types, with a good number of units having some kind of option with it. Still, if you’re struggling, Doc’s P9 sidearm has it, as does Finka’s Spear .308.
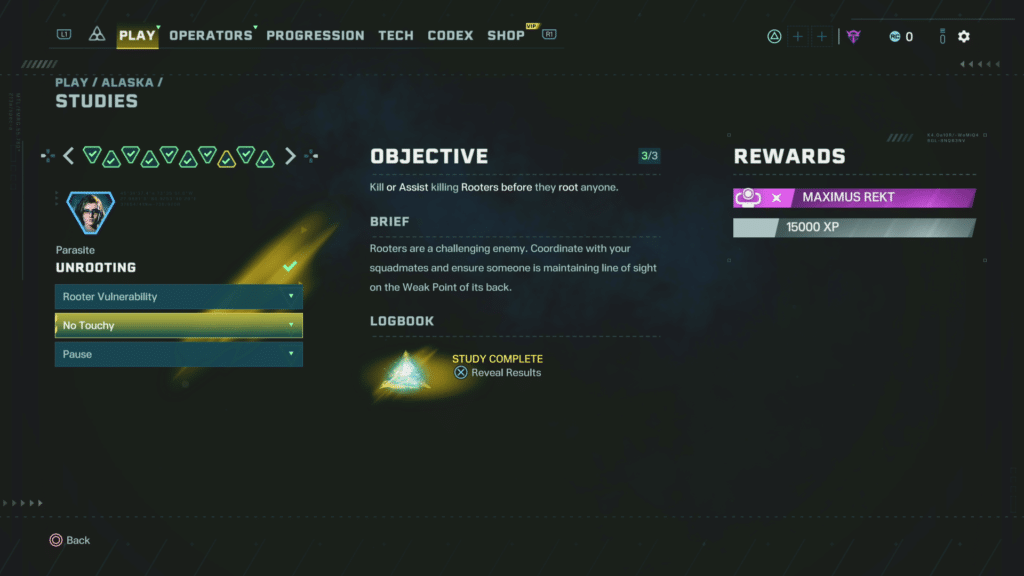
Unrooting
There are a lot of things that suck about killing Rooters. The first is they’re not the most common enemy in this area and they have some fairly annoying missions to go with them.
No Touchy should come with time, though it’s incredibly easy to mess up. The pause can also be done to the same Rooter, though it won’t help you finish No Touchy. My advice is to find, stun and then try to kill quickly. Root Vulnerability is also fairly difficult, as their weak point is the back of their head.
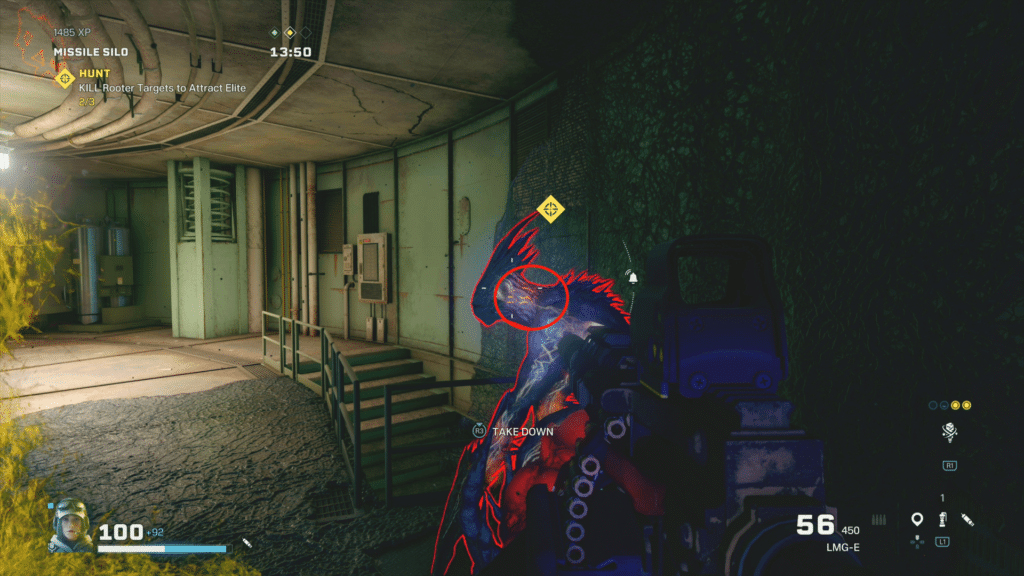
Due to the limited window and enemies attacking I wasn’t able to get a great shot, but you can see it as the orange thing behind their face plating. The best way to hit it is to stun it and then run behind and hope you hit it. You won’t have a long window unless you repeatedly stun and it’s actually easiest done in multiplayer where other people will have its focus.
Self Sufficient

This can be really hard, though it can be super easy if you select ELA and use her LMG-E light machine gun (level six). This gun has an impressive 150 bullet magazine, which is so many bullets I actually completed the first two parts and escaped during the third on moderate without reloading.
Truth or Consequences
All Alone
If you’re anything like me, then stealth kills are simply not your thing. Thankfully, this is actually a really quick task if you play smart. Either use someone like IQ to locate inactive enemies to shoot or find spawning areas and kill three of them before they’re active. Shouldn’t take long to do if you don’t do anything crazy.
Special Abilities
Most abilities don’t actually have offensive value. They either tell you where enemies are or stop what they’re doing so others can finish them off. For this reason, it can be easy to assume incorrectly or overestimate certain attacks. To make it easier, I suggest just using Jager.

Active defense deploys a turret that not only kills enemies, it counts as an explosion for Boom Specialist 2. The only downside is you might need to lead enemies into it or play tag until the turret finally kills them.
Smashing
At this point you should’ve ran into at least one Smasher. They’re a large enemy that is unrelenting with extreme defense. There isn’t much you can do against them, besides waste all your resources bringing them down or hope you can make the most of tactics or passive weapons like stun grenades.

The hardest part of this task is honestly getting one to spawn. It’s to the point where I only found two successful ways to make them spawn. The first was setting the game to Cautious or higher and look for elite missions, as they only seem to spawn during those. The other is playing on Severe or higher and hope they appear, ideally in a hunt. Both tactics have their pros and cons, especially for this particular set of missions.
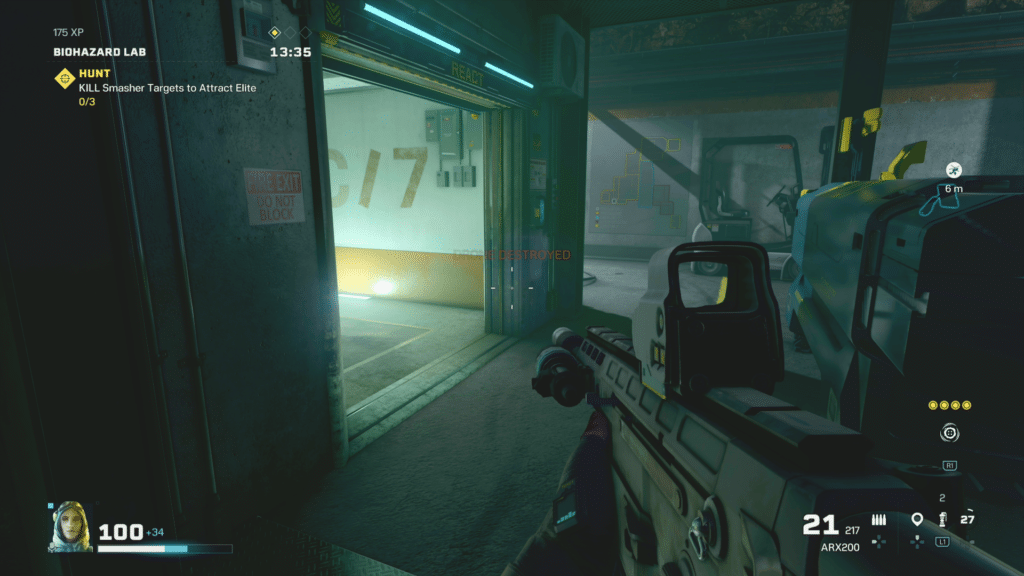
The best possible outcome is getting Hunt and having three smasher targets. The reason for this is due to how Frontal Assault works. Even if the task is damaging Smashers with firearms without hitting their weak point, it only seems to count it once per Smasher. I even unloaded multiple full LMG-E 150 round magazines into one and it only counted once, so getting that mission means you can finish it in one go. However, Cautious makes it easier to both kill and get Smasher Vulnerability.
To get Smasher Vulnerability, there are two ways to get it. The simplest is using a friend to act as a target and hit it from behind or you can stun it. Keep in mind, it does not stay stunned long and you will need a long-term plan if you want to go this route. Thankfully, the spot is massive and quite easy to hit, you just need to be in the right place and situation to get it.
Can’t Touch This

Any task that requires no damage can seem intimidating, though this is more about picking your battles. I strongly suggest looking for an easy objective, like Biopsy, selecting Lion, and using his EE-ONE-D drone to highlight all upcoming threats. Ideally, you’ll locate the objective, bring it out and kill it. You do not need to finish the mission without taking damage, just complete the objective before it happens.
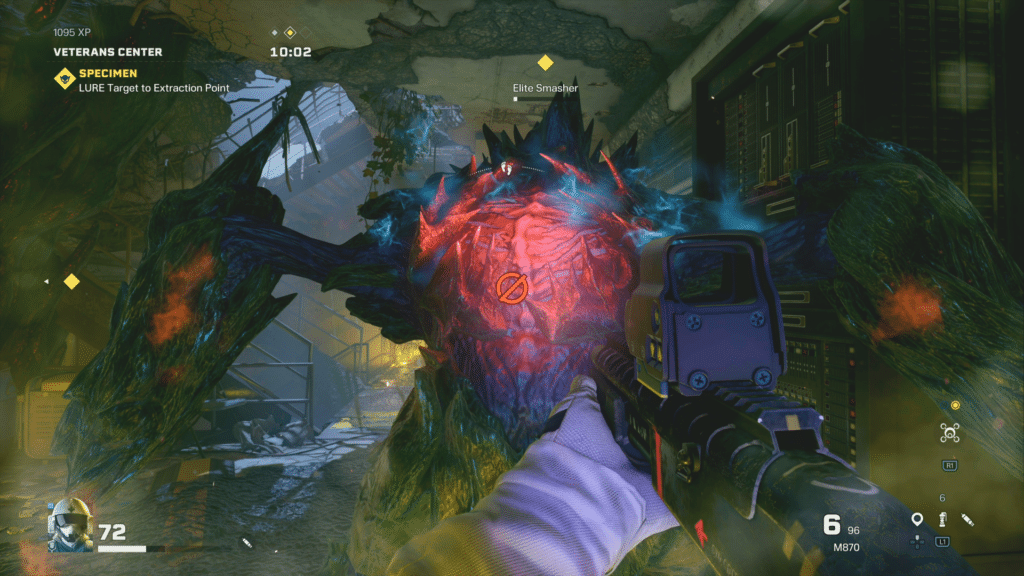
Apex Predator

Depending on how you’re playing, you may or may not have seen an Apex. If not, they’re a wispy-looking enemy that can easily be mistaken for a Tormentor. Now, killing them isn’t too bad, though it is often a race against the clock since they can spawn enemies, in addition, to cause problems for you. And, to make matters worse, this uncommon enemy needs to die without doing damage to you or anyone in your squad for Containment and do so without spawning any enemies for No Casting. This means you need to come in smart and with a plan.
The simplest way to find an Apex is playing on Severe and getting lucky. They might be more common on Critical, but without a good team, you’ll probably die. What you’re going to want to do is play as either Jager, Lion, IQ, or use something to survey the area. On Critical you won’t face many special enemies, so if you have Tormentors, you can safely assume there isn’t an Apex and so forth.
Most runs I found the Apex really close to spawn, so I didn’t need to use this tactic, though it’s still useful since marked enemies with something like EE-ONE-D drone can be tagged and that will reveal what they actually are, even if they’re through like seven walls.
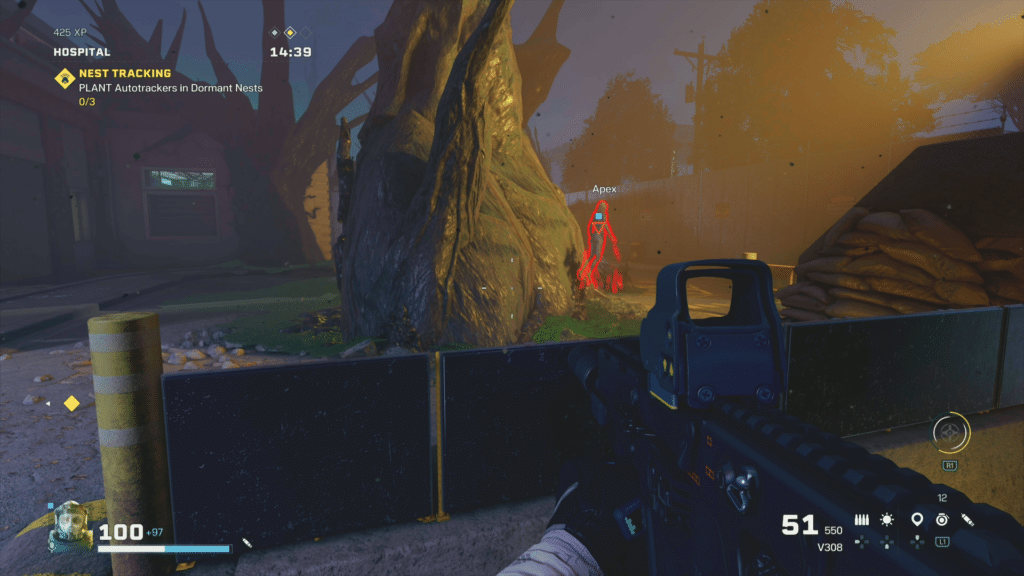
What I ended up doing was finding one in a fairly safe spot and clearing the location. I eventually waited until it was in a good spot and hit it with a Fragmentation grenade. This will stun it, though not move it, and just kept throwing grenades at that specific spot.
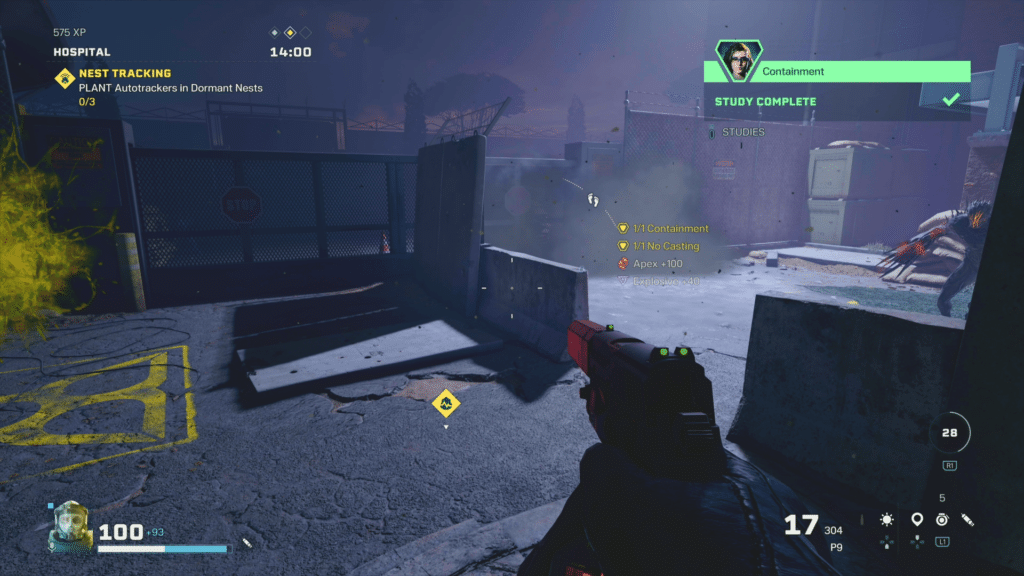
While I used six, it probably only took four or five. My advice is to throw one and then just keep throwing. The first should stun the Apex, with the next ones just locking it. The nice thing is this will give you both if you’re smart, though the downside is if you’re ambushed or just short, it might end your run.
On a high note, you do need to fail to kill one for Lackeys. For that, just alert it and kill everything that runs at you until it unlocks. Be warned though, you might get overran and die. If that happens, do it again on a new run.
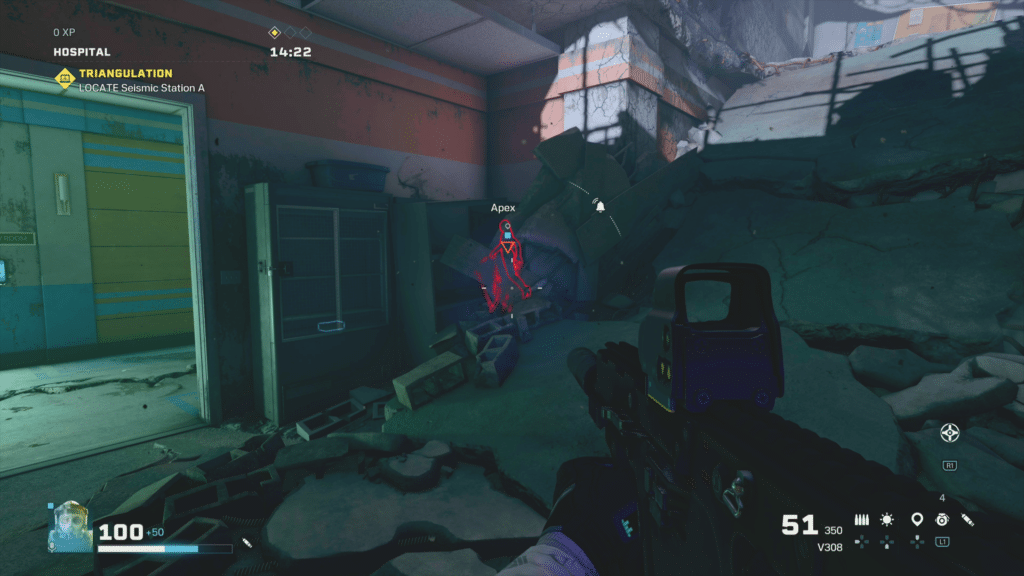
Beheaded
At this point, you really shouldn’t need an explanation that the flashlight reveals enemies through walls or that certain operators, such as IQ, can see them with their special perks, but it can still be annoying since there are a lot of breakable walls in Truth or Consequences and they break fast.
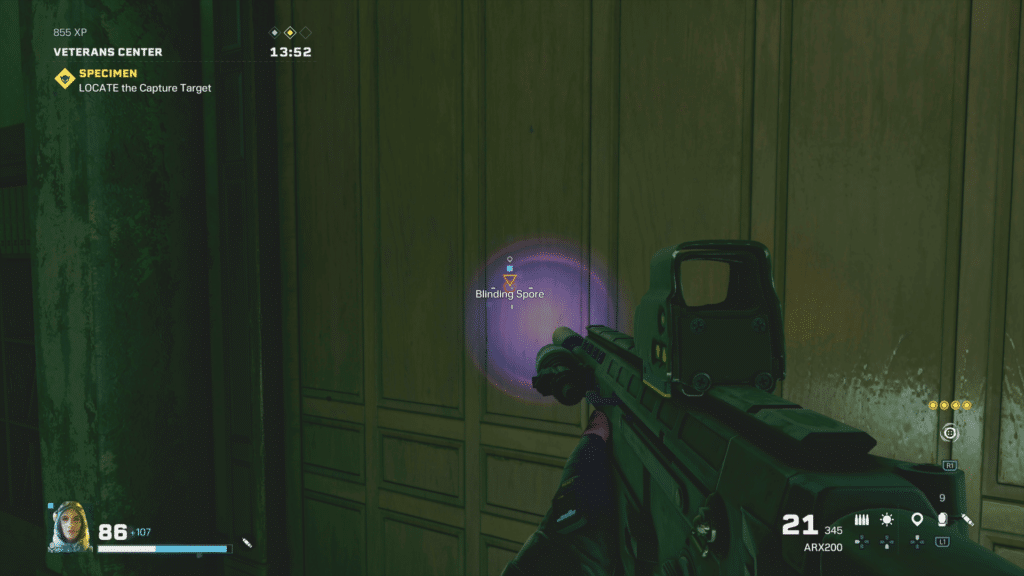
For this, I set it to Moderate and just found nests. Once I located one, I would ping it and then look to see if there was any vantage point to shoot them. If you’re really lucky you’ll find spores, which can be used to get six or so kills. I included an image to show you how easy it’s to see them when pinged.
Relentless
This is another mission best left for Moderate, since Breachers and Bloaters are far more common. Like the other times, this mission came up, make sure to avoid killing spores or nests, as those will break your streak. This is more about picking your kills, than lining up your shot.
Alone But Never Lonely
Getting 10 stealth kills in a row is far more annoying than something like critical hits. It’s obvious when something will be critical, at least on the enemies I suggest focusing on, but stealth kills can go either way.
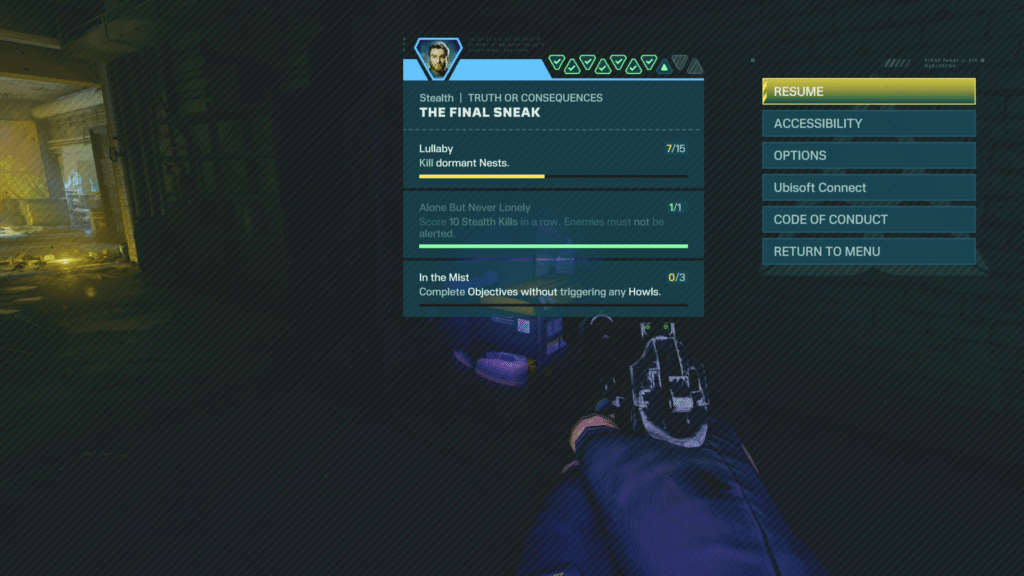
Since you have to kill dormant Nests anyway, focus on finding those. They will always be a stealth kill, as long as no enemy howls. While doing that, I would look in rooms, near nests or breakable walls for enemies and headshot any that were alone. Finding a pair runs the risk of getting a howl or attacked, neither of which is good for progress. I also suggest finishing in an area, as exits with enemies are terrible for streaks.
Performance Check-In
In a lot of ways Performance Check-In is like a victory lap. It isn’t hard, at least compared to some of the previous challenges, though it can be rather tedious. Both Undying and Speedrun really hinge on the missions you get.
Both discourage any defending mission, so bombs or scans, so you’ll want to try to find a run where you’re just hunting enemies. Without that, saving an operator is another quick and easy mission. But, please note, Speedrun needs to be done in a single go and Undying requires extraction without being down, so it all counts.
As for Self-Care, you can actually just run through two levels and get it or just quickly move to the third and be done with it. It isn’t even bad in this set, as it will unlock the second the third sub-zones door opens.
And with this, congrats on finishing all the studies, but there is one more step if you want to really finish these off.
It’s All Connected Trophy/Achievement Guide
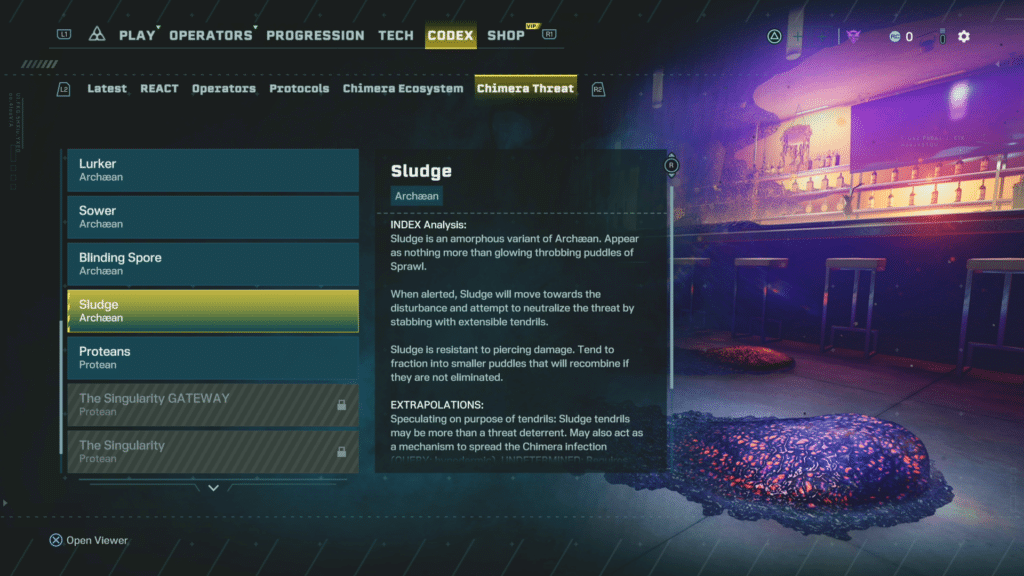
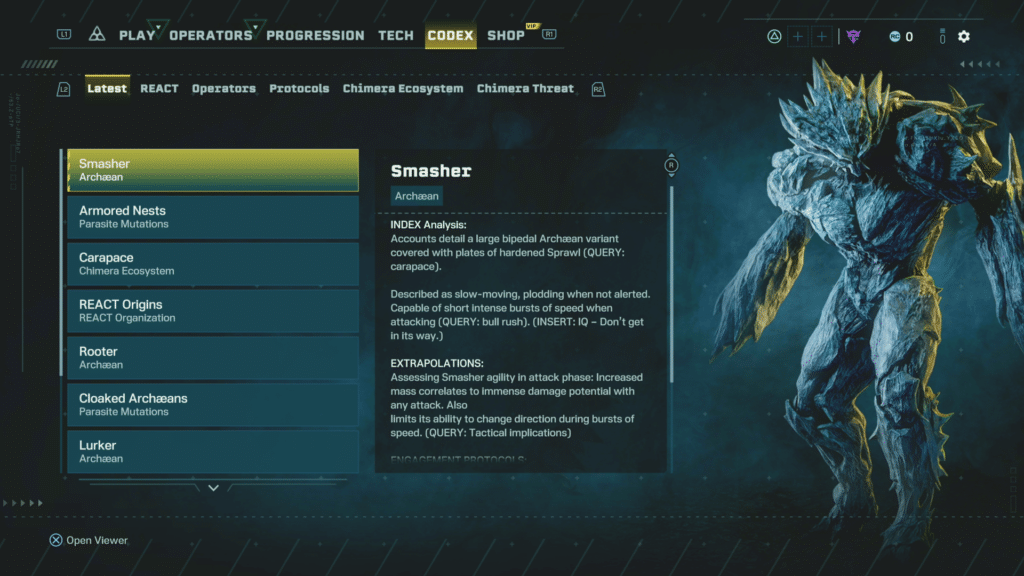
Despite It’s All Connected requiring full completion of every study, it doesn’t actually complete until you view the last finding for each mission. To do this, simply go to the location, select studies, and move it over to the final report. It will look similar to the image below, just keep in mind this isn’t the final study.
Accept it and you’ll have new information about Rainbow Six Extractions lore and setting.
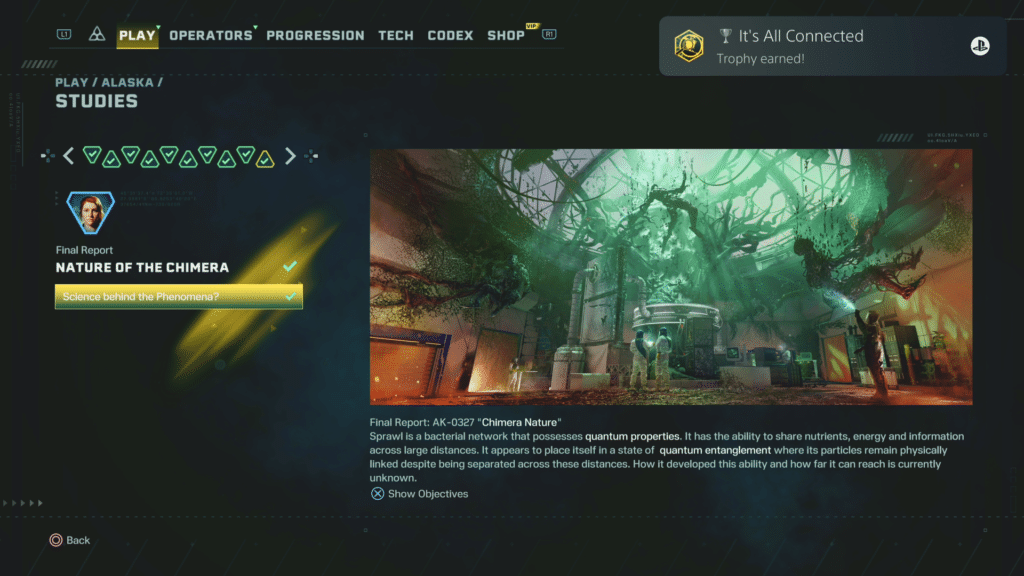
Once all four are clicked on, you’ll get the trophy/achievement and officially be done.

Thanks, was struggling with the last few!