
If you’re anything like me you played Monster Menu: The Scavenger’s Cookbook and found it extremely difficult. Certain enemies feel impossible, there is no way to make certain mechanics work, to even struggling with fundamental elements that are only briefly touched on. While reading the tutorials will help you learn how to play, I wanted to make a guide of the top tips to survive Monster Menu: The Scavenger’s Cookbook that I learned from hours of gameplay.
Top Tips to Survive Monster Menu: The Scavenger’s Cookbook
How Cooking Works
Depending on where you are when reading this guide will have a substantial impact on your understanding of this system. Initially cooking is a way for you to replenish calories, hydration, and happiness. As you unlock new recipes, which are extremely important to learn, you’ll discover most of your stats come from the dishes you make. These are both foundational elements, just like there is a hierarchy of value on each recipe. Easy to make dishes offer less, whereas late game recipes or harder to create options give more power.
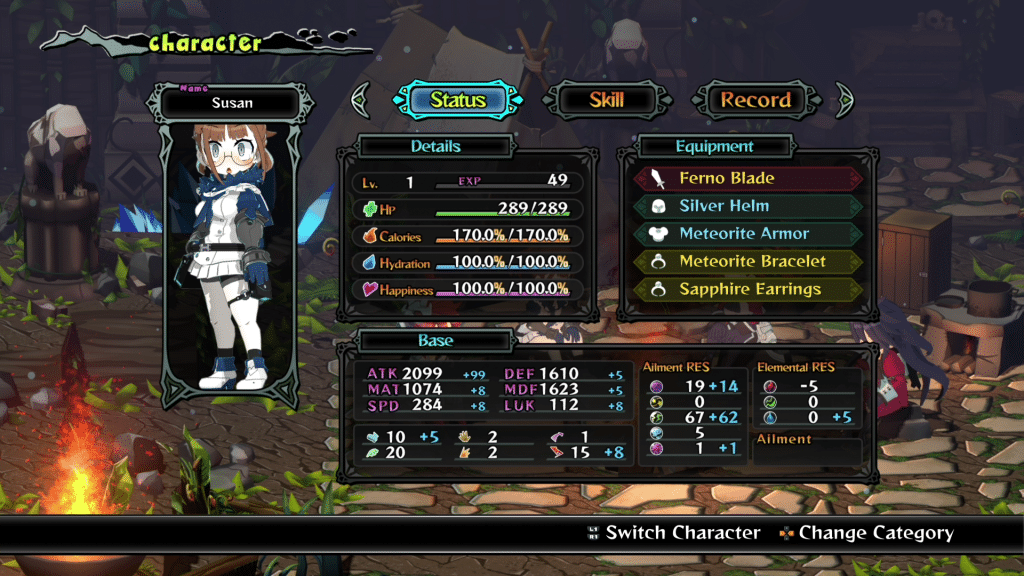
What you might not realize is each character has their own preferences. Some of these overlap, a few are odd things, though most follow some kind of logic. For example, Victoria likes meat dishes, Susan is a fan of fried foods, and so forth.
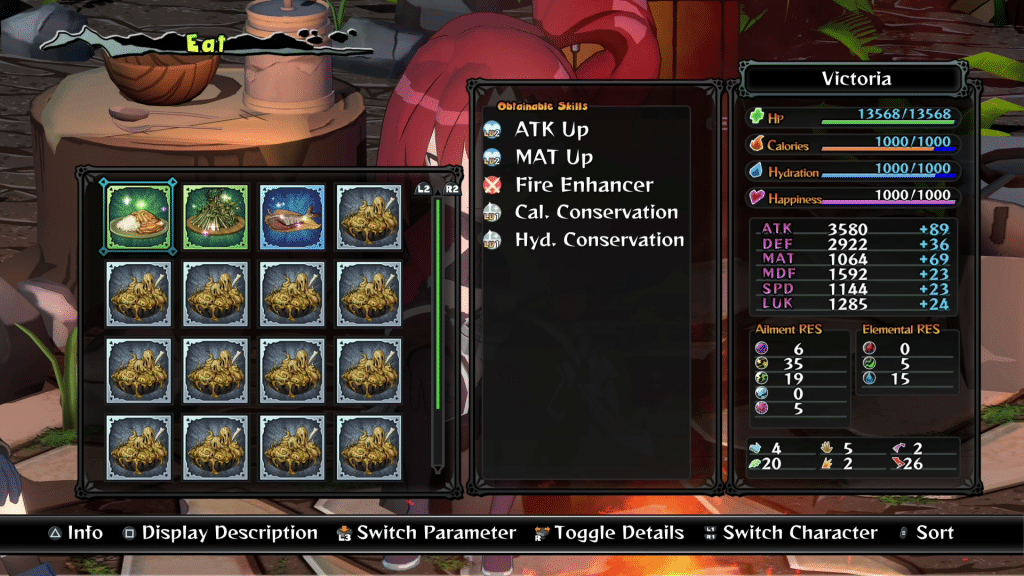
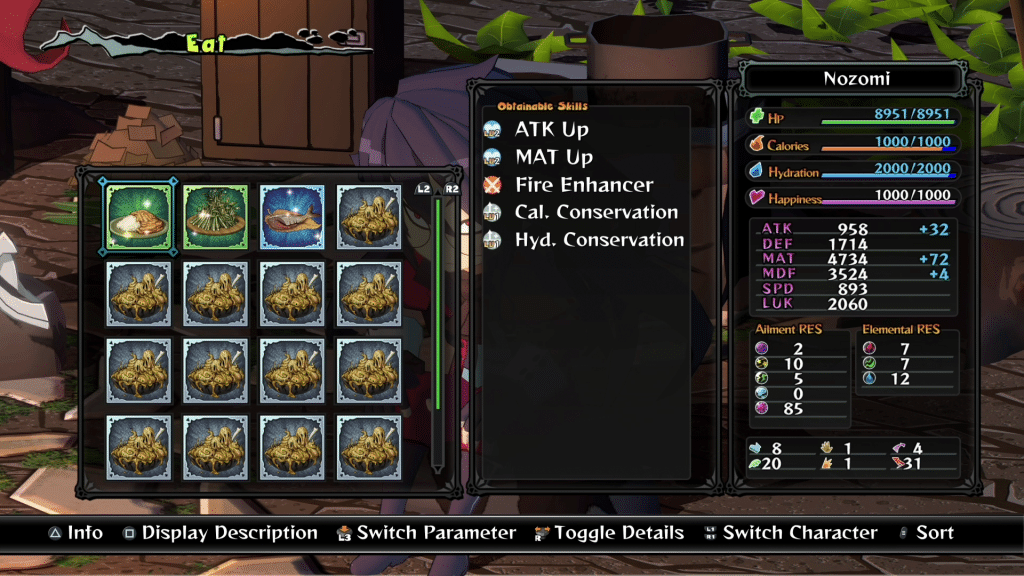
As the images above show, Victoria likes Larval Curry and gains additional stats from eating it. Nozomi does not, so they gain the standard amounts. These are helpful to know, even if the benefit only lasts a single floor.
Items you don’t have a use for, or have limited value can also be added to existing meals to give a larger benefit.
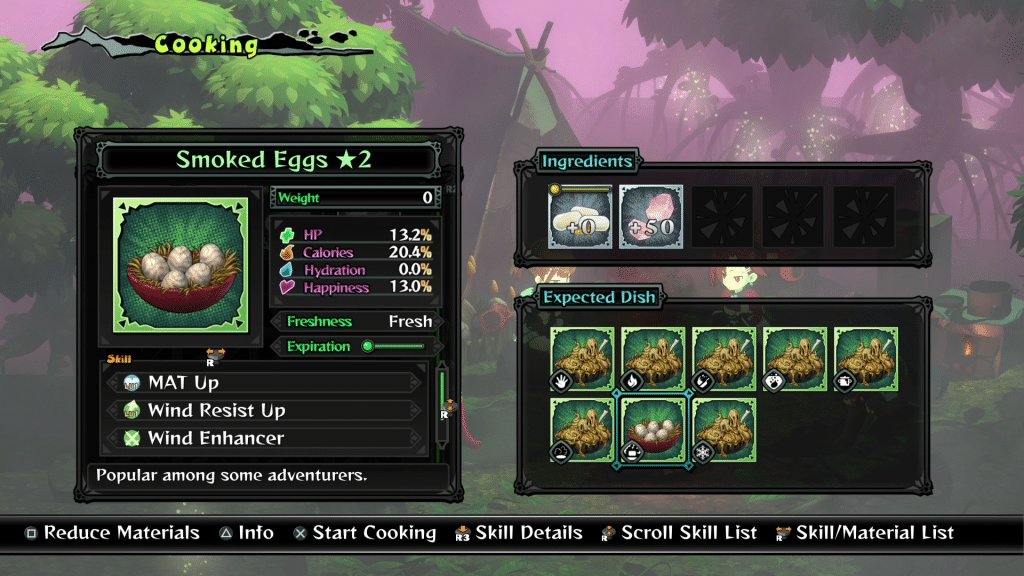
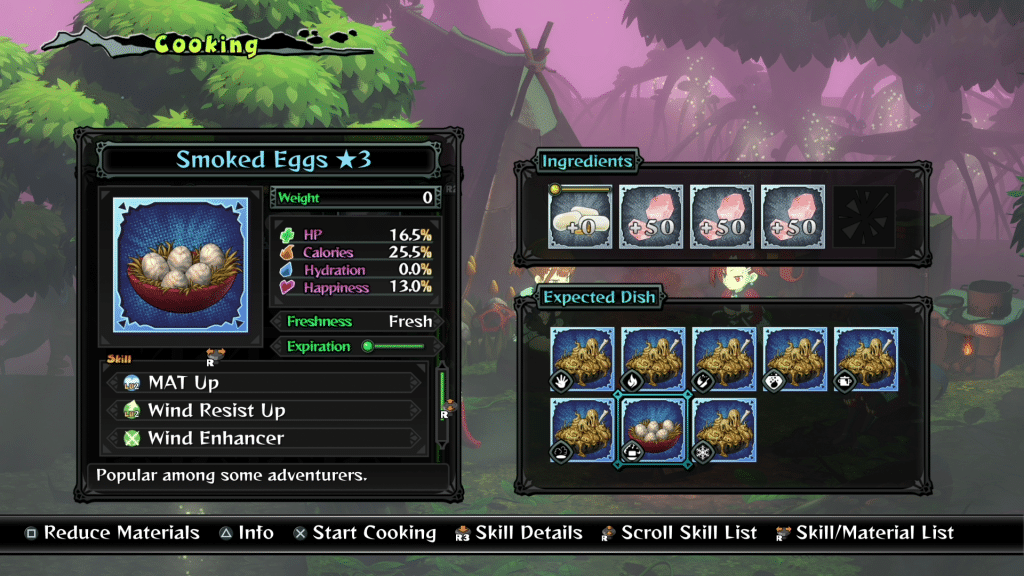
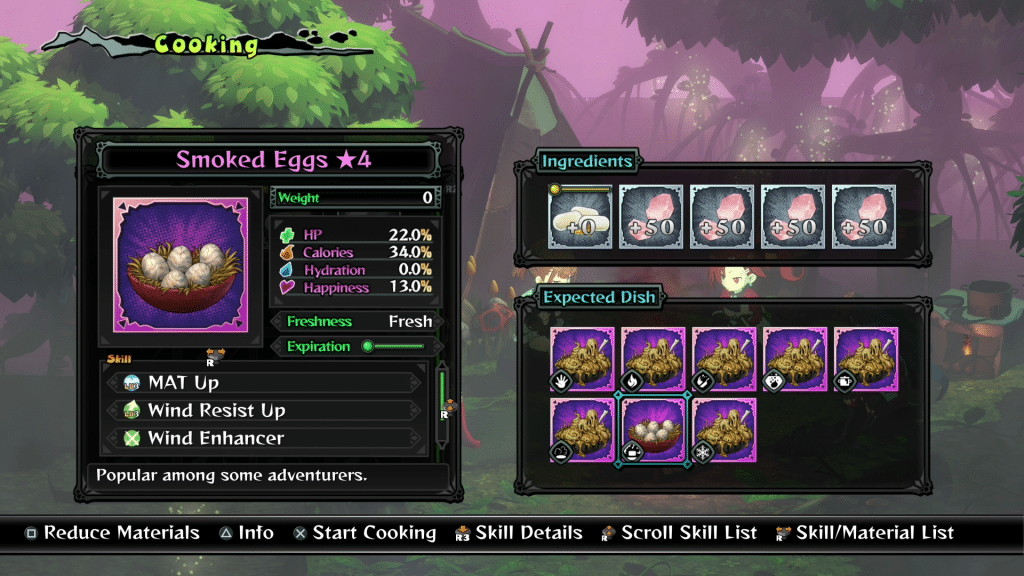
How much value they add depends on the rarity, freshness, and point total. There is no benefit to adding ingredients if it doesn’t increase the total number of stars. For example, there is no benefit to using three rock salt over two, but there is a benefit for using three. Another thing to remember is the better tier is not always worth it. Having a second egg and making two Smoked Eggs is better than making the three star version. This is just a good way to handle excess things, save weight, or increase the benefit of very specific items.
How Bug Dishes Work
Early on you might notice bug dishes tend to come with decreased stats. This can discourage usage of them, even if they have good benefits, since their cost can be viewed as rather steep. However, bug dishes don’t actually decrease stats. Instead, they generally decrease happiness, which results in a stat penalty. If this is confusing, look at the images below.

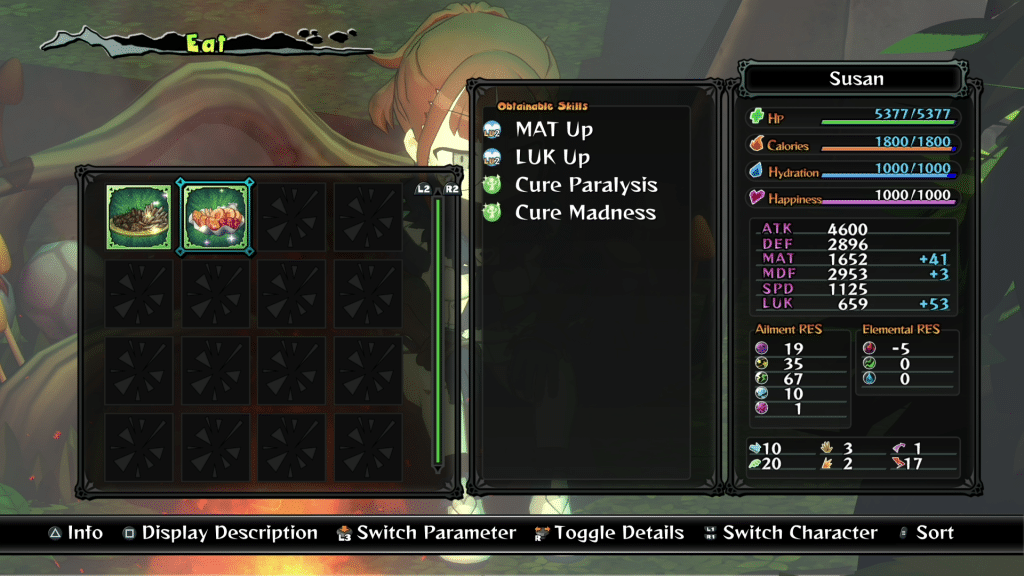
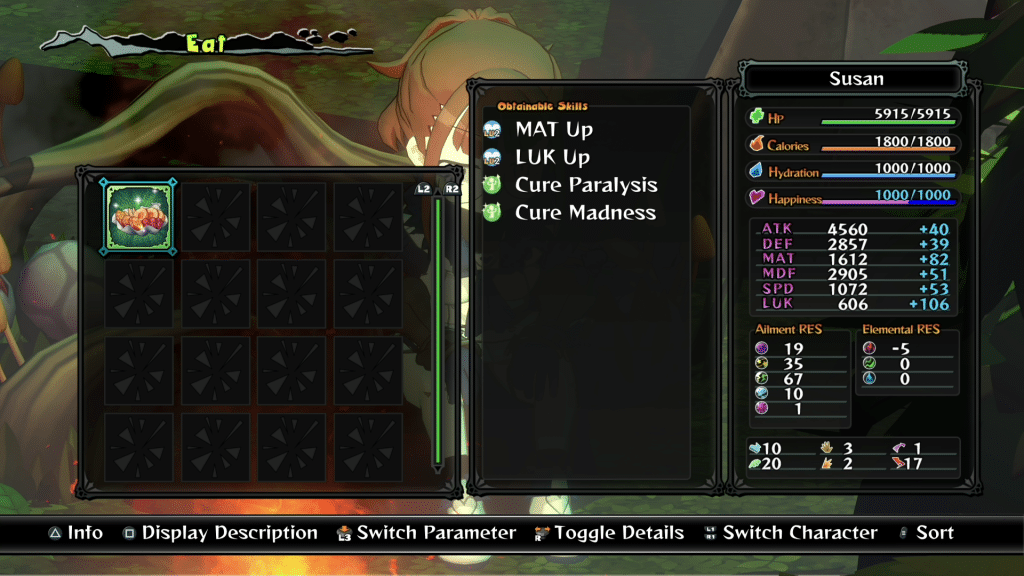
I made two dishes for Susan. One is Fried Grubs since her health is rather low and it gives 15 percent health, with the other being Compote because it gives 47 percent happiness. In the third image Susan ate the Fried Grubs, gained over 600 health, and gets a massive boost in stats. When you do the math, the stats are basically the two items added together (magic attack is one point higher for some reason).
If someone gets too unhappy they can go mad, just like you want to make sure to return those lost points. But, with this in mind, you can really maximize your characters potential without having to worry.
Be Mindful of Level Caps
Since a large portion of stats come from food, it’s easy to focus on important attributes like attack. With enough speed and power you can’t die, but like most games there is a hard cap for skills, and stats.
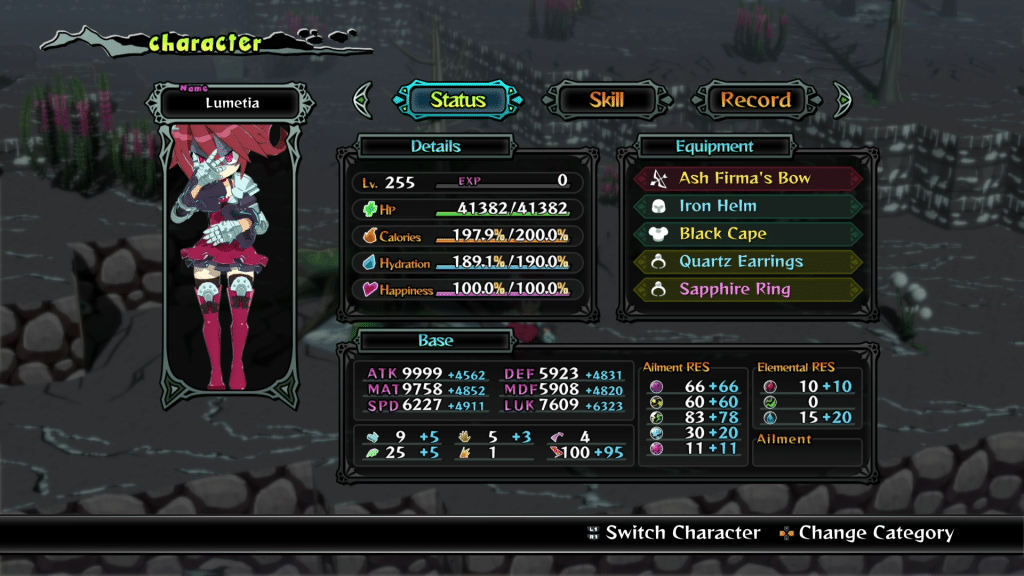
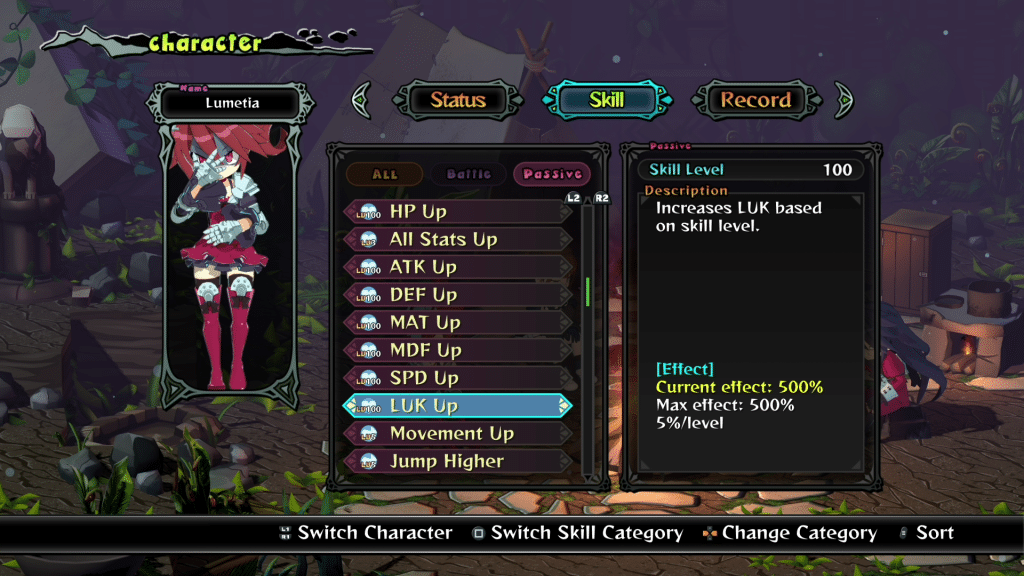
The first one you’ll likely encounter are the stat up skills, which cap at level 100. After this point you’ll no longer gain any benefit from those food items unless it’s a specific characters favorite meal. After that you have the potential to hit the hard cap of 9,999 in any given stat. With the level cap of 255 coming after that. Upon reaching this point the only way to increase your power is through perks like Slayer.
Perks versus Stats?
The answer to this question depends on a lot of factors. Early to mid-game, which I think would cover most people reading this guide will favor perks to stats. Being able to limit/maximize potential damage, along with some invaluable things like movement will far outweigh the difference in items. However, in late-game the opposite is true.
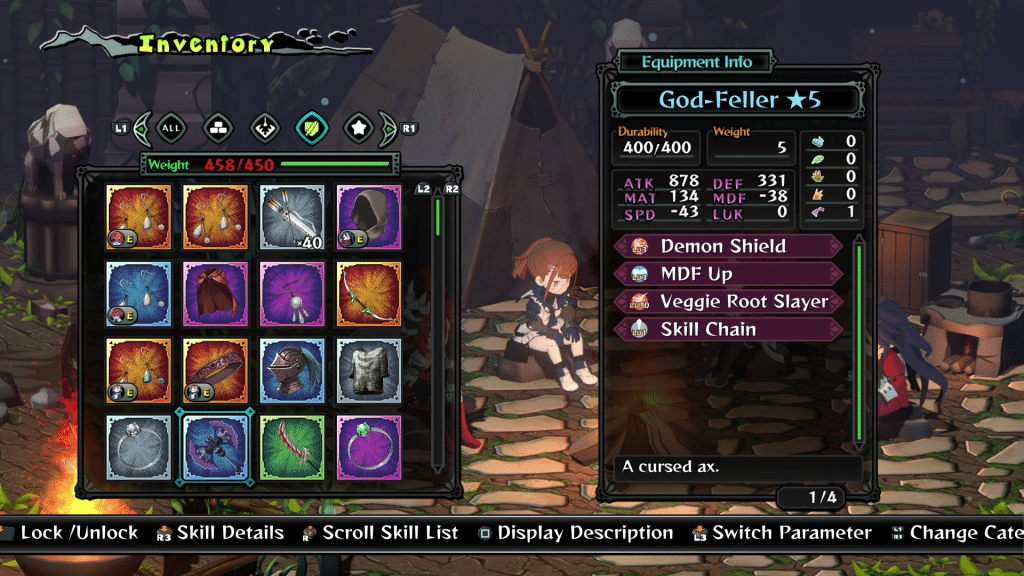
When working on our gear grinding guide I obtained a lackluster God-Feller, but due to it being the highest tier of axe I brought it to the max level of five stars. This gave it a monstrous 878 attack. However, long term it’s not that impressive.
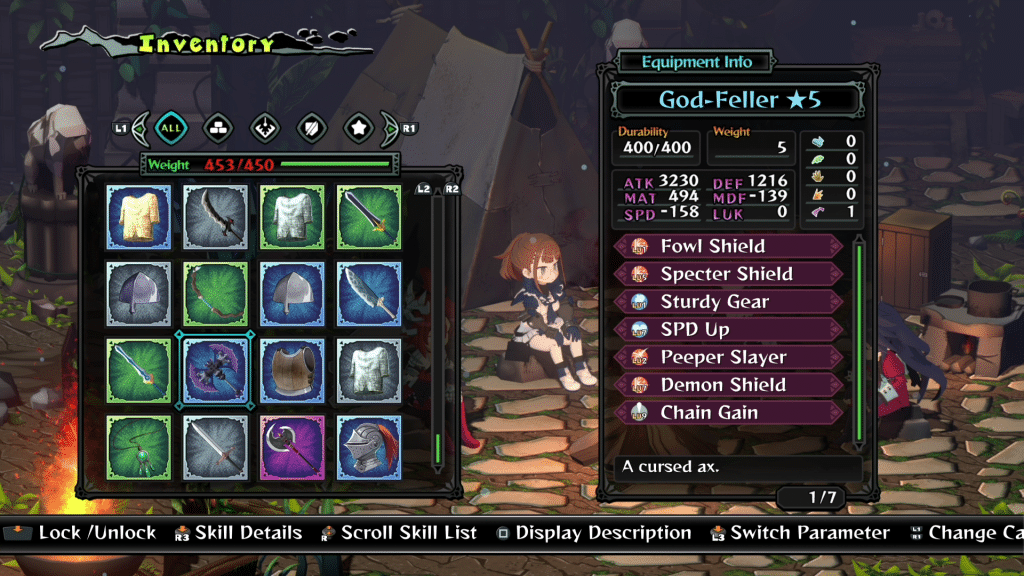
In an effort to make the aforementioned guide truly helpful I finished all 100 floors of the post-game dungeon Mirage. Towards the end I obtained another God-Feller axe in blue rarity. Despite being the same exact axe, just with more perks on the latter, the attack is about 3.7 times higher. When items drop with stats in the 3,000 range, which is not the cap and is explained in detail below, it’s almost impossible to perks to beat it.

At level one an attack boost of 28 is less than 100 attack. Long term it will add up, but given so many other factors late game drops far outweigh most stats.
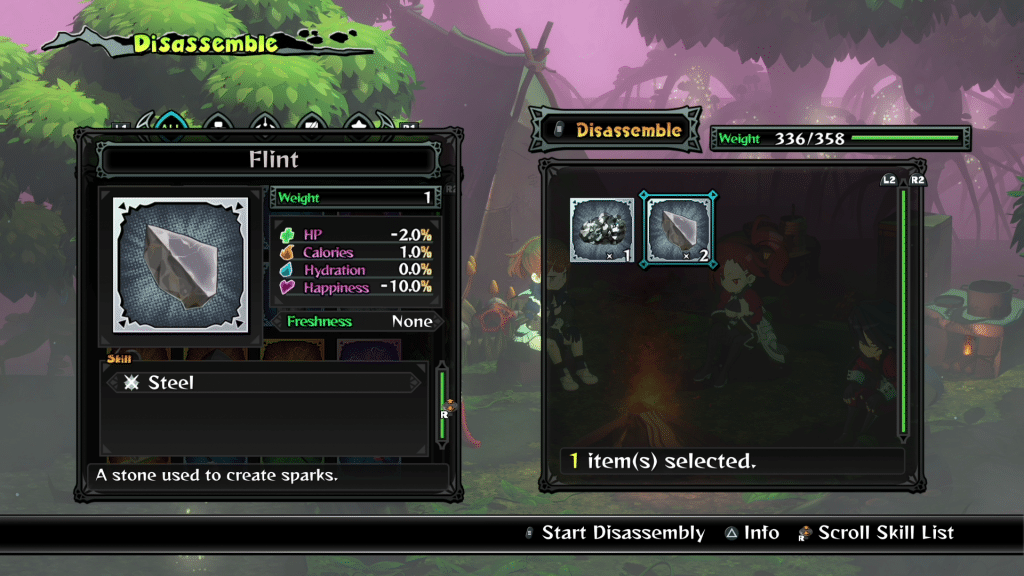
Make Failed Dishes
One of the most common gameplay loops is disassembling gear/larger ingredients into smaller and more manageable offerings. Often times you’ll have 20+ rocks, sticks, and other junk that just takes up space. These can actually be used in cooking to make various types of failed dishes. Just make them to clear your inventory, followed by leaving them uneaten. Doing this will increase your cooking level, making it easier to make higher star dishes.
Pay Close Attention to What Ingredients Are Being Used
If you need calories/hydration it’s often better to make more dishes over better quality versions. Something like Meat Chunk can be disassembled into multiple Large Meat, which can also be disassembled into many Small Meats. Having like nine pieces of small meat will often beat one Meat Chunk. Though, this is not always the case. It is a judgment call, one you need to be aware of.
Prep is Actually Really Useful
It’s incredibly easy to miss the initial explanation of prep. It’s one of the first tutorials you get, it’s only accessible on a single menu, and isn’t actually explained well.
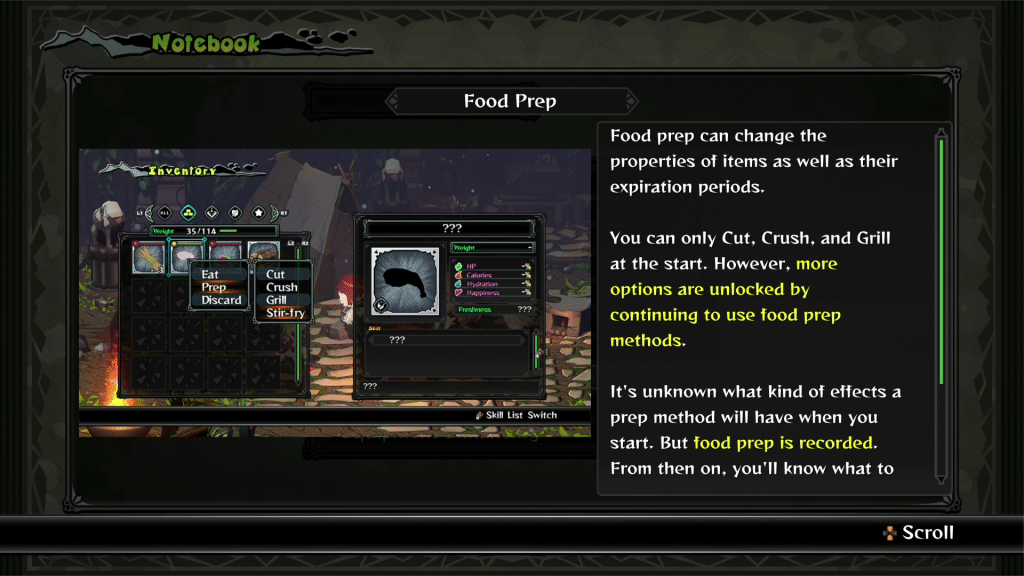
Most times it does very little. You’ll use it, the item will gain a new icon on the bottom, and then work exactly the same way as before. However, there are a couple tricks that come by using it.
Useless items, such as Muddy Water, can be prepped and changed into Pure Water. This allows you to use them in a number of dishes without any penalty. A couple are also used to unlock new ingredients to use. Some of the most important versions to know can be found below.
| Material | Method | Outcome |
| Flour Fly Larva | Cut, Crush, Stew, Steam | Fly Meal |
| Fly Meal | Boil | Udon |
| Rice Flies | Stew, Boil, Steam | Bug Rice |
| Izar Worms | Stew, Boil, Steam | Bug Pasta |
| Muddy Water | Stew, Boil, Freeze | Pure Water |
There are a few other weird ones, like Firewood can become Charcoal, Hydro Herb changes into Water, but the the main two are going to be Fly Meal and Bug Rice.
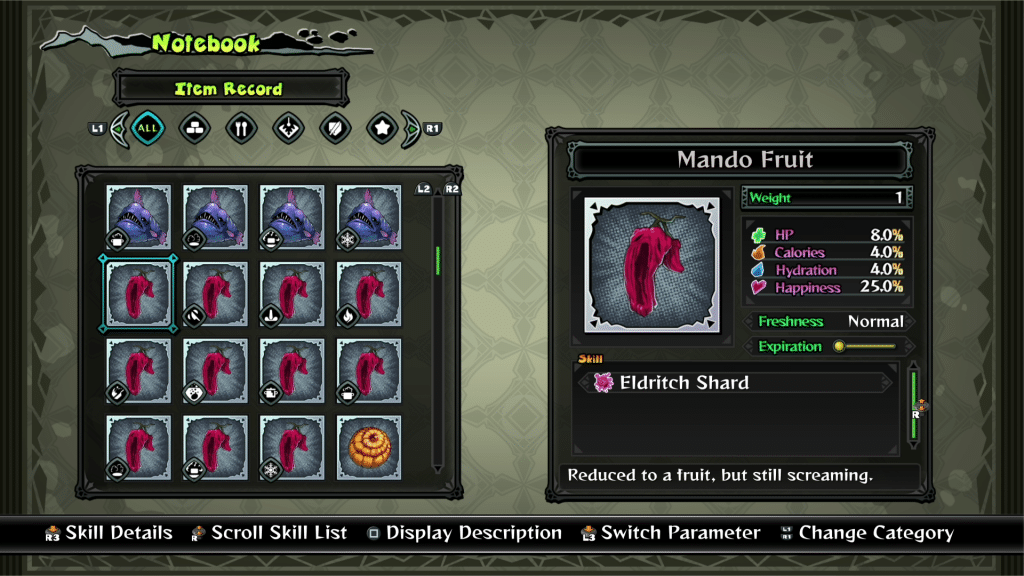
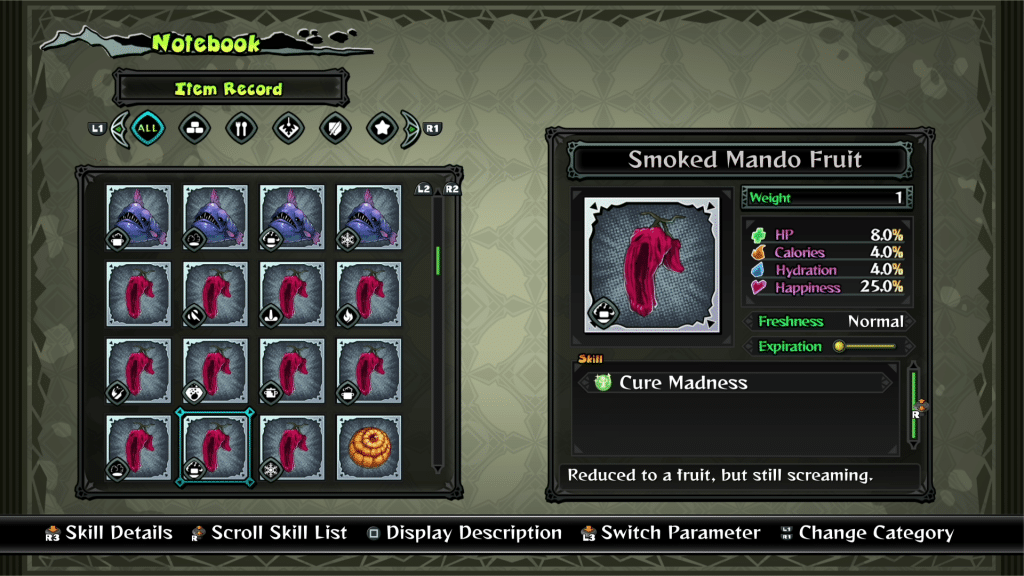
Another helpful trick is turning negative attributes into positive ones. Mando Fruit is notable since it inflicts madness, a condition that causes the AI to take command of your character. Smoking the Mando Fruit will actually cure madness, so you can eat it without penalty. Not all attributes are positive, cutting it changes the effect to causing confusion, but good if you’re in a pinch and just need to eat something quickly.
Make Enhancer Kits Often
Enhancer Kits, and to a lesser extent Repair Kits, are unique in that they weigh less than the sum of their parts.
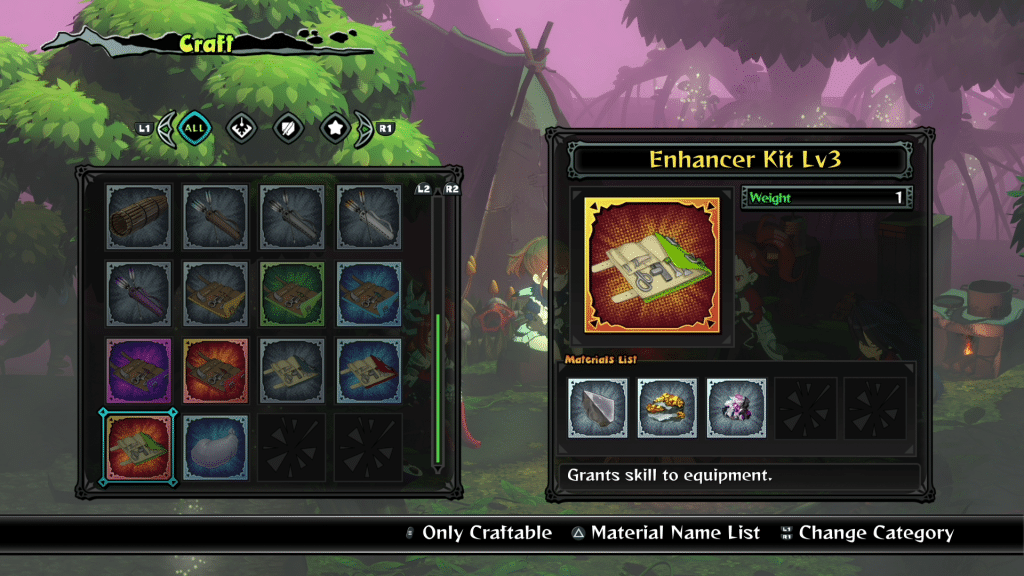
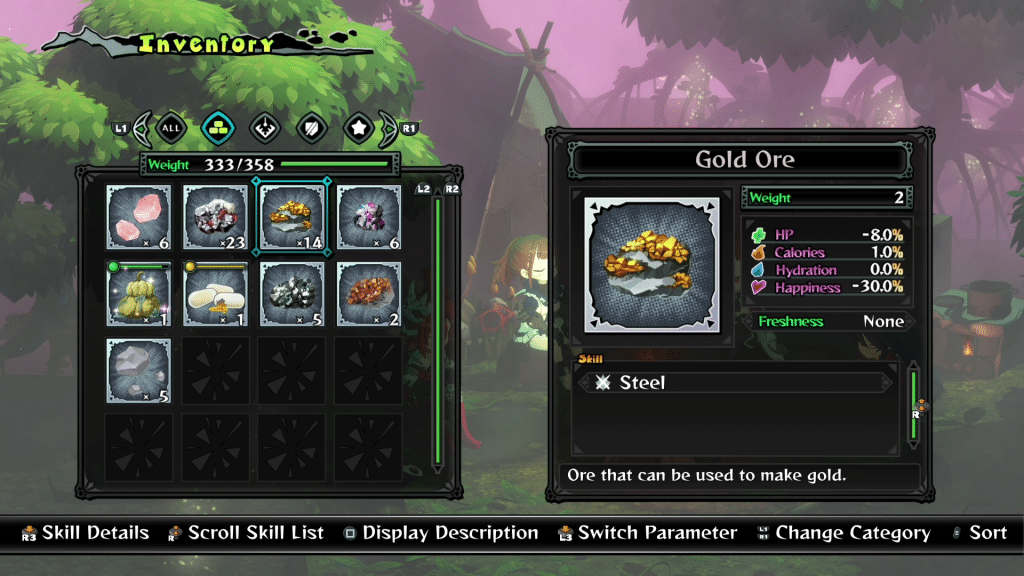
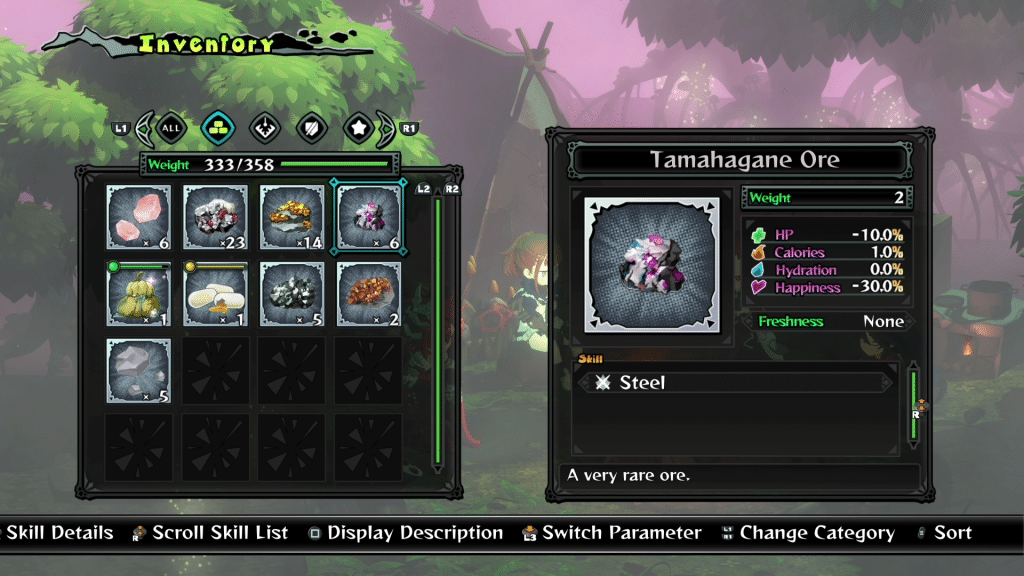
Ores have a weight of two, so the three items separately have a weight of five. Being able to scale this down to one is a big advantage, as is the benefit of not losing these kits when starting a new cycle.
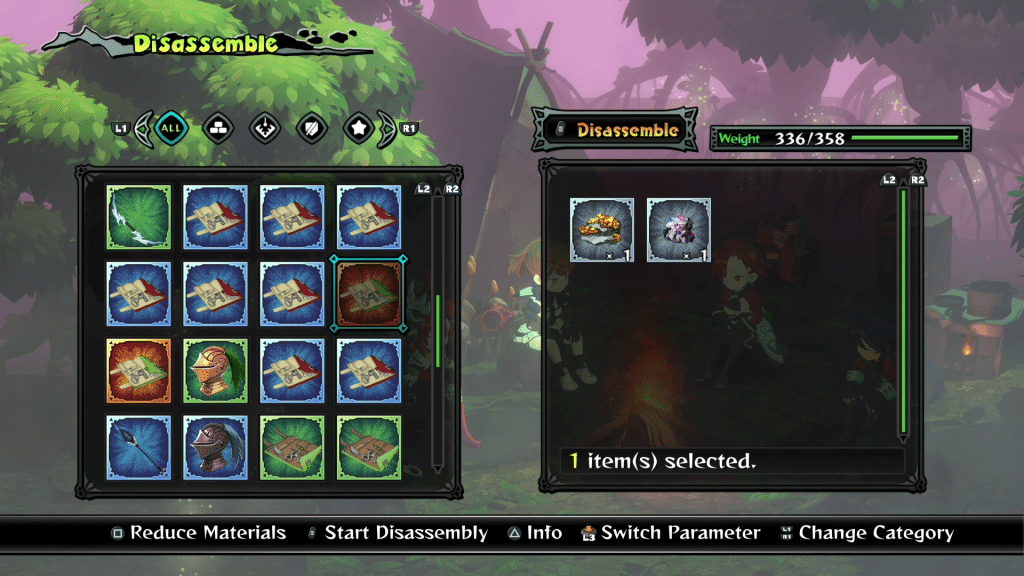
The other secret benefit is disassembling a kit refunds the Ores. As a result, you can use these to hold Ores that can be used to make Metal Arrows, or be repurposed into Repair Kits. This is also part of the reason why I don’t suggest making Repair Kits. Not only do they have a smaller benefit, they actually have a durability stat where they become less effective overtime. This is not true for Enhancer Kits, which are always worth the same amount.
How to Use Kits and Why You Should Never Use the Repair Option
Out of all the weird choices Monster Menu: The Scavenger’s Cookbook makes, I don’t think any is weirder than the repair/upgrade options. While repair seems straightforward, it’s actually fairly useless.
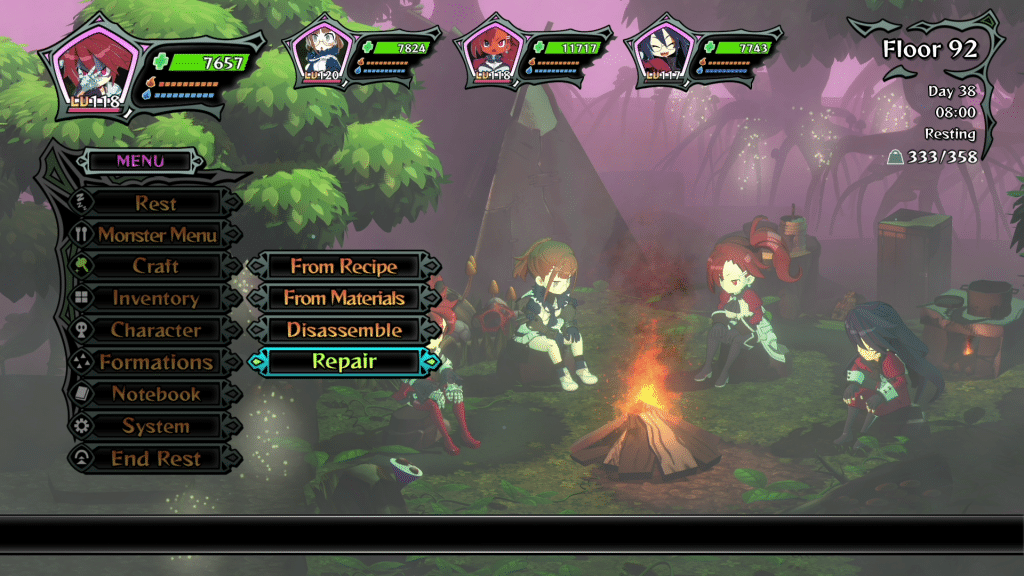
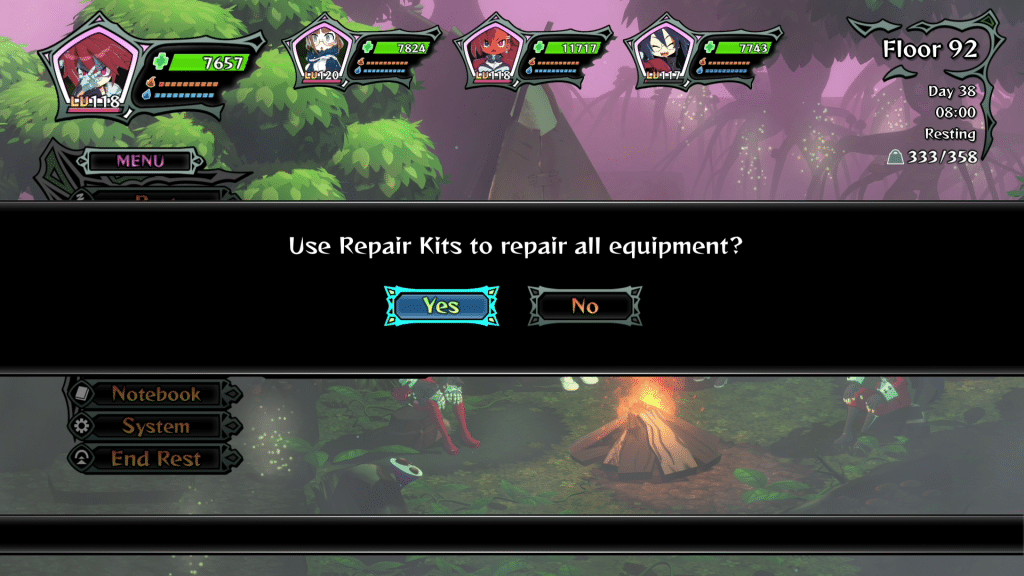
When you repair from the menu it uses all your kits and goes down the list repairing items. While there might be a hidden benefit besides saving time, you’re often better off focusing on specific pieces. Fixing my Quartz Earrings, which have among the lowest amount of wear, is simply not worth it for the three stat point difference between a 97 and max durability version. However, with a higher tier weapon that might be a difference of 40 or more points.
What you should instead do is manually apply them, which is the same process to use an Enhancer Kit.
By selecting Craft, From Materials, and then selecting the desired kit and item will let you use them. As previously mentioned, kits repair a fixed amount that degrades overtime. The same is not true for Enhancer Kits, though each level has different benefits.
| Enhancer Kit | Unlocked Perks | Star Cap |
| LV1 | One | Four |
| LV2 | Two | Seven |
| LV3 | Three | Nine |
As you might already guess, the star system dictates how powerful a piece of gear can become. There are two conditions to reach the highest level of nine stars. The first is using the proper kits. While you can use only Lv 3 kits, it’s better to use lower tier versions to reach their cap first. The other is rarity dictates how many stars an item can have.
Star Caps
| Rarity | Star Total |
| White | One |
| Green | Three |
| Blue | Five |
| Purple | Seven |
| Gold | Nine |
The star system also makes a substantial difference in terms of stats.
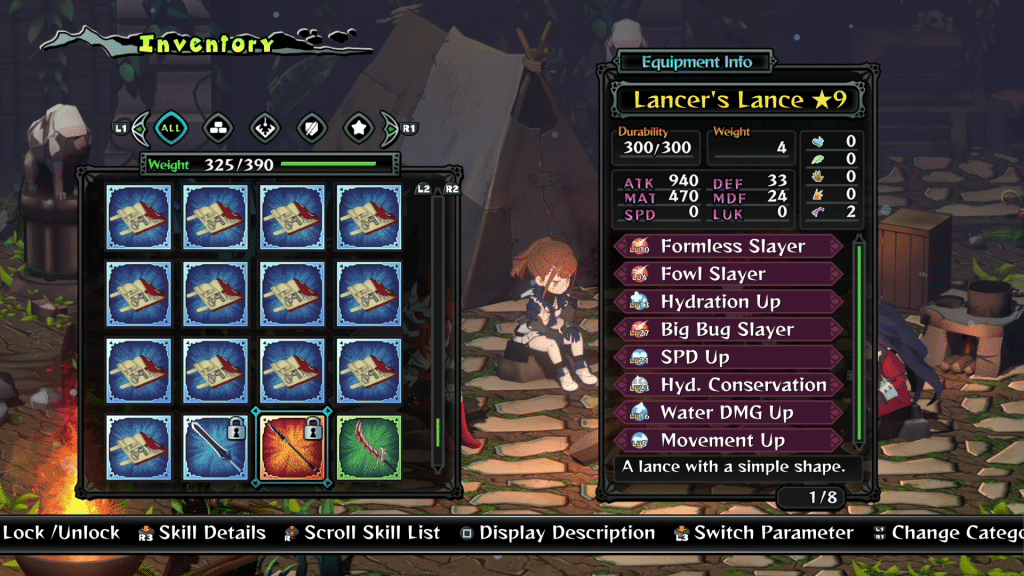
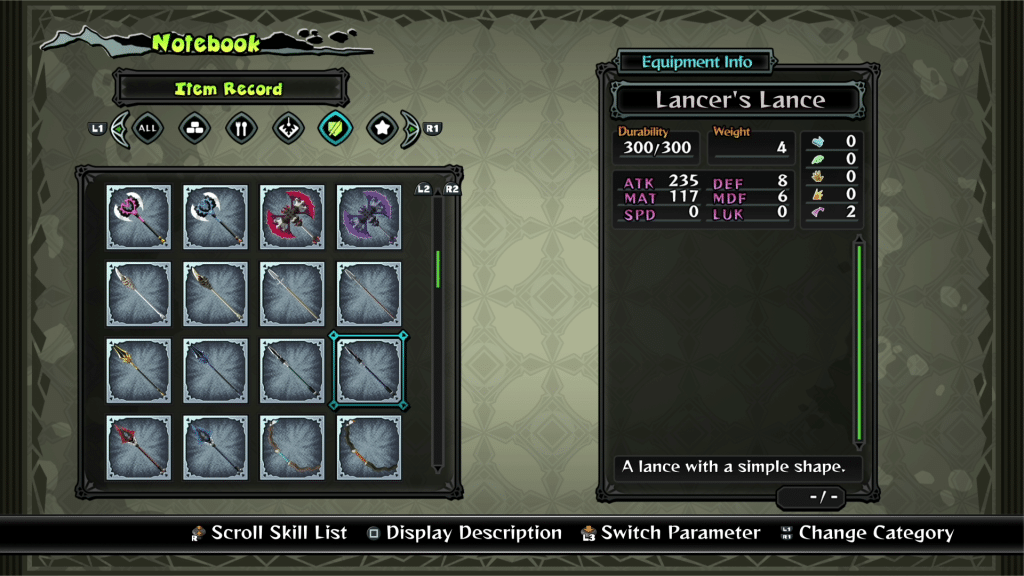
While this is not best spear, I got one with the Movement Up skill I like that happened to be gold, so I made it nine stars. This is an increase of 710 attack, which is a massive advantage, even if it isn’t the most you can get.
This covers the more fundamental things I found. If you find yourself still having trouble I also wrote a guide containing every recipe so you can immediately benefit from them, along with a trick to obtaining some of the best gear in Monster Menu: The Scavenger’s Cookbook. But if you think we missed something big, please leave a comment below.
Make Sure You Understand What Skills Actually Do
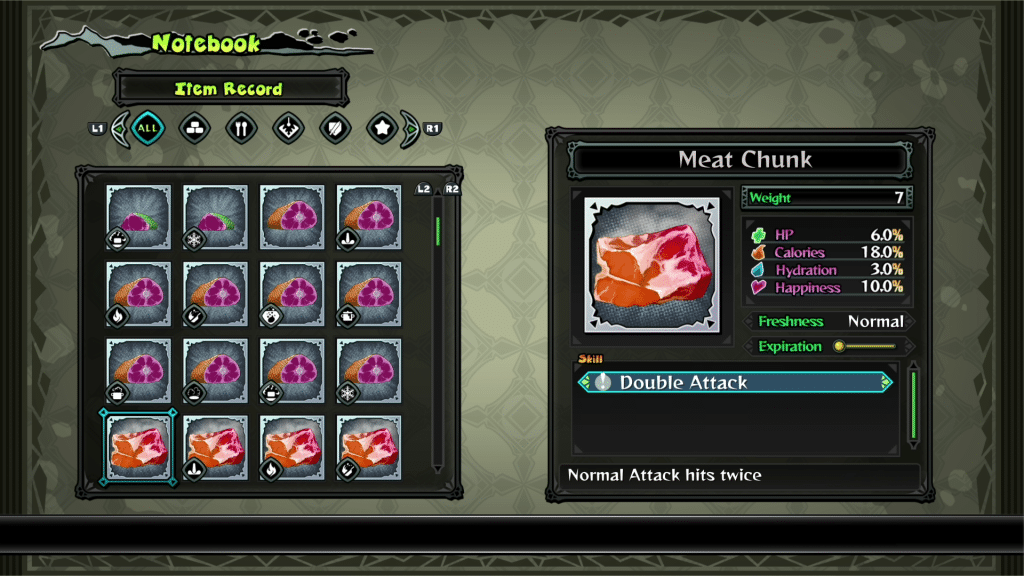
As previously mentioned, materials like Meat Chunk are extremely valuable. The amount of food you can make, or the quality increase of using it has a substantial impact on your party. However, you might notice it has the perk “double attack,” which Monster Menu: The Scavenger’s Cookbook mentions is a skill that allows someone to use a normal attack once.
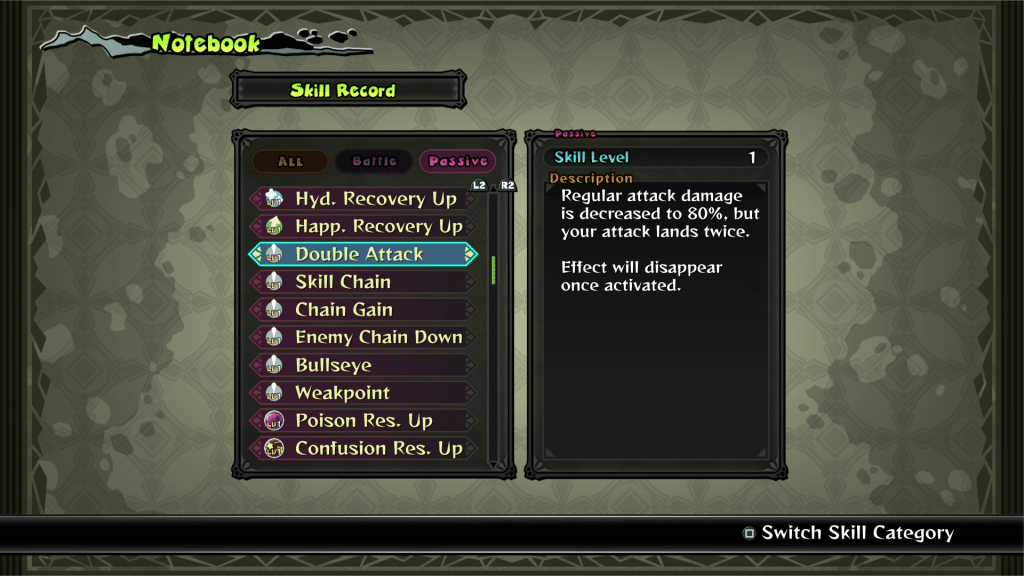
Before you get too excited and decide to boost your party with this amazing skill, it really isn’t that great. Not only does it do a fifth the damage of a normal attack, it only happens once. It has limited to no practical value and should not be used unless you absolutely need that second attack. This is why it’s important to verify anything you’re unsure of.
Extra Shovel Gives the Same Material Again
To build on the previous point, Extra Shovel is in an unusual place. The description is “chance of scavenge site remaining post scavenge,” which is a fairly common skill for this genre. However, after closely watching it for a while, I believe the material will simply be whatever was there before.
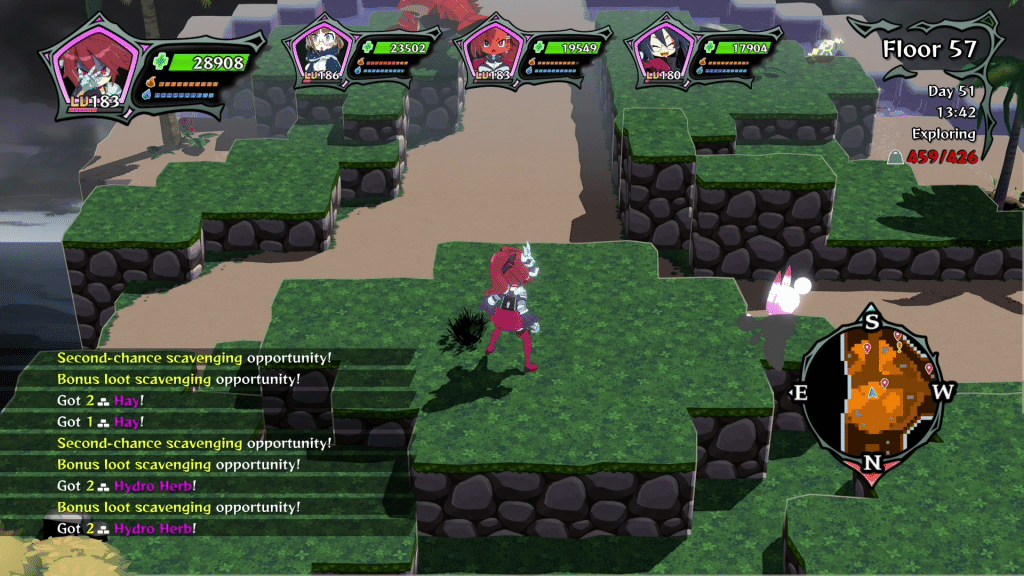
I can’t think of an instance where it gave a different item, so it’s helpful to know if it’s worth bothering with. If it’s something like a boulder, an extremely unhelpful seven weight item, it’s probably best ignored. Likewise, if it’s a rare material it’s absolutely worth heading back for another go.
