

At long last the latest dungeon is now available for players to conquer. Naturally, it will have new mechanics, bosses, and details that you will need to overcome if you want to be successful. Given this is a lot more demanding than Spire of the Watcher, we wanted to make this simpler by giving a quick guide to make it out alive.
Destiny 2 Ghosts of the Deep Guide
Basic Information
Before you can do the dungeon you need to visit the tower and get a quest from Suraya Hawthorne. After that you’ll find the dungeon located under the HELM.
Build Information
This dungeon is largely about add clear, so make sure to have weapons/builds to maximize that. For this reason Strand is really useful, as are weapons like Forbearance.
For boss damage I found Arbalest and Xenophage works really well. What makes Arbalest a great choice is the ability to instantly pop the bosses shield. This is a massive advantage in terms of DPS due to the time and ammo saved.
Hive Symbols
Similar to Vow of the Witness, Ghosts of the Deep uses Hive symbols. Only a small handful of them are used, they do not need to be called out per se, and it’s very apparent which you get.
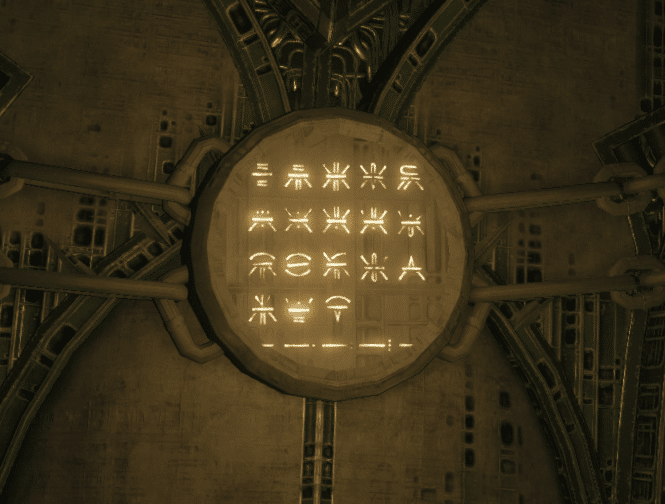
If you would like a refresher of the Hive alphabet you can find the alphabet sigil from LadyLucida’s post on the language.
Basic Tips
- Water instantly brings you full health with an overshield. It’s a great way to stay alive in any situation
- Even though this is a darkness zone you can respawn without a revive
- Due to the high enemy density it helps a lot to focus on mechanics over enemies
- If you’re not confident in your ability, Recuperation or Better Already pair nicely with siphon mods
- Never forget you can shoot moths
- In the event you missed a symbol, or forget to get it you can increase your chances of getting the right one by asking what others got. When two others know theirs it’s always the remaining option. Even if they don’t know you’ll die regardless of guessing wrong or waiting, so you might as well guess
Finishing Ghosts of the Deep
Hive Ritual
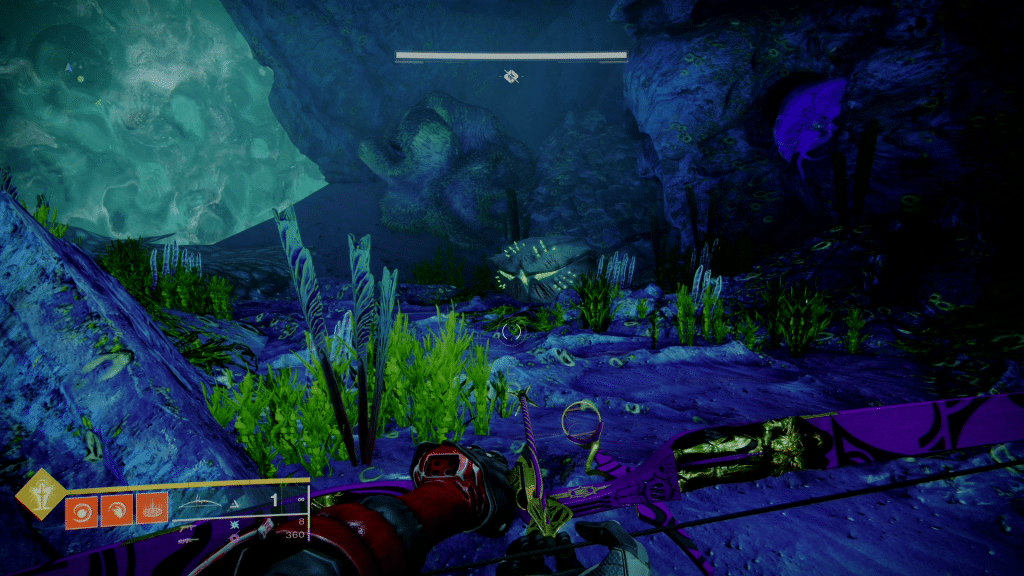
For the first encounter you start by killing adds in the middle. Eventually an Ogre will spawn that you need to kill.
Doing this will create green mist that directs you to the next location. Keep following this until you find a Lucent Hive.
When this enemy spawns, look above to get the symbol, followed by killing it. Whomever finishes it will gain a buff that needs to be deposited in the middle.
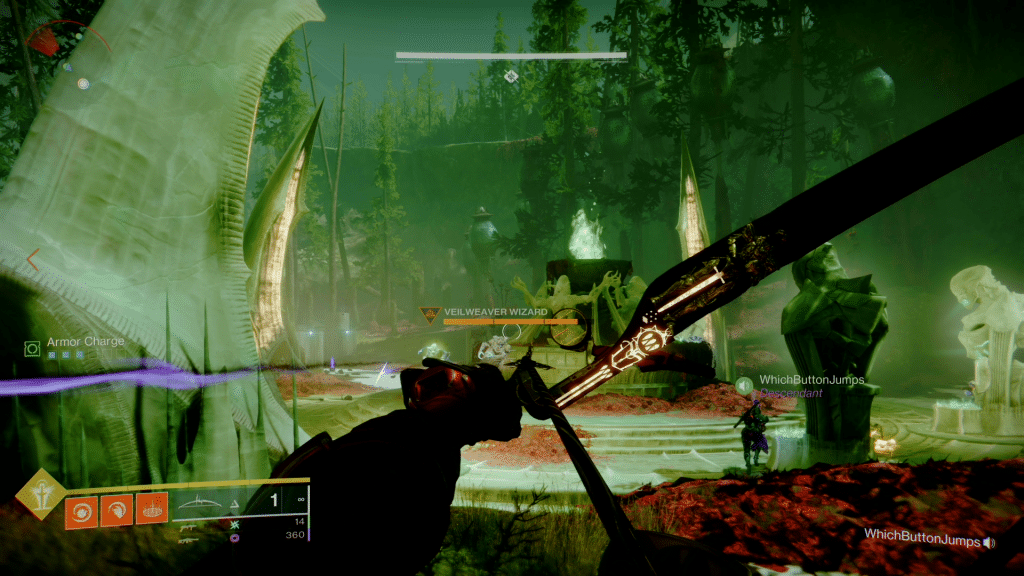
Before the buff can be deposited, someone needs to activate deepsight. If you forgot about this mechanic from Throne World, there will be a black orb that you activate. It appears after the Veilweaver Wizard dies, so when they die rush that point. This will show the symbols for each location and you just match them. This will repeat a couple times before opening the path forward.
Secret Chest 1
There is nothing noteworthy to find in the jumping puzzle besides collectibles. While they can all be found without too much difficulty, I suggest using a guide. At the time of posting one does not exist, though there will likely be many in the future.
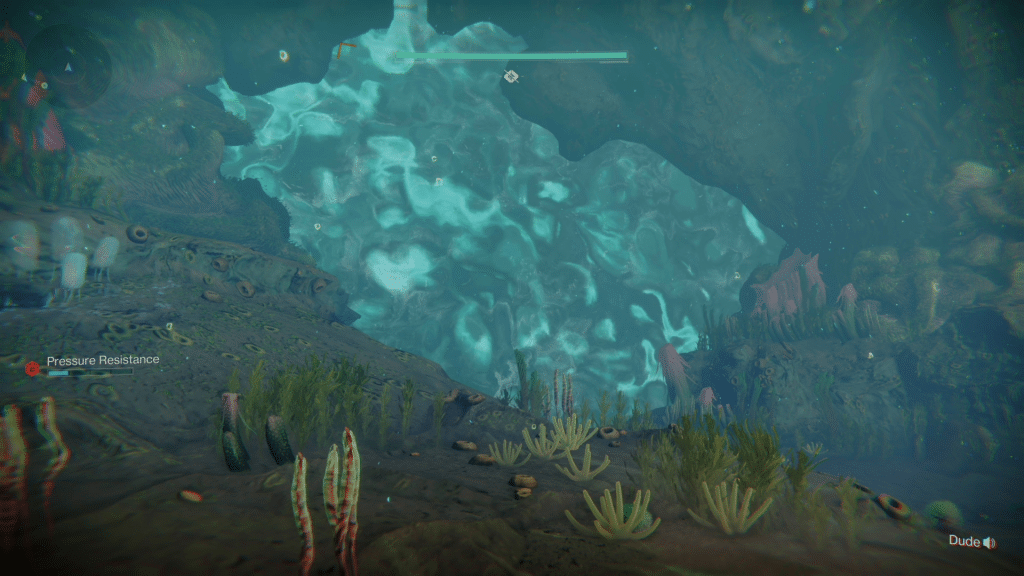
As for the secret chest, a good portion into this section you’ll find an underwater area with a bunch of hive. Instead of going to the exit on the right, heading left will have the chest in a small upper area.
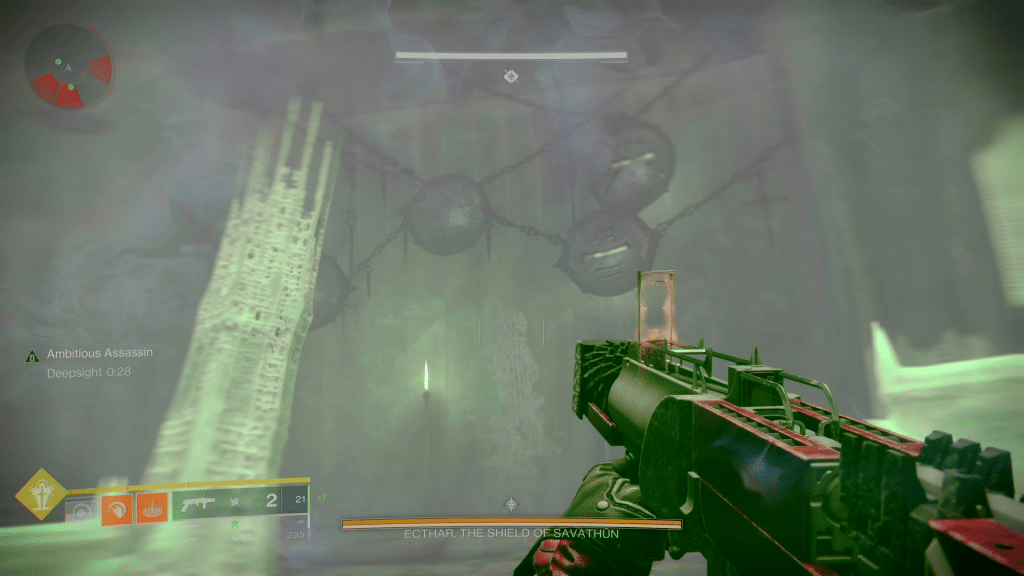
Ecthar, The Shield of Savathûn
Similar to the last encounter, kill adds until an ogre spawns. Killing it will reveal a deepsight point on the altar in the middle. Activate it and then look to the left and right. You should see chains with three total symbols being visible. Take note of these symbols, go underwater, and find all three of them.

Each time a symbol is found a Lucent Hive enemy will spawn above. This will give the killer a buff that can be deposited anywhere. Once all three buffs are in place a special Knight will spawn.
Kill it, gain the buff, and use that buff to break Ecthar’s shield. After this you just need to stay alive and deal damage.
Secret Chest 2
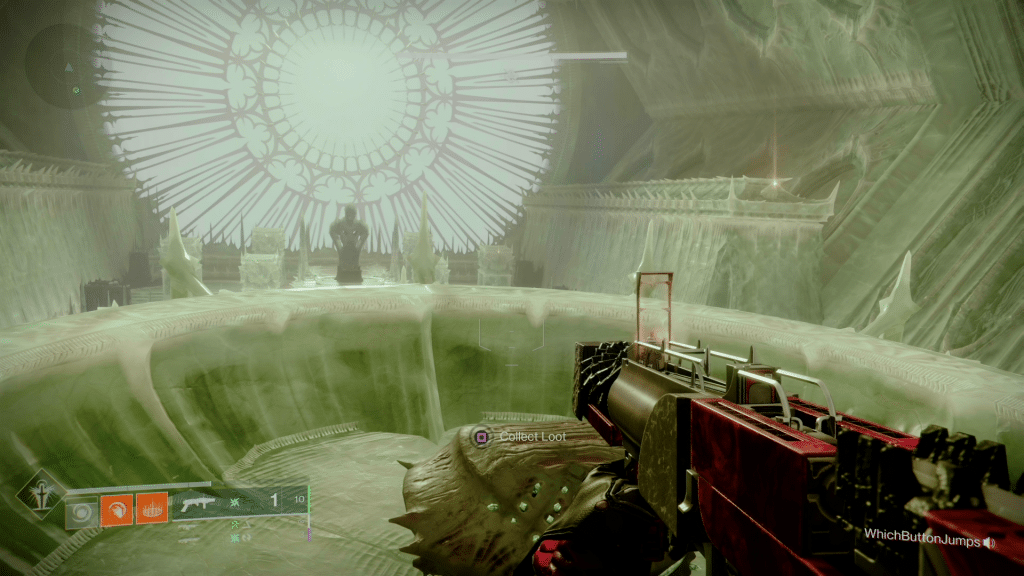
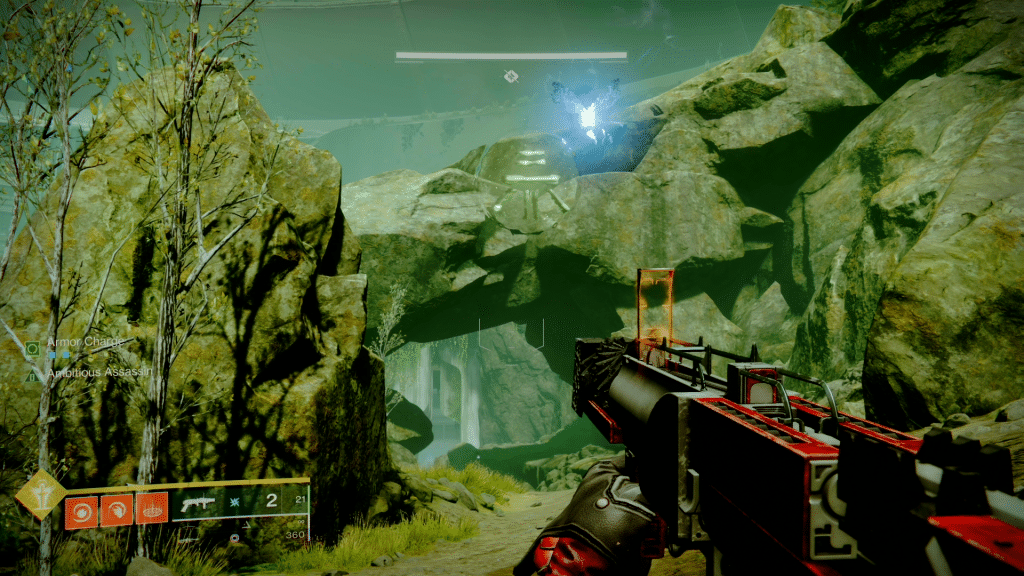
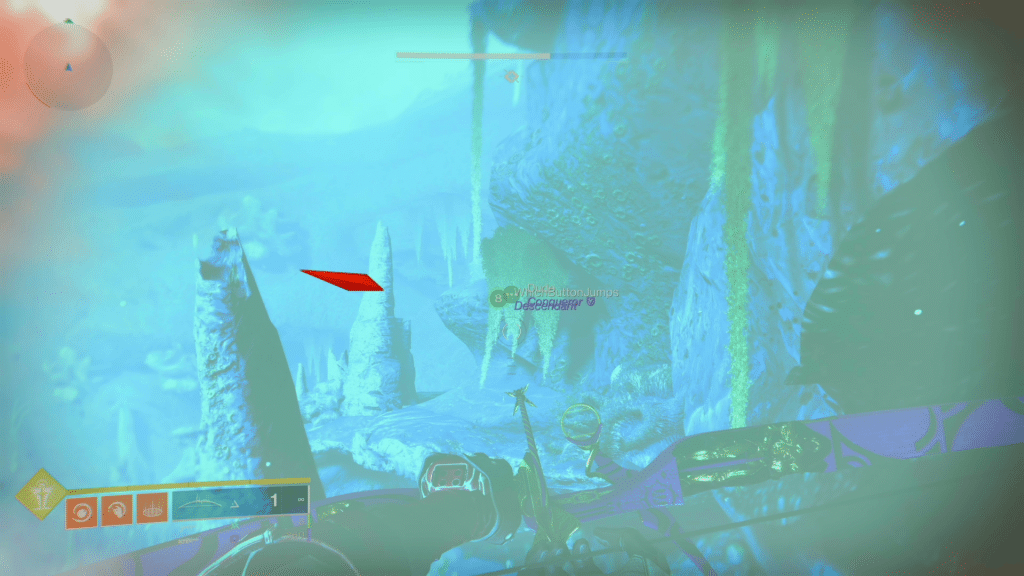
In the section just before this posts featured image you’ll see an ogre spawn. Above it you’ll find the chest.
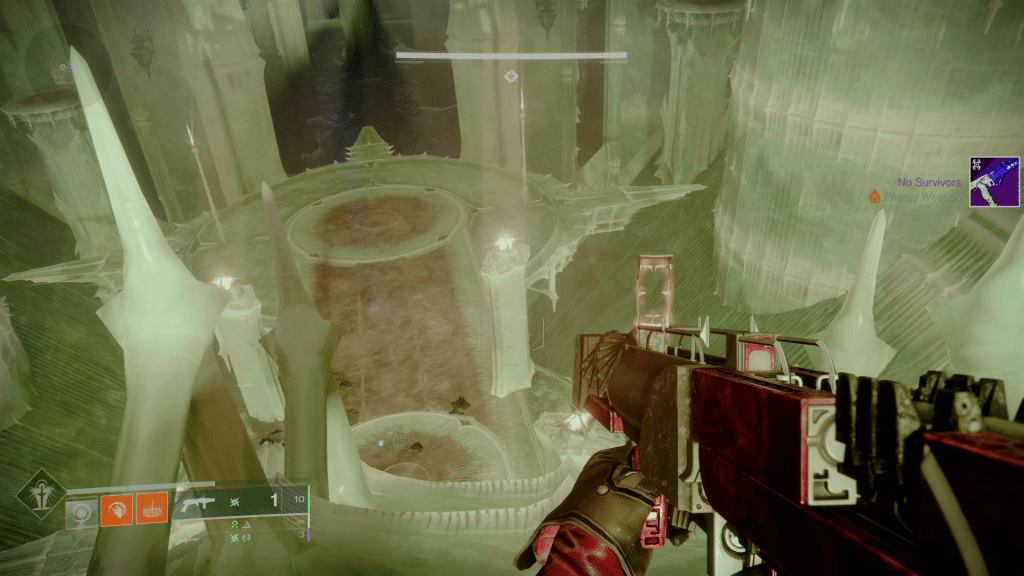
Šimmumah ur-Nokru
While this is not a hard boss, there are a lot of adds that can make it frustrating. Thankfully, the core loop is pretty simple.
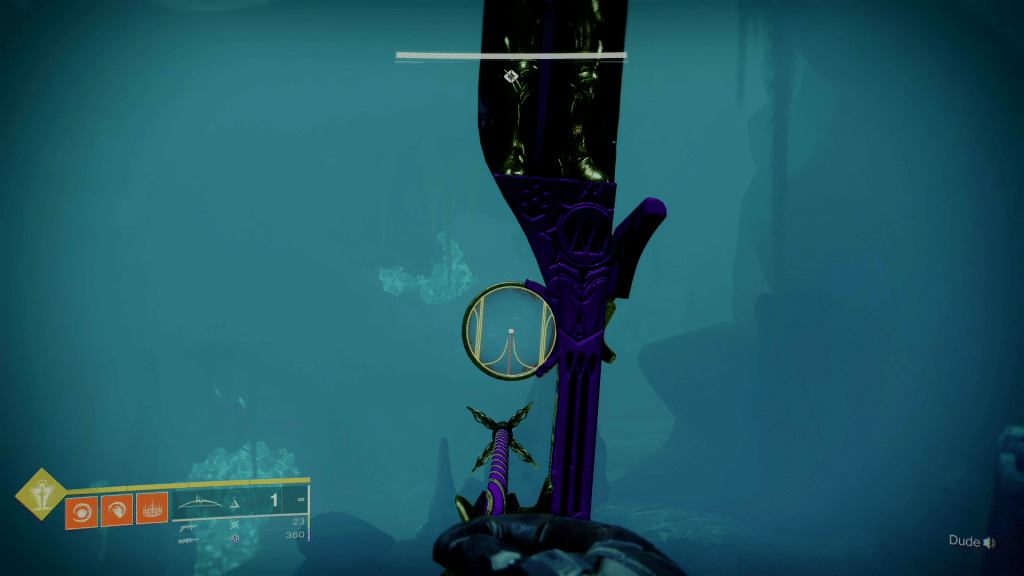
Get the deepsight buff to reveal the pattern. During this time a knight will spawn that needs to be brought to one of the three points and killed with deepsight active. I find it is best to pick one of the two outer points, followed by the other outer point, and then getting Oryx’s chest last.
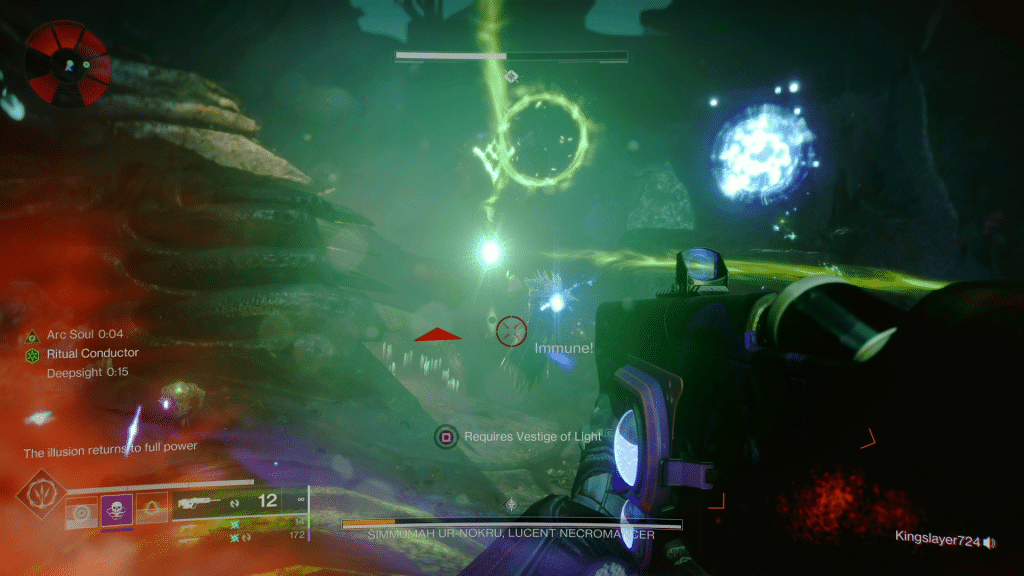
Every time the mechanic is performed correctly a green circle will appear. You need to line it up with the symbol, like pictured above, to reveal the Hive symbol that goes in that specific spot.
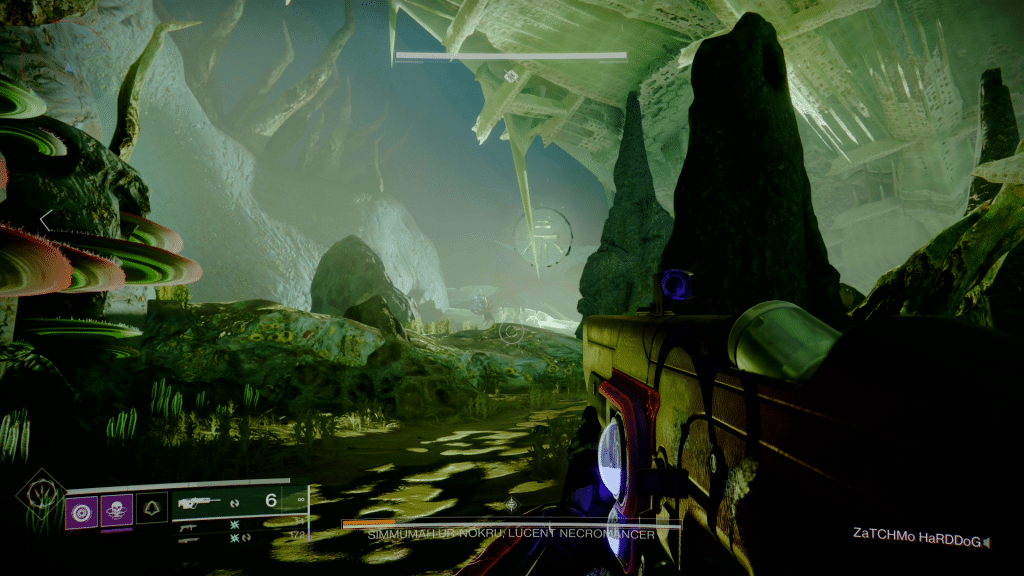
Each of the sides and middle will have a water section that lead to a room with a Lucent Hive. Left is a Titan (Knight), middle contains a Hunter (Acolyte), and right houses a Warlock (Wizard). Keep this in mind for callouts, and deciding who kills what. Out of the three the Titan is the most likely to kill someone.
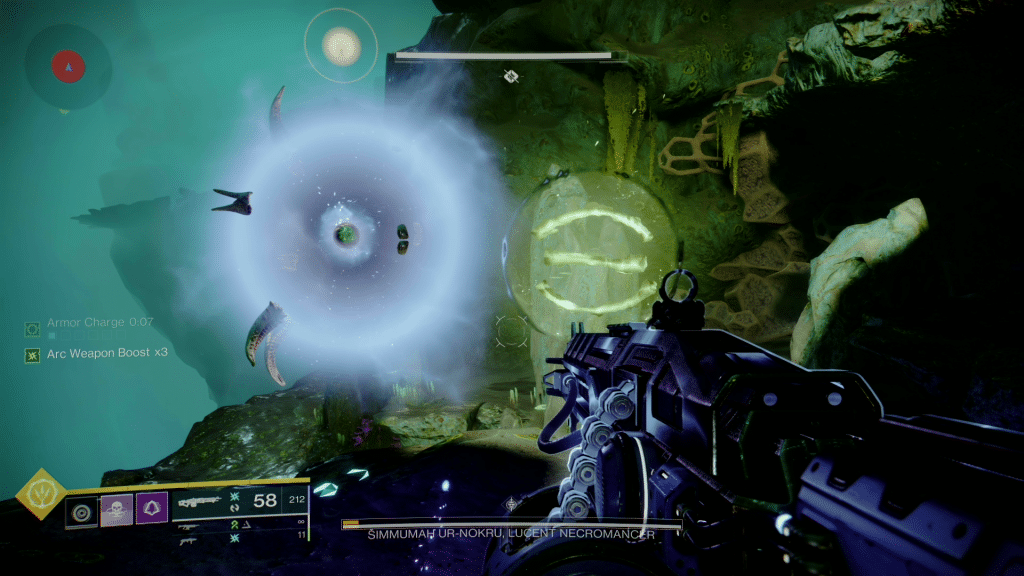
Before finishing the Lucent Hive you’ll want to take note of the symbol in that room. Once it’s known, finish off the enemy and head to the middle. Activate deepsight, find your symbol, and dunk the buff. When all three are deposited damage will start.
Stand in the aura under the places where you banked the symbols to break Šimmumah ur-Nokrus’s shield. Once their shield is broken you can freely move until damage is done. This is more of marathon than a race, so don’t do anything too crazy to get extra damage. Things like that are more likely to cause a wipe than just going slow.
After that you can get the final collectible, which is in the Hunter Lucent Hive’s room. You need to open the location by using the same mechanic as the boss.
The Navigator Exotic
Depending on your luck you might get The Navigator. It’s a Strand Trace Rifle that has some neat abilities.
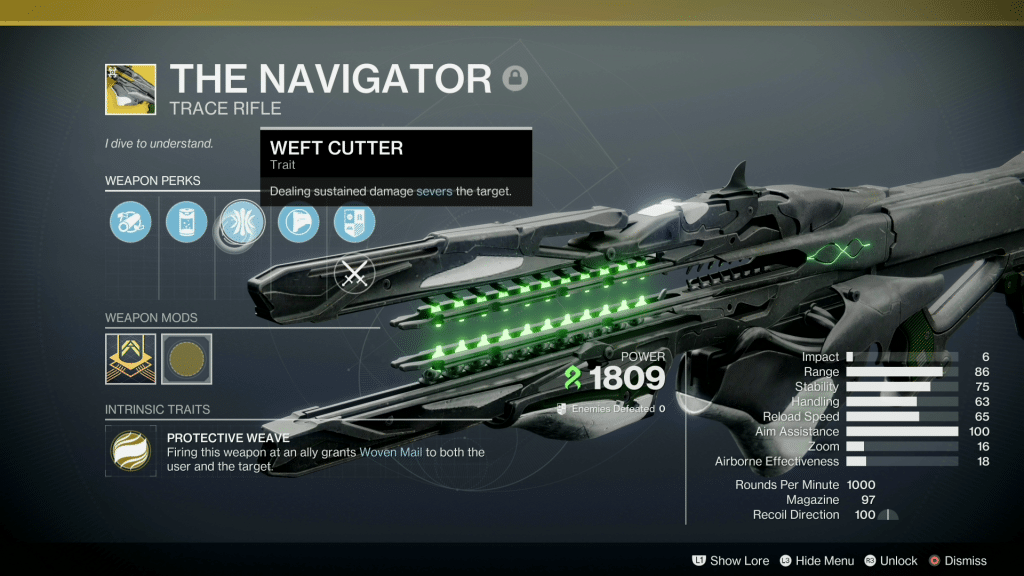
I won’t review it here, but you can see it has some interesting perks that enhance Strand. Also, if you want to get the catalyst you can follow our other guide to complete the secret encounter.
