Vexcalibur is the latest hidden exotic in Destiny 2. However, like a lot of weapons, the trick to unlock the catalyst is a bit more difficult. While your first assumption might be finish the quests, or the various secrets, the trick is to actually beat //NODE.OVRD.AVALON// on the highest difficulty. This is a feat many consider higher than even the latest raid, so expect some struggles. With the right team, tactics and build though, it can be pretty doable.
How to Unlock Vexcalibur’s Catalyst in Destiny 2
Set Up
While more people makes enemies more powerful, this is going to hinge on what works for you. For this guide I am going to assume you have a group of three, though less can absolutely be done.
For your group you’ll want a Hunter, and a Titan. Every option has merit, you’ll just want to have one of the previously mentioned two. Hunter’s will run Nightstalker, with the Titan running Defender. At least one of the non-Hunters should have Strand unlocked as well.
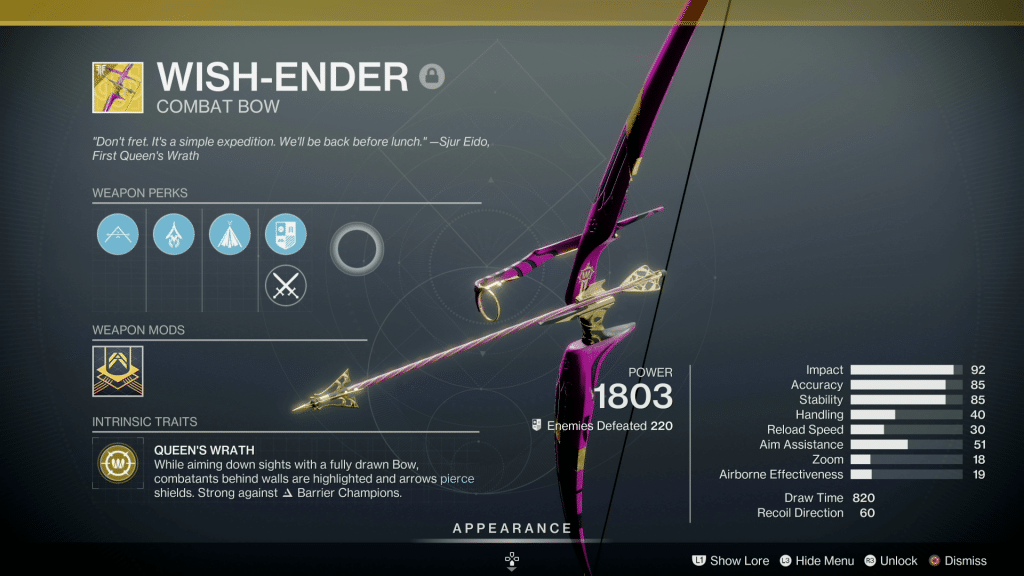
Weapons you’ll want things that do high damage, with arc and void being the best option. I personally used Wish-Ender, Ikelos_SMG_V1.0.3 and a heavy, though a lot of other things worked. I also suggest having someone use Winterbite, as it helps a lot with notable threats.
Armor mods that are important to have are orb creation on matching shield break, match your elemental surge, and void/arc resistance. Heavy ammo finder with heavy ammo scout also helps a lot.
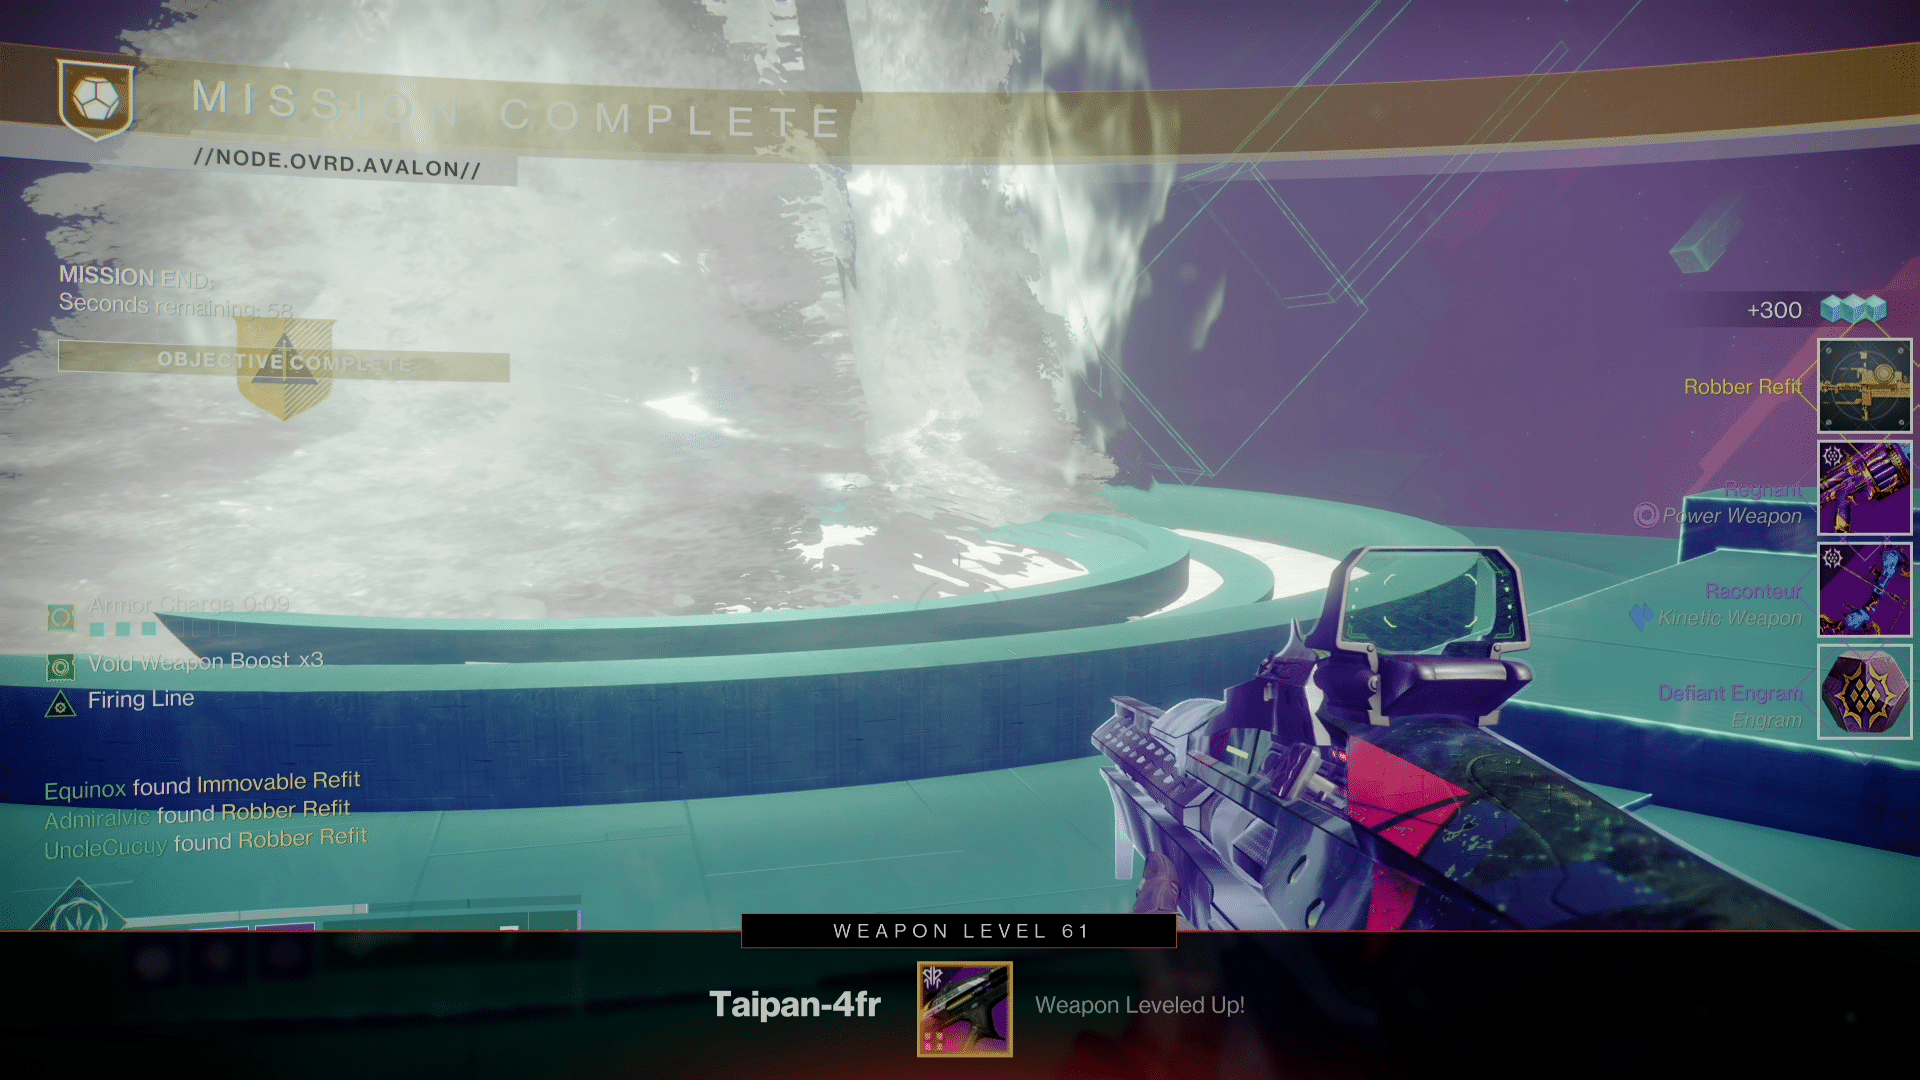
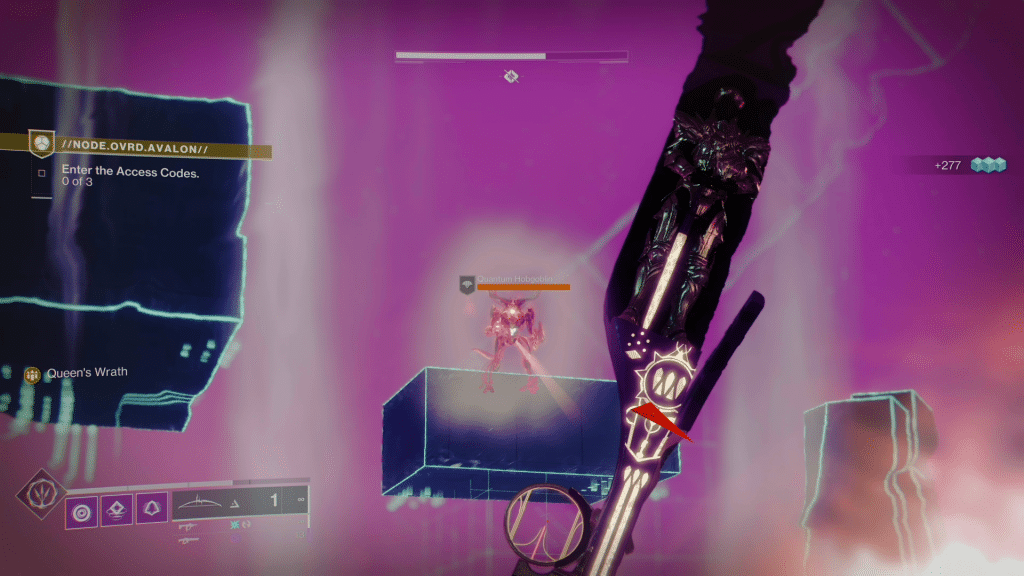
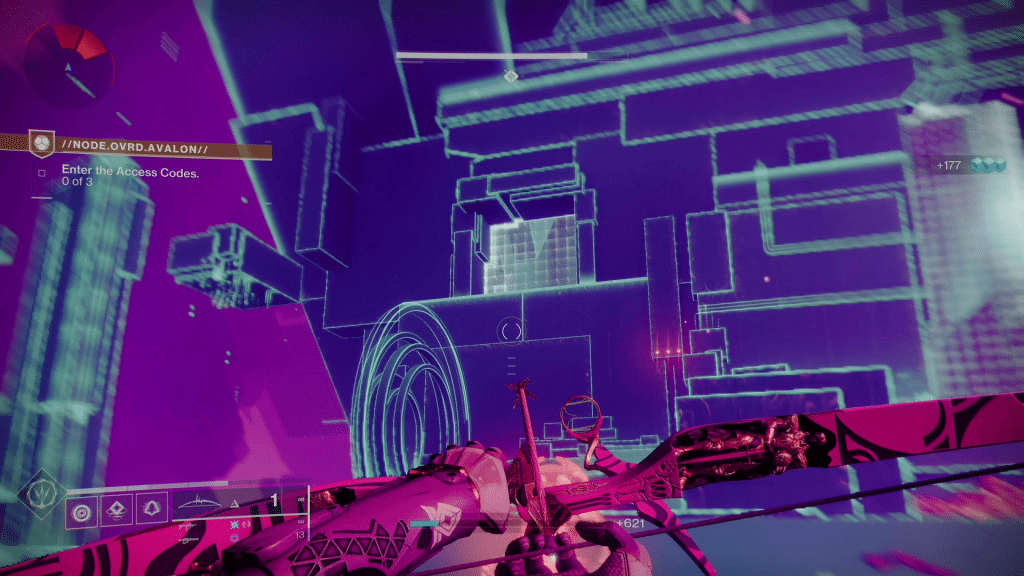
How to Complete Avalon on Legendary Difficulty
Encounter One
The first encounter should be broken up into two distinct teams. One will enter the code, with the other two killing adds. One thing that helps a lot is having the code entry person also kill the Hobgoblins that spawn on platforms. This makes it a lot easier for everyone to survive, as the add killers will be busy with Minotaurs.
Your Hunter should be the one obtaining codes. As a reminder, none of the main objectives ever use triangle as an input. Every combo will be some sequence using squares or diamonds. I personally think they work best as the entry person, but every group is different.
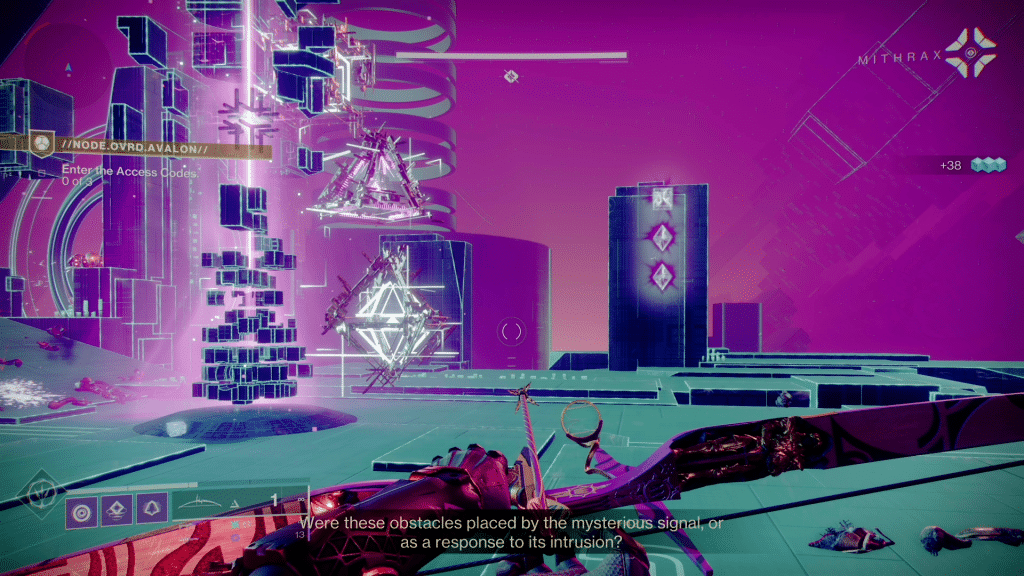
Before the code is completed, I strongly suggest letting your teammates know. Every complete sequence will spawn Minotaurs, and Hobgoblins, so make sure yo know your rotation.
After three you’ll get into the next room with a massive wave of enemies. If possible, save your super for this hallway. Also, do not rush inside, as there is a cyclops to the left that will blindside you if the enemies don’t overwhelm.
Keep the same set up for the next section. Enemies are unrelenting, so speed goes really far. For this reason, if you’re quick you can finish off an icon even after it went invisible. This only works for alternating icons, so if the pattern is square and then square you’re stuck, but square, diamond will work.
The final onslaught is exactly the same, except your objective is to kill the two Wyverns. This section works best as a slow and steady pace, as there are a lot of obstacles that can kill you. Once they’re dead you’ve cleared the first section.
Section Two
If you’re reading this guide you probably need help here. I won’t lie, this section sucks, but it can be done.
What worked for my team was was having two people working on the trash mobs with the objective, and another killing Hobgoblins. At 1810 or more I can confirm Moebius Quiver with Orpheus Rig can kill three of them. What I would do is swap between them so they’re stunned, and then kill the first set of three. On the second set I would use my Super, followed by making sure I had my Super after the boss, collect orbs you should’ve made during the Harpy section, and use it a third and final time.
This section actually helps the most to have a Defender Titan, or if they can survive, someone with Strand. We personally used a Defender Titan, though not in the way you’d think. Unfortunately, the safe zone does not seem to work with Ward of Dawn. It generally places it above you, making it largely pointless. What does work is blocking the Wyverns attacks so you can safely hide on the lower level. Suspending them also works, it’s just a bit risky.
The most important part of this encounter is the boss damage section. Not because it’s hard, but the various harpies with arc shields give an obscene amount of orbs. You can easily generate 30 or 50 fighting them, so make sure to have an arc weapon. These extra orbs are what gave me the aforementioned third Super, along with an extra one for damage, or defensive purposes.
Encounter Three
This fight isn’t as bad as the previous one, though it can be brutal. I strongly suggest having someone use Winterbite, along with a Strand user. All these people need to do is make sure the Wyverns don’t kill your team. Winterbite will freeze them, and practically everything else, with suspend doing the same, just in a far more risky way.
Beyond this the fight is an endurance test. That being said, when you get to the last section it is extremely easy if your Titan throws down Ward of Dawn and distracts him. With enough power you can actually burn him long before anything else becomes a problem.
If you’re having a lot of trouble with the boss, there is a cheese. During the second phase you can damage the boss in his cage by using Wish-Ender. This can be done until it’s brought to phase, and then finishing the objective will immediately progress the encounter forward. For the next section, hiding behind any of the three pillars and using Wish-Ender can safely damage the boss without a worry.
Collecting your Reward

It seems the catalyst you unlock is random. Right now two of the three are available. The third will probably unlock next week. Each of these require an additional clear to unlock.
