
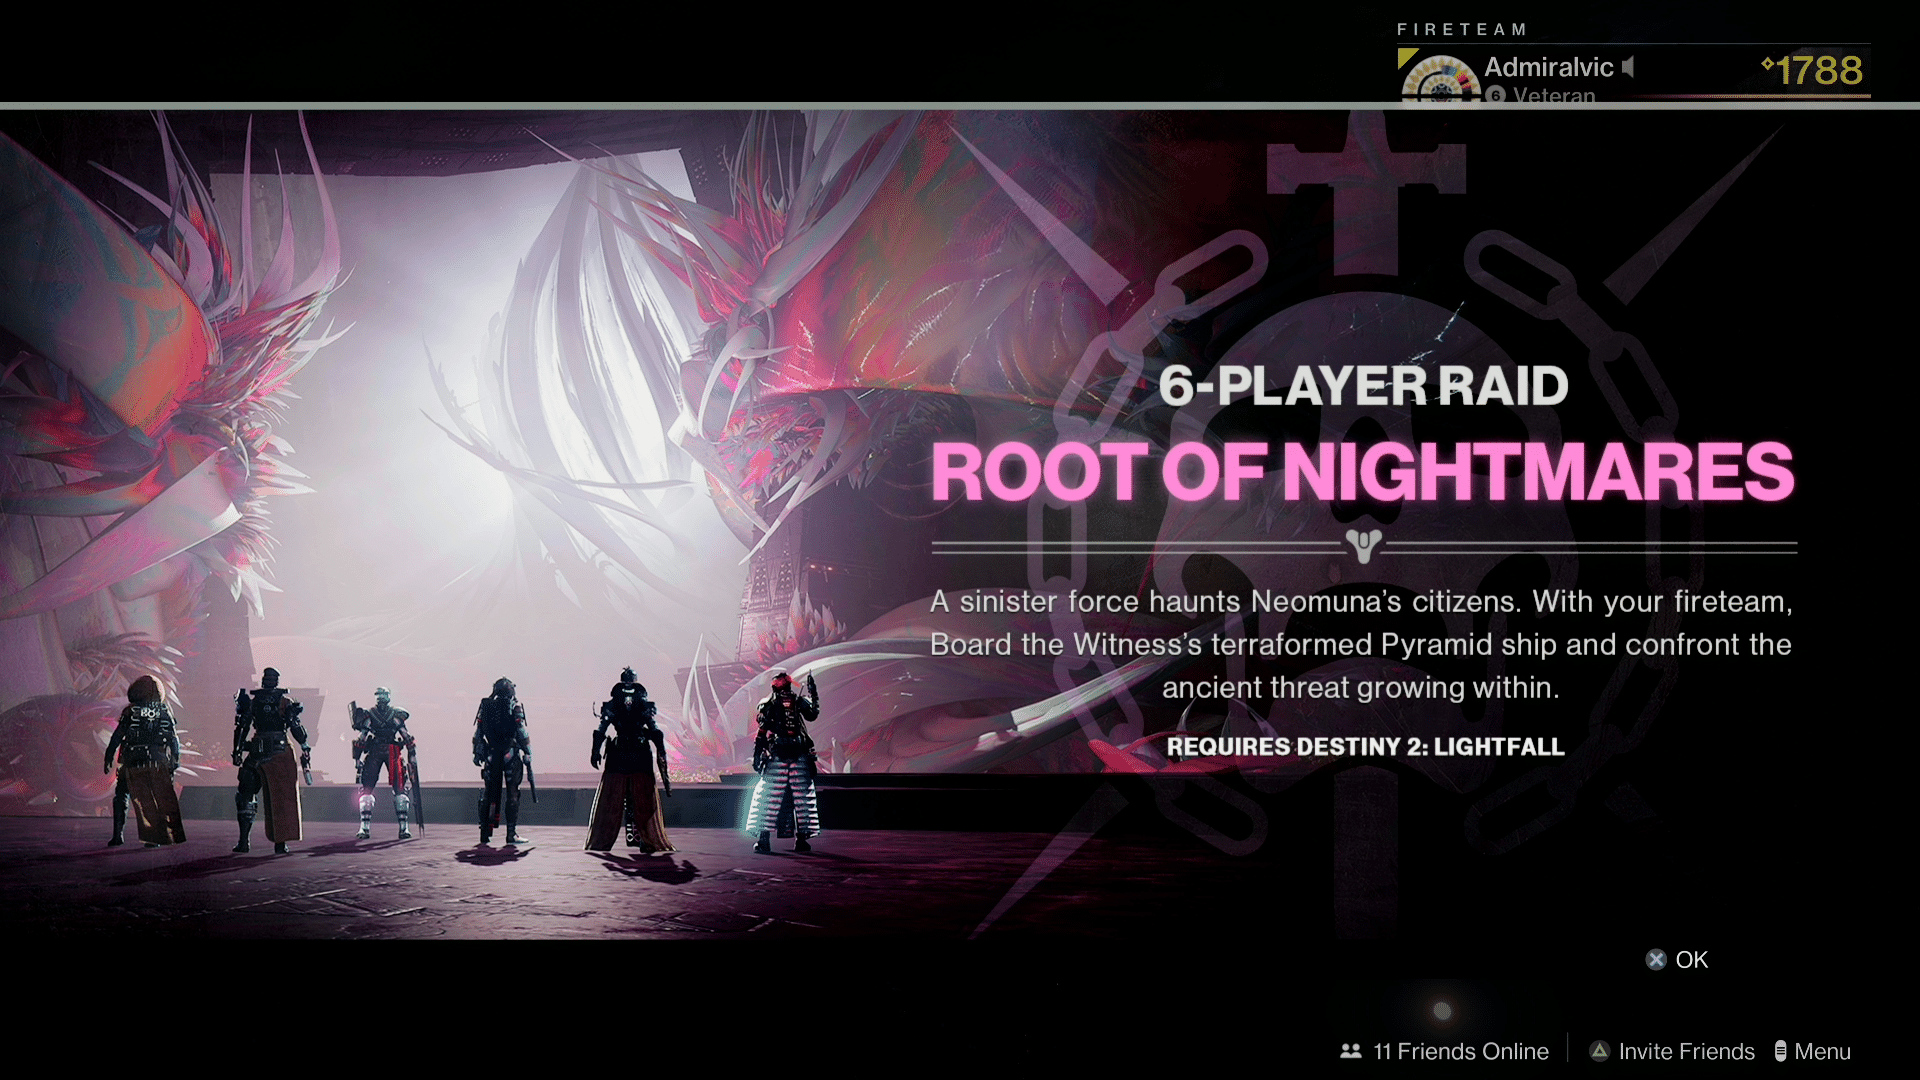
Root of Nightmares is the raid included with Destiny 2: Lightfall. It involves a familiar name in an unfamiliar location. With recent raids really pushing esoteric elements, weird mechanics, and all kinds of callouts, there are fears of this being a big ask. However, given raids often sound harder than they actually are, let’s get into Root of Nightmares.
How to Complete Root of Nightmares in Destiny 2: Lightfall
How Easy is Easy?
There is an interesting duality with Root of Nightmares. It’s commonly called an “easy” raid, but that doesn’t stop players from struggling. Realistically, it comes down to phases.
What typically causes the most issues isn’t the first attempt, it’s the second, third, or in some cases fourth cycle. However, in Root of Nightmares it should be a relatively quick win once the fundamentals are down. Don’t be surprised if you struggle the first couple of attempts, or if you try during contest mode.
Best Weapons
First two encounters come down to add clear, with the second two being damage heavy. Mainstays in each category will go far, it just depends on what your team is doing, or where you struggle. Four people don’t need to run Trinity Ghoul, just like Gjallarhorn isn’t needed if you use linear fusion rifles, and so forth. That said, it does help to have Divinity.
Completing Root of Nightmares
Cataclysm Encounter
The first encounter is surprisingly easy for a Destiny 2 raid. Start by assigning a designated runner. This does not need to be anyone special, they just need to be fast, and possibly do a callout or two.
What the runner needs to do is find the orb with an aura, stand inside it, shoot the orb, and then run to the location it’s pointing to. There you will find a black orb. Simply stand under it and shoot the orb. This will remove the buff, activate the node, and point to the next location. Return to the node with an aura around it, shoot it, and keep this up until you reach the other side of the room.
Doing this will prevent the wipe mechanic and allow players to move forward. The node with the buff will also move forward in the pattern, so make sure to move with it.
To master this you need to learn the rotation. It should be five points, followed by six, seven, and another seven for a total of 25. While patterns seem random, there is some logic behind it. Every set has a pool of potential options. The first can either be directly in front of you, or to the right. Getting one immediately links to the other, so you can do start, forward (based off how you enter the room), right, forward, forward, or start, right, forward, forward, forward. Every set of nodes follow this pattern, it just comes down to getting it done.
For add clearers you need to kill Psions and Tormentors while fighting adds. The most notable enemy will be a Barrier Champion that you need to beat. Killing the Psions spawns a Tormentor and killing that enemy extends the time to finish the pattern. If you don’t need time for the earlier sections, you can keep the Tormentor alive and apply that time to later sections.
Some tactics, including the challenge, involves cycling players. If you’re cycling, the important thing isn’t getting the buff, as much as shooting the orb after a teammate shoots theirs. This will reveal the next location. Doing it too early will cause all the nodes to disappear, and not doing it will prevent the next orb from spawning.
Jumping Puzzle One
Not really much of a puzzle, but if you go the other direction at the end you’ll find a Tormentor that opens a door containing a secret chest.
Please note, secret chests contain one previously obtained piece of gear, spoils and a mod. Do not open the chest if you didn’t like your previously obtained pieces. It can also be done weekly, so you should open it before the week is over, you just might want to return to it.
Sicission Encounter
This is another encounter that looks harder than it is. Start by assigning two runners who will shoot orbs like in Cataclysm, with one assigned to darkness (orange) and the other light (white). Dark will be on the left side, with light on the right.
Like the previous section, you need to complete a pattern on three floors to move forward. However, unlike the previous section, you need to get nodes on both sides of the map. For this reason Strand subclasses are really useful for swinging and defeating with adds.
While this requires a little more coordination, it’s actually pretty simple. The pattern is always the same, with the first (aura) starting on your side before moving to the other side. When you cross sides, your node will always be towards the wall. After that, the next node will be on your original side towards the middle. If this is confusing, if you’re darkness (left) your nodes will be always be on the right side of the room. The opposite holds true for light. This makes finding the next node a lot easier, even if you never finished the section.
For add clearers there really isn’t much to know. Enemies with auras require the aura buff to damage, and a Barrier Champion spawns after using the aura when it moves to the second location. Basically, when the aura is in the middle, it will spawn the champion when the runner shoots it.
Extremely coordinated teams can use two runners, but I suggest keeping it simple with one.
Jumping Puzzle Two
Unlike most jumping puzzles, this one introduces a new mechanic over being hard to jump. To perform it you need to get one buff and shoot the other orb to get a new buff that allows you to survive the death pulse wave. If you’re not interested in dealing with it you can brute force the encounter, it just takes a lot longer.
When you enter a room that has stairs everywhere, the second chest will be on a higher level behind you.
Macrocosm Encounter
This is, by a wide margin, the coolest encounter in the raid. However, it’s also the most annoying for unskilled teams.
Start by assigning four planet movers, and two add clearers. Two add clearers should be in the middle, with the planet moves to the top/bottom on the right/left side. Technically speaking it can be done with only two movers, it just makes things a bit more confusing.

What you’ll need to do is kill two Centurions that spawn in the middle. This will cause four Colossus enemies to spawn by each of the four planet sets. Once they’re killed you will be able to see the planets and more importantly, move them.
Your goal is to move all the light planets to the left, and all the dark planets to the right. If this is confusing, the image above shows what people call light/dark with them pointing to their correct side.
Each of the four planet movers need to find the incorrect planet, go under it to interact with it, and call out the location. Right now it seems to be left/right/middle based off how you enter the room. After calling it out, you need to go to the other side and interact with the same location that your opposite called out. For example, if your location is left and theirs is middle, you’d interact with your item on the left, call it out, go to the right, and then interact with the middle object. If done correctly, the four planets will move to the correct locations and a visual icon will appear.
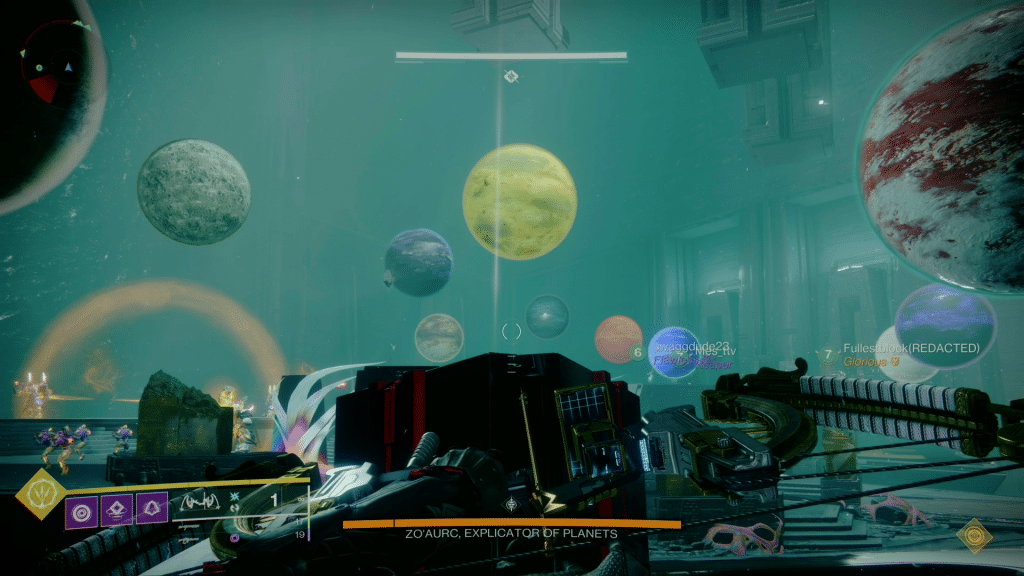
When all four planets are in their correct locations, you need to do the same for the middle. This works exactly the same up to the planet moving part. This time you need to look in the middle, and match the pattern. For example, if left/right are light and middle is darkness, you need to do the same on the plates near the boss.
Since the pattern will always include a light/dark planet, have a designated grabber on each side. For the odd one I suggest the other person on that side will grab theirs. If it’s two lights and a darkness, you just have the two people on the left, and one on the right grab it.
During damage it will follow a pattern revealed before the fight. Get in the correct aura, damage the boss pass the segmented area, and repeat until it dies or the plates are all used.
For last stand there is a significant build up. You’ll want to wait until he kind of explodes in flames before trying to damage him. If you’re confused, feel free to shoot your primary until it does damage, followed by using your damage dealing weapons.
Nezarec Encounter
Nezarec is the classic example of an easy boss that is deceptively simple. This fight is best done with three groups of two on the left, right, and middle. The groups to the side will contain a runner, along with an add clearer. Those in the middle will have to deal with the boss, plus any additional adds that spawn.
Runners need to complete a rather simple pattern that goes forward. What makes it hard are the adds, along with the extremely short window to complete it. For this reason most groups will push towards one, or at most two phasing him. This section also works exactly like the previous node sections. Learn the pattern and you should be able to complete the sequence with minimal difficulty.
If you can’t consistently complete it in the shorter time window, you’ll need to deal with his wipe mechanic. All you need to do is break both of his shoulders and see which color they shine (white/orange). Whatever the color is, you need to take the opposite buff, shoot a node without the aura on it (think second jumping puzzle), and have the team step inside the pool. This will give you a buff that lasts 15 seconds to survive the blast. If you enter the pool too early, simply return to refresh the buff. After the blast hits you’ll survive and can finish the pattern from where you left off.
Those in the middle need to survive Nezarec’s attacks while also breaking his shoulders and chest like a Tormentor. It helps to have a high damage weapon, such as Izanagi’s Burden, but not required.
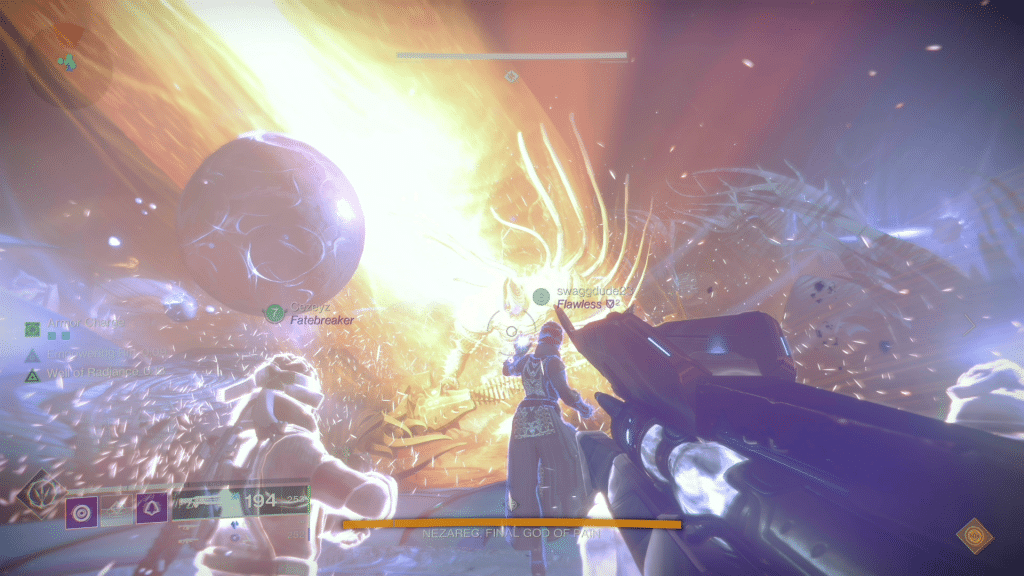
When both sides are finished he will go into a damage phase. You’ll want to be on one of the orb plates, with each having a distinct advantage and disadvantage. Your team can decide which plate makes the most sense. Once you’re grouped up, wait for the animation pictured above. After that he will be open to damage for a period of time.
At the end he will enter a brief last stand where you finish him off and complete the raid. Your loot will be located where he spawns, along with his axe where you can buy a weekly deepsight for Spoils of Conquest.
