

Destiny fans have eagerly awaited a new secret exotic, and those requests have been answered with Vexcalibur. The exotic might sound somewhat familiar, as the exotic was datamined, and appeared in some marketing materials before. However, the conditions to unlock, and details surrounding it were unknown until today’s update. Now that the secret has been revealed, these are the step needed to unlock Vexcalibur in Destiny 2: Lightfall.
How to Unlock Vexcalibur in Destiny 2: Lightfall
Unlocking the Quest
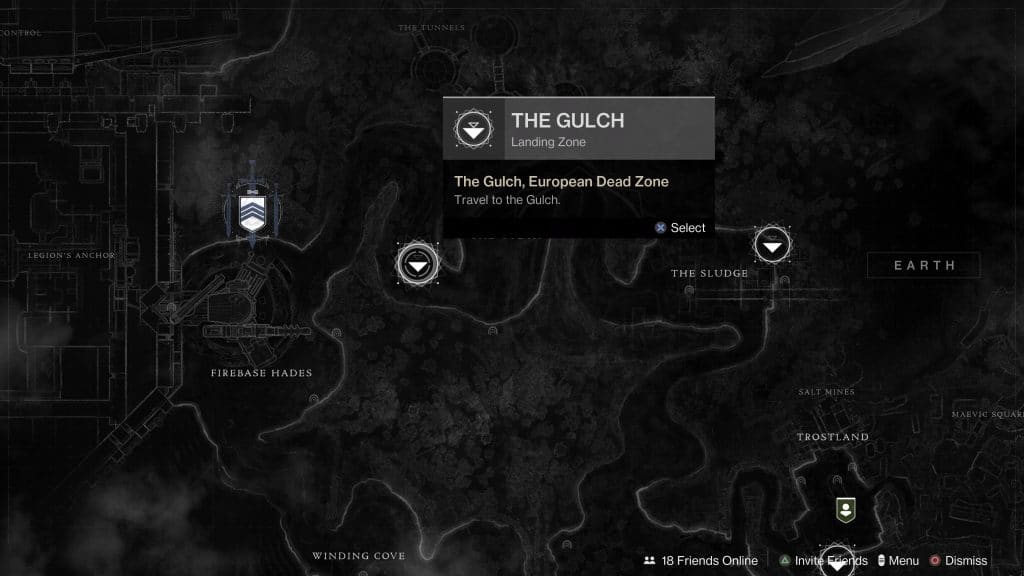
Start by heading to The Gulch in the EDZ. In this area you’ll find six white Vex clusters that you need to collect to unlock a gate. Each cluster must be collected within 30 seconds of the last one, with the full set being needed to actually unlock the mission. Since this is really hard to explain in words/pictures, you can find a video guide below.
Order does not matter, so if you prefer going another path it will work all the same.
Finding the Mission
After finding all six a door will open. This is also shown in the video above, but if you don’t want to watch it, you need to find a small cave in The Gulch.
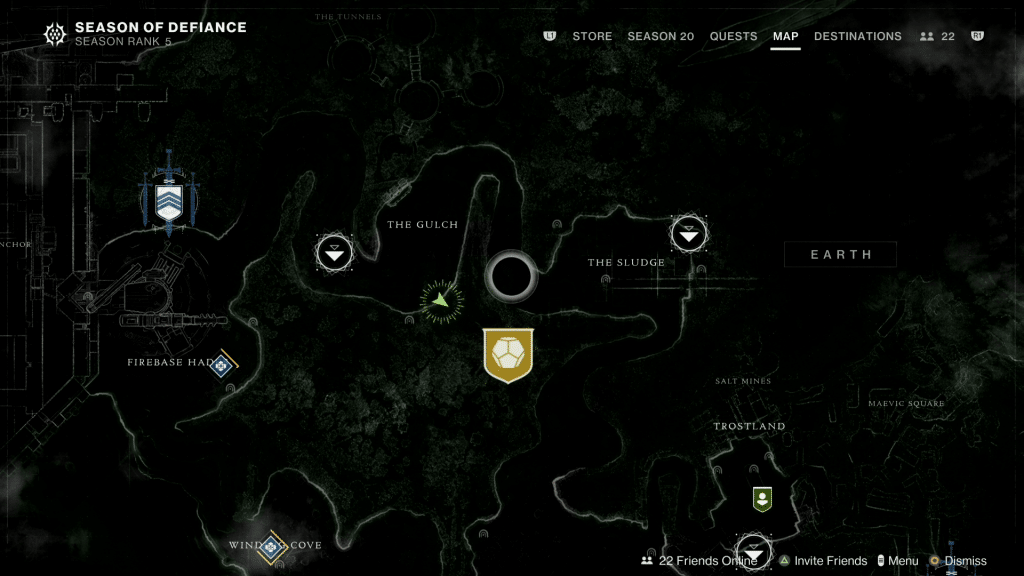
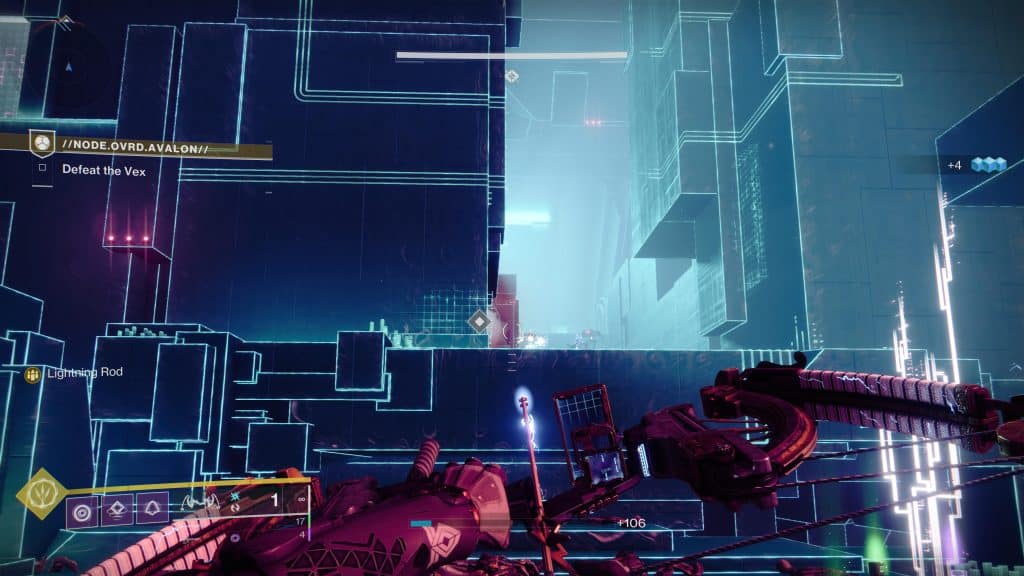
It’s located here on the map, with a small room containing an unusual Harpy. It will give you the option to start //Node.Overd.Avalon//, which is the exotic mission. I strongly suggest getting two people to join you, as it was not a fun mission to solo (I killed just under 2,000 enemies).
Complete //Node.Overd.Avalon//
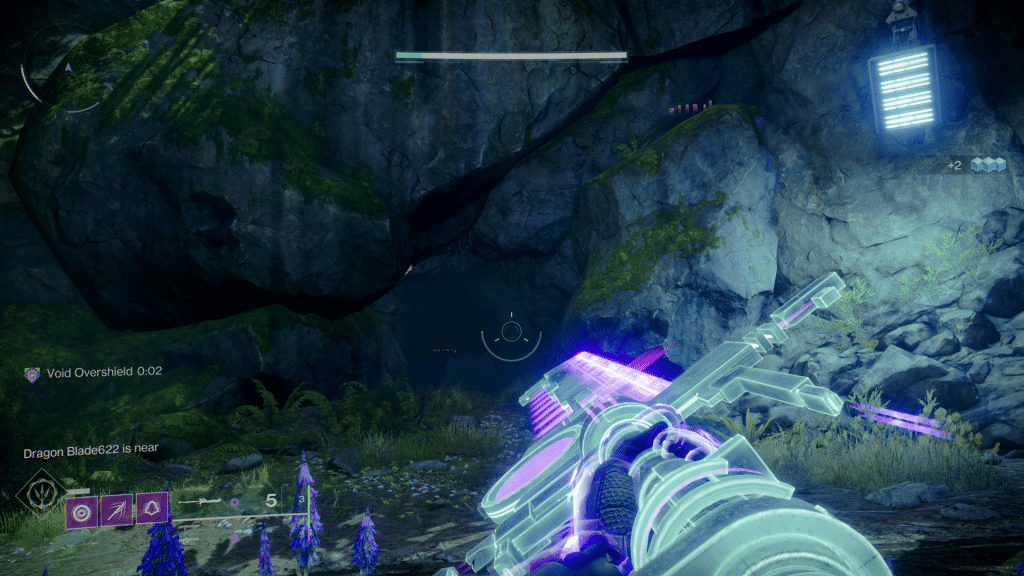
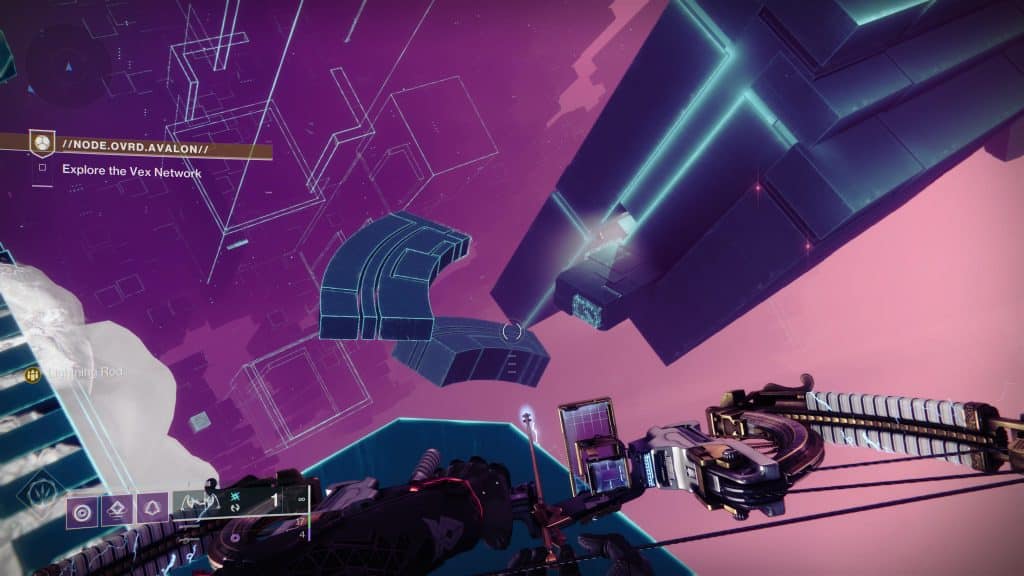
This mission is relatively straightforward, especially if you did the Season of the Splicer Vex missions, but if not you start by having to navigate through various small pathways to move forward. The section will have three encounters, which you need to overcome if you want the exotic glaive.
Encounter One
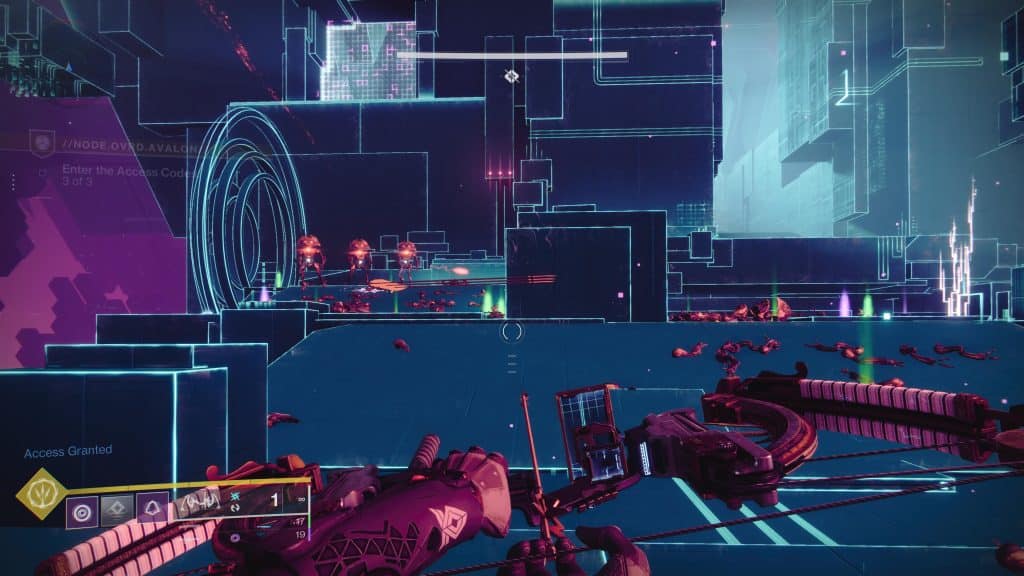
The first encounter involves endless waves of adds, plus a code entry mechanic. What you need to do is find the wall with the code (right has the first, left the second, and the final is to the back right) and enter it by shooting the various icons that appear in the middle.
One extremely helpful tip is Hobgoblins and Minotaurs have a finite amount of spawns, so if you kill them you just need to deal with the goblins.
After the first section you’ll need to fight a large number of Vex to get into the next room. Do not die at this section or you’ll need to redo the previous stuff. The big thing is this room has two Cyclops. One is directly in front of where you enter with other at the bottom left corner. After killing them you’ll need to repeat the same steps in this room.
Like the previous room, Hobgoblins are finite, though Minotaurs and Goblins are infinite. You’ll want to kill the Hobgoblins, find the code, and then enter it. The code locations are annoying on this stage, with one appearing near you, and the other two are located on the other side going down the gap. One extremely helpful tip I can give you is I don’t think triangle is used.
I did a fair amount of patterns, and not once did I get a triangle code. I could be mistaken, but I think it just exists to confuse you, something that will likely happen during this part. That said, if a reader can confirm otherwise I’ll gladly remove this section.
The final section will involve another set of adds. Here you need to kill a couple Wyverns roaming around. As soon as you kill them it should end, or at least start the process for finishing the section.
After that section you’ll have another weird section to navigate through. At the very end you need to jump on these platforms that disappear. When you get across you’ll get to the next encounter.
Encounter Two
This encounter is extremely simple, but just as easy to die. It’s very similar to the second major encounter in Garden of Salvation, where you kill certain enemies, collect motes, and dunk them in the middle. The first two sets need eight and 10 respectively, with countless enemies shooting you as you collect them.
Here you want to quickly kill them, and either dunk them to go into the safe zone, or go somewhere safe until you’re about to run out of time. The only reason to delay going is the Wyvern. It isn’t powerful, but the small space makes splash damage a nightmare.
After two sets you’ll have to fight waves of Harpies, and the boss. Just cycle between the adds and boss, making sure to kill the Harpies that spawn on the pillars. These will stick around with the Hobgoblins in the next section, so don’t allow them to survive.
I found the area over here was the safest to defend. Provided you keep a watchful eye on adds, and clear major threats, you won’t die.
For the remaining two sets you’ll need to collect another 10, followed by 12. Things are exactly the same, though it’s a lot easier to fail the objective. Once you finish, you just need to kill the boss.
The final section is exactly like the first, though towards the end it summons Minotaurs. The aforementioned spot should still protect you from everything it throws at you.
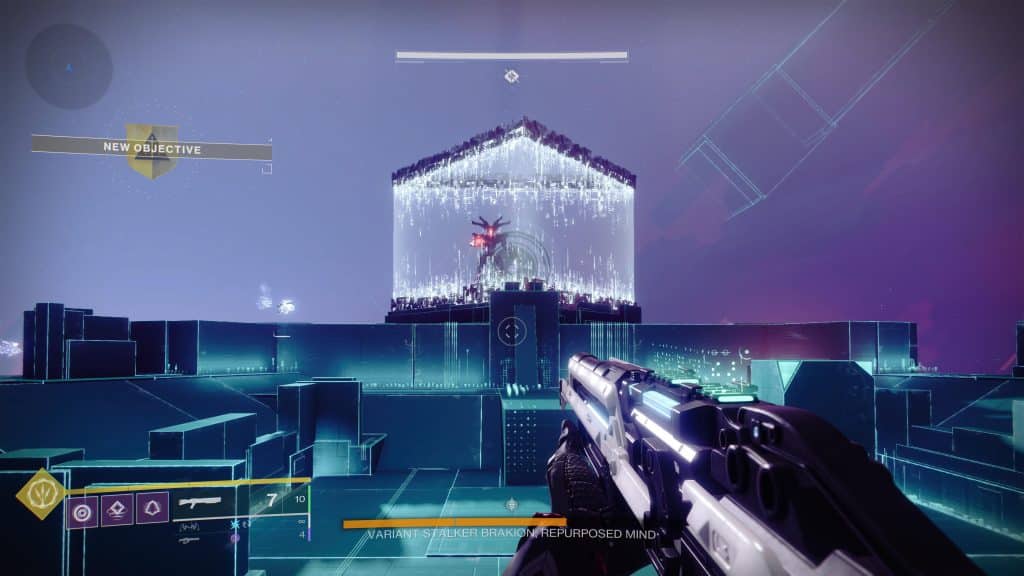
Encounter Three
The final fight has three phases, and no checkpoints.
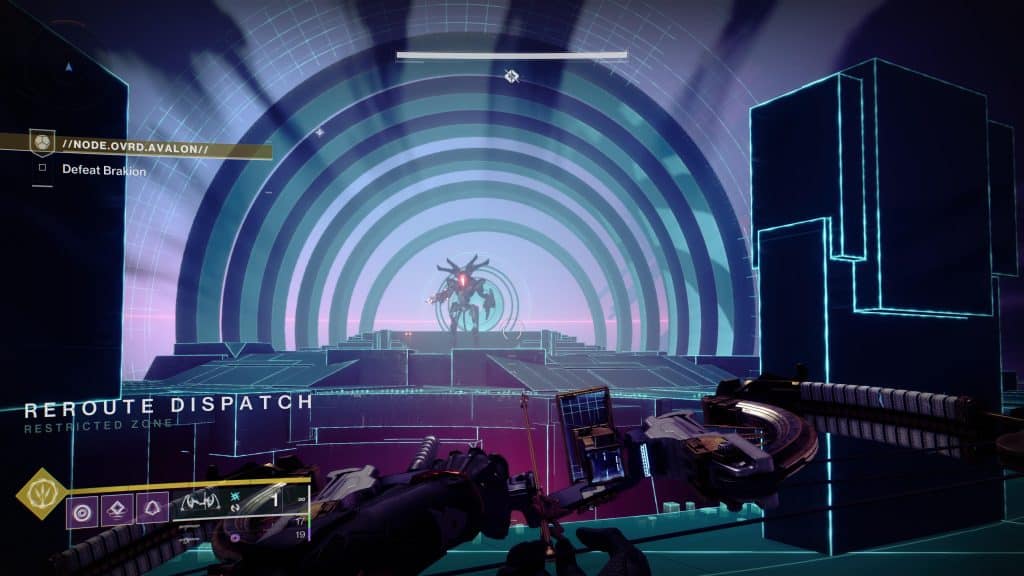
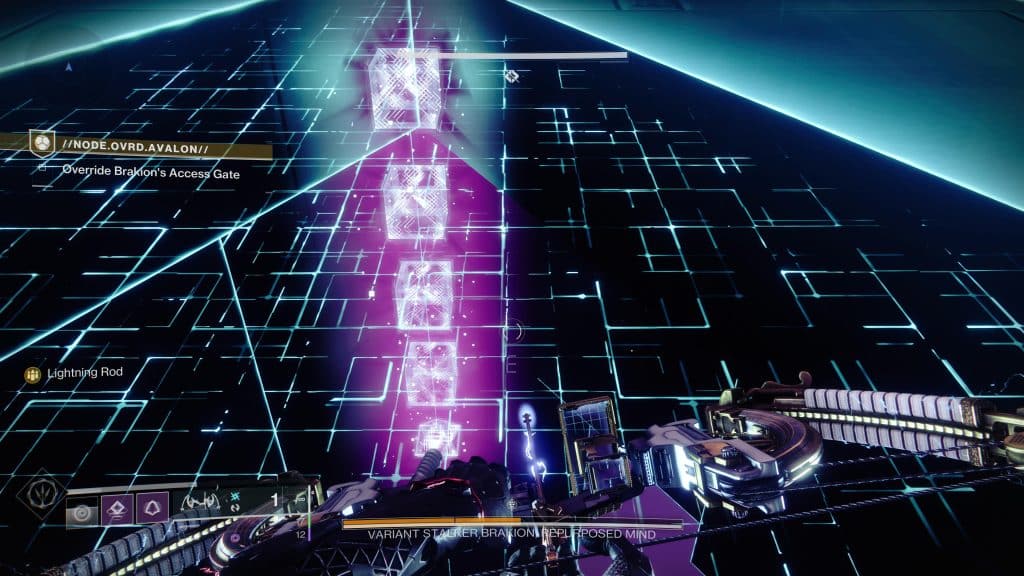
For the first phase you have Brakion shoot at you as enemies swarm. It teleports in a clockwise pattern, and I am pretty sure adds spawn based off health. With this in mind, when it teleports to your position, you simply move to its previous spot. As long as you kill the adds, and play smart, you shouldn’t die.
When you remove the full first segment of its health there will be another wave of adds. Kill these and then go through the gate (it will be located behind where it’s standing in the picture above).
The next section works exactly the same way as the first encounter. A bunch of Harpies will spawn with two Wyverns and a Hydra. Kill the Wyverns and Hydra to spawn the codex, and then kill the Cyclops that spawn near the boss. Once those are defeated, kill the various Harpies until it’s safe to move.
Run to the left or right corner to find a small gap with an invisible floor. One side will have the code, with the other being completely empty. Unfortunately, I did not figure out how to determine which side was right, but the extra time shouldn’t matter.
Since these codes always have five inputs, clear adds until it’s safe to enter the sequence. My advice is to get four done, wait for another wave, kill that wave, and then finish it. The reason for this is Brakion has a small window to take damage. If you do one hit, no hits, or remove half his health you get the same amount of time. Doing it this way ensures the longest damage window, along with eliminating the chance of getting an add spawn just before he is vulnerable. Removing this segment will cause it to run through another gate that you need to enter after killing a wave of adds.
The final section is, by a wide margin, the hardest. Instead of having various mechanics to overcome, players need to fight the boss as it chases after you, while also dealing with Minotaurs and Fanatics. I am pretty sure the adds are based off the bosses health, so you’re best off taking this slow, kill the adds, and then focus on the boss. As long as you don’t do anything crazy, or over damage the boss, you should win. However, it might take a while.
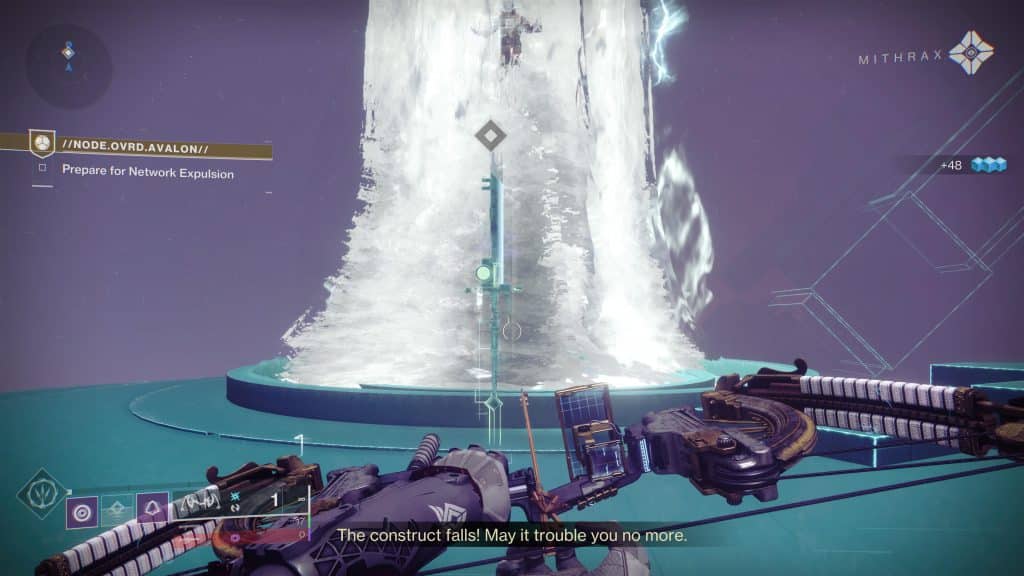
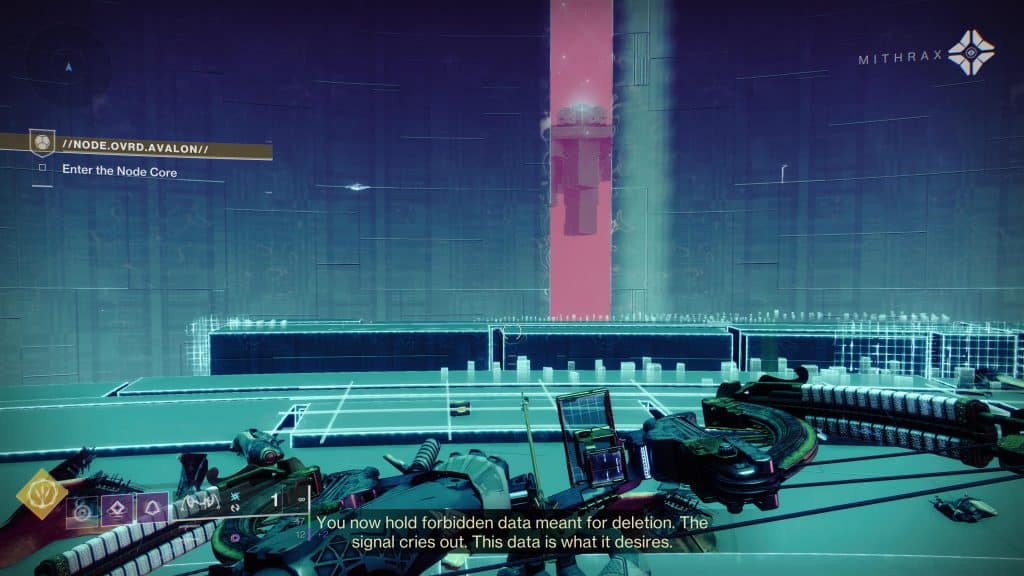
Finally, collect Vexcalibur to finish the mission.
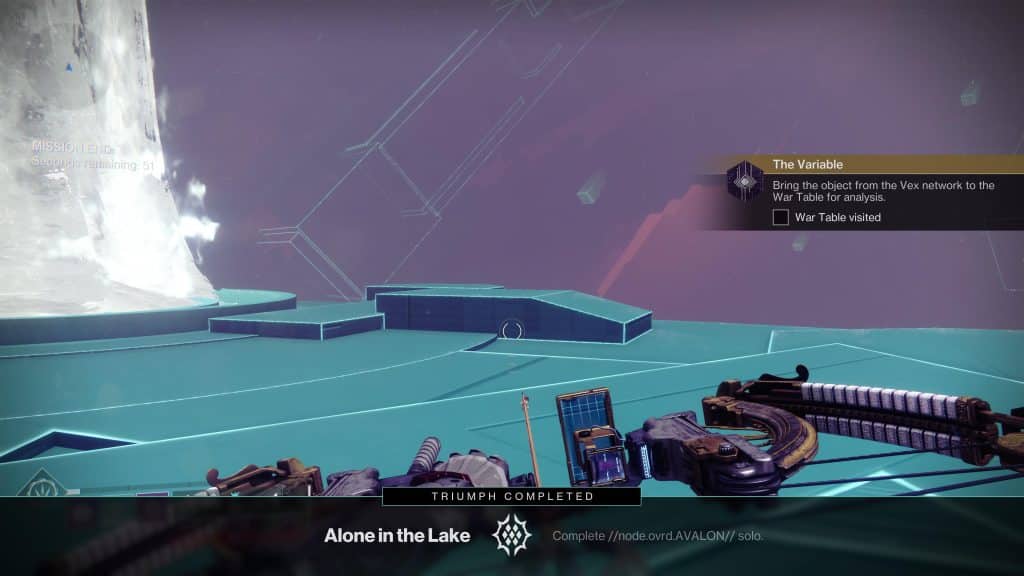
For those wondering, there is a triumph for finishing it solo as well. It does not unlock an emblem, or seem to be associated with any title. It’s just an optional task you can complete for 20 triumph score.
Visit the War Table

After going there you’ll unlock Vexcalibur to use. Simply examining the Deepsight section will unlock the pattern so you can craft it. You’ll also get a quest afterwords that unlocks the Authorization Override mod.
