
While this is technically the third time you fight Vahram, which also makes it the final Prince of Persia: The Lost Crown boss, this is a surprisingly manageable fight. It uses a lot of the previous tricks and creative moves to make for an engaging battle. What really helps is his health isn’t as high as some of the other bosses, along with more reasonable moves to dodge. Still, if you’re having issues this guide will make it a lot easier.
How to Defeat Vahram in Prince of Persia: The Lost Crown
Basic Information
While it’s more than possible to win with no upgrades, it helps to return to Lower City’s The Haven destination. Here you can speak to a couple different venders and upgrade your gear. The latter is especially helpful as the right build can be surprisingly broken.
Since this is a Metroidvania experience and what you have access to will vary based off how much you’ve explored, we simplified the process by listing what we think are the best amulets.
Best Amulets
- Blade Dancer
- Void Blade
- Verethragna’s Wrath
- Turning Wind
- Will of Rostam
- Wolf-Bride
- Dragon King
- Mount of Damavand
Now it is not possible to wear all these amulets at the same time. We suggest picking and choosing based off your individual skill. Those who can dodge/avoid damage will want to build towards power, whereas those who struggle should go the defense route.
It also helps to note several of these have little to no value depending on the fight. As much as I love Blade Dancer, several bosses won’t allow you to perform the full combo. Likewise, with Void Blade and other damage boosting amulets it’s possible to hit a point where normal enemies die long before the combo happens as well. Still, it’s better than nothing.
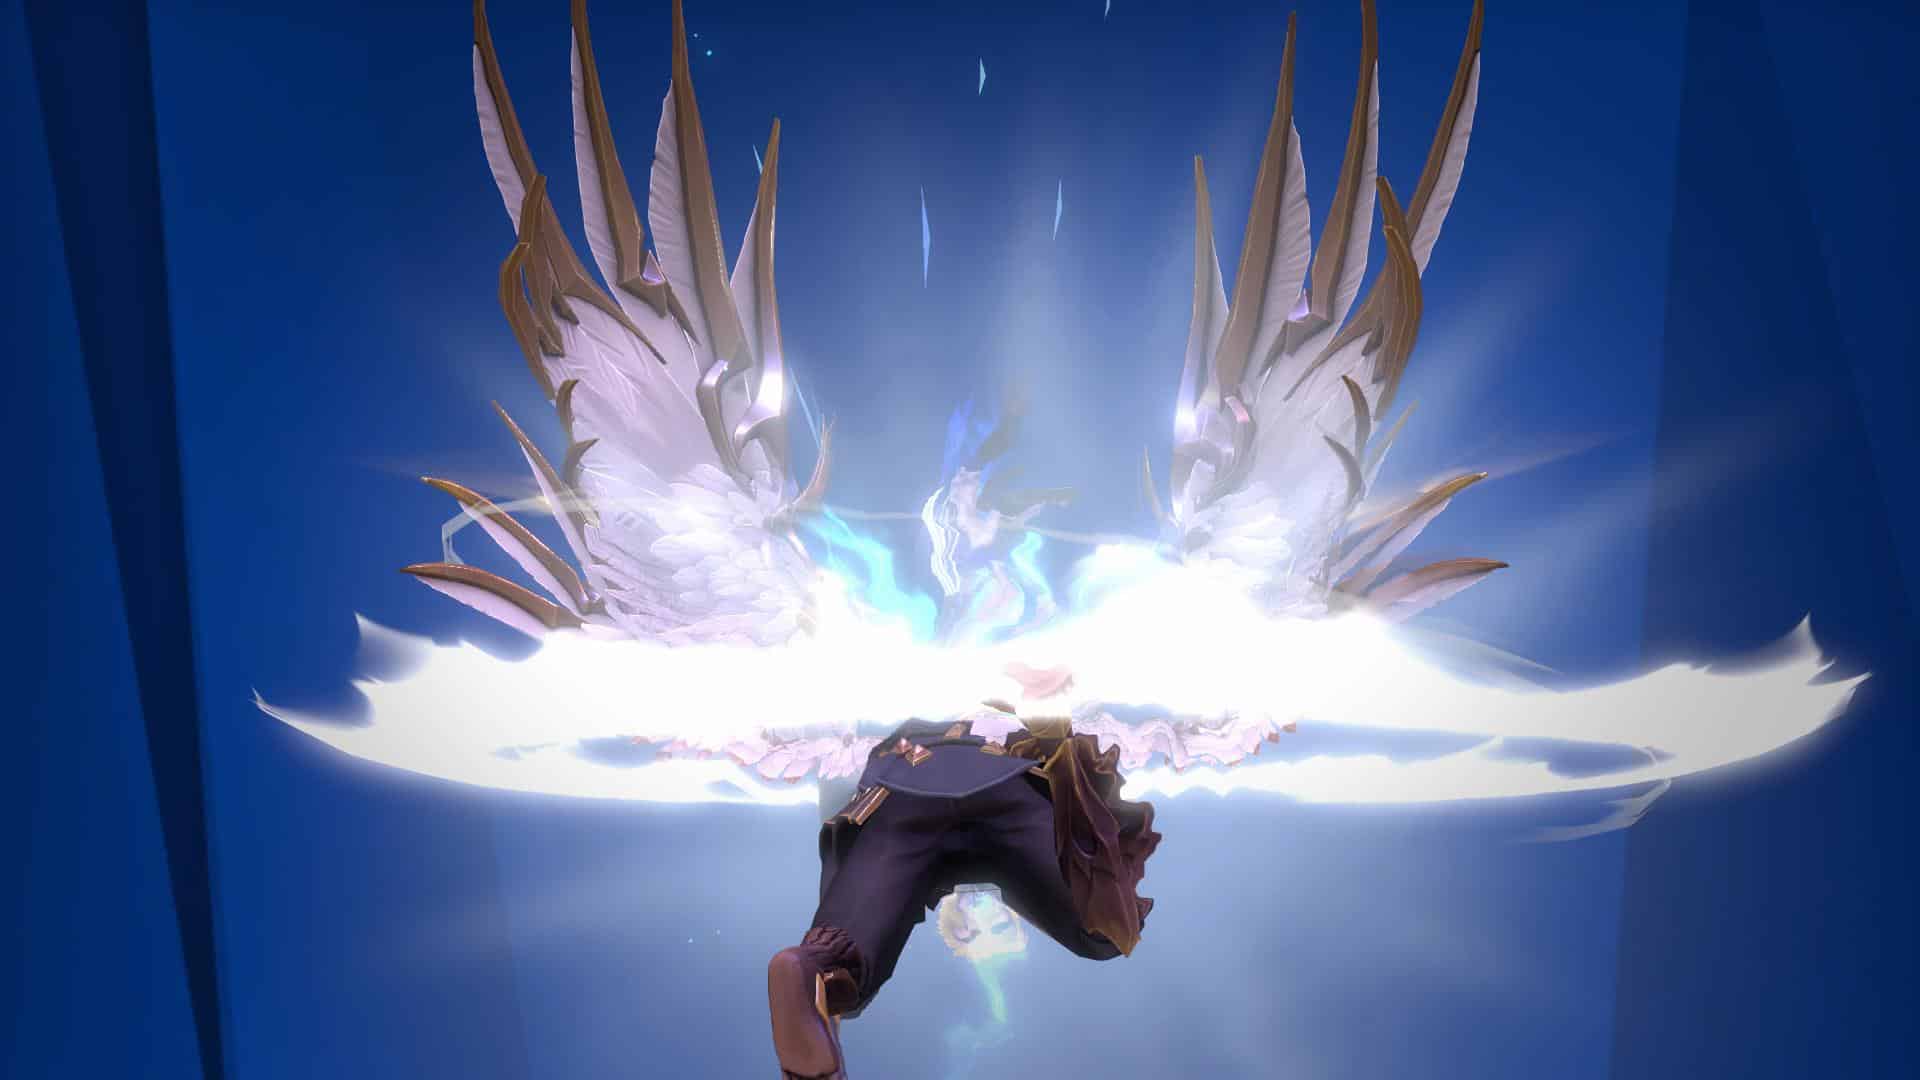
Athra Surges should be Verethragna’s Smite, and Rashnu’s Judgment. If you can consistently build tier three Athra Surge, build towards damage, and use Rashnu’s Judgment the guide is super easy.
Vahram Phase One
During the first phase it’s an introduction to all of his attacks. Most of these are easily avoided by jumping, or through environmental cues. My advice is to use Void Wave whenever possible to safely gain some additional damage while punishing him. I also suggest not using an Athra Surge and instead try to make it to level three during this phase.
Vahram Phase Two
With this phase Vahram gains a sword, a lot of his attacks has much larger range, and it gets a bit tedious to do anything. Usually he starts this phase with a sword combo, which can be instantly parried with Rashnu’s Judgment to take off a massive portion of his health.
Most of the moves have obvious dodge solutions as well, though the Fabric of Time needs the Shadow of the Simurgh to dodge the double orb attack.
The best advice I can give is to play it safe, don’t be afraid to parry his first two sword moves and then run under his leaping strike, and try to gain as much free damage as possible.
Vahram Phase Three
This starts with two copies of Vahram doing the arrow attack. It can be hard to avoid both sets, though I found it easiest in the middle.
Not much else changes in this section besides the orb section gaining a third set that can be avoided the same way as the first set, just by avoiding the final set the same way as the first.
The best advice I can give is to wait for the sword combo for Rashnu’s Judgment , and play everything else as safely as possible. If done correctly he should go down without breaking a sweat.
Vahram Phase Four
The final phase is more of a joke. You’ll gain full health, additional power, and it’s just a quicker version of the third set. As long as you maintain the same strategy you shouldn’t die, even if you have no potions left.
After this he will lose and the ending will play.
