
Finishing any Destiny 2 dungeon or raid on day one is an uphill battle. You have to learn the mechanics, hope the people you get are patient, not to mention having no clue what the best weapons are. While the meta isn’t currently known, finishing the dungeon isn’t too bad. Especially if you have follow this quick guide.
Warlord’s Ruin Guide
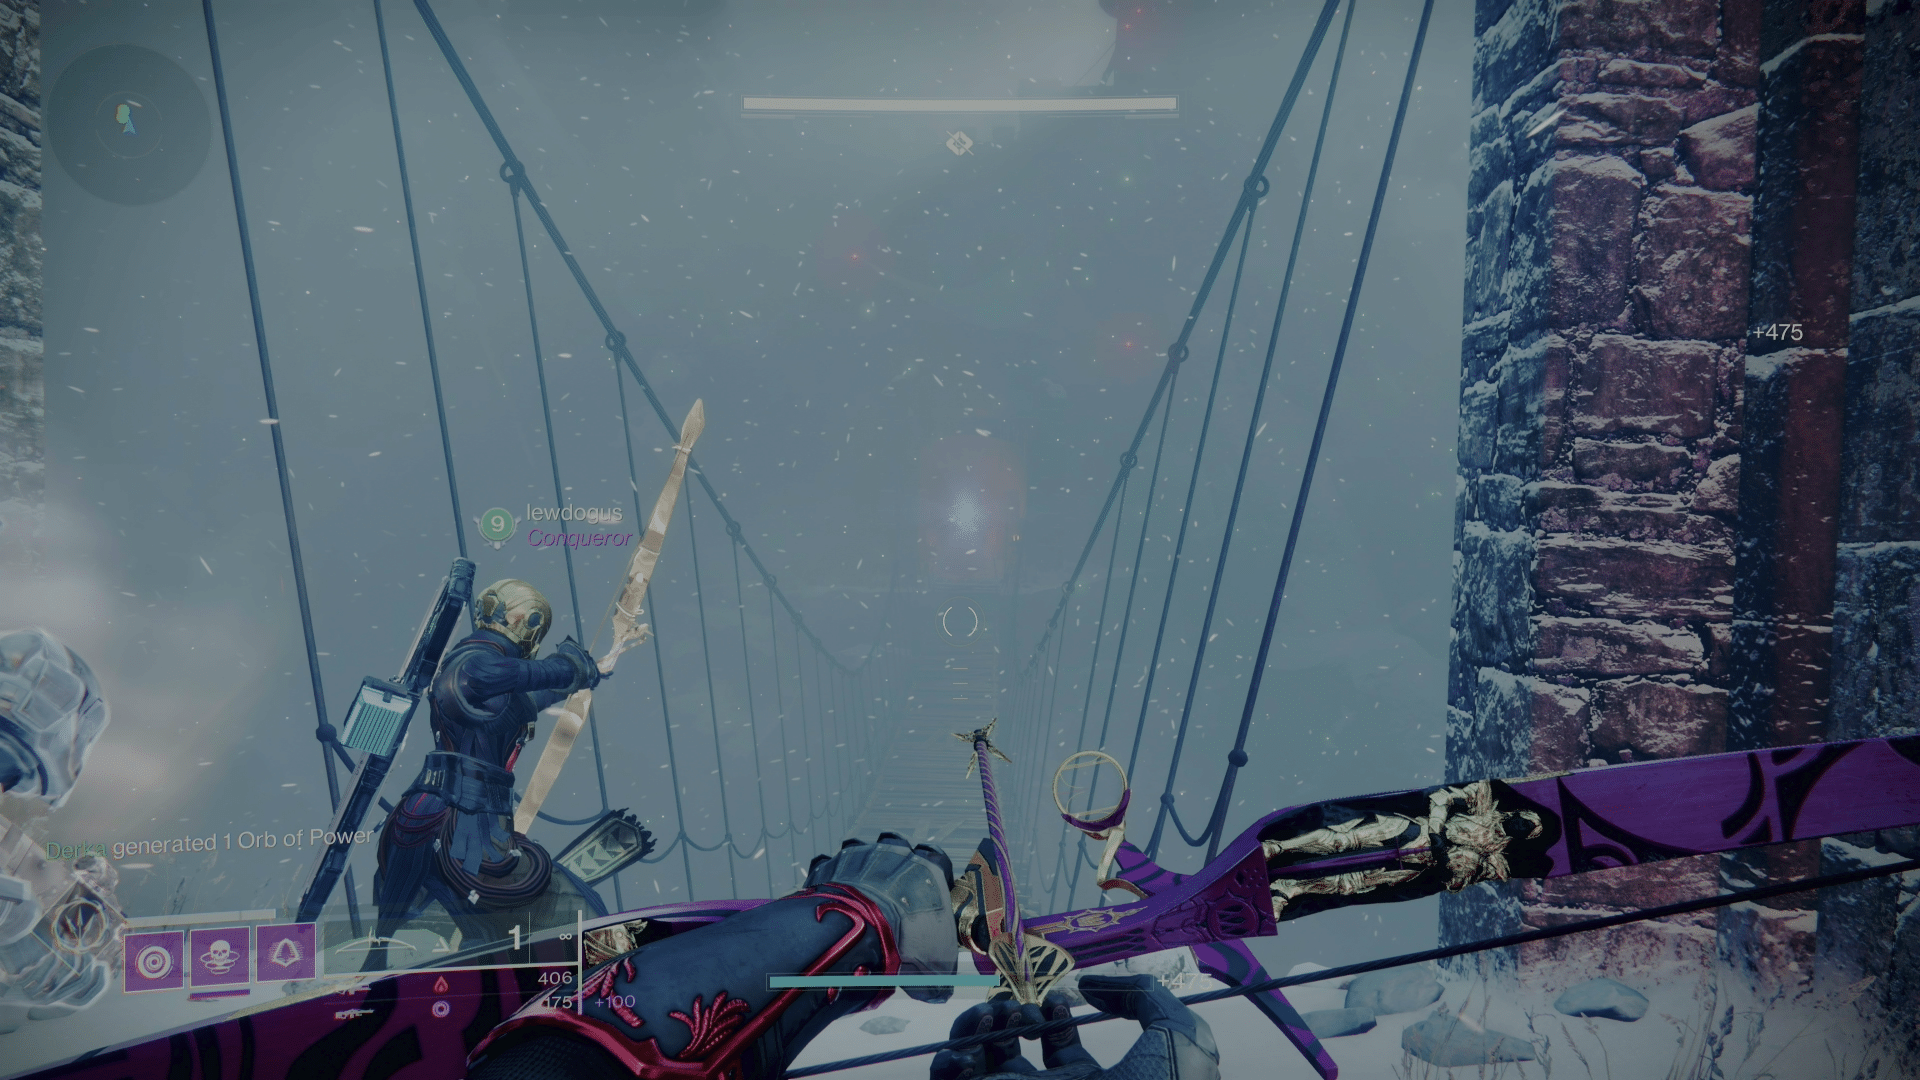
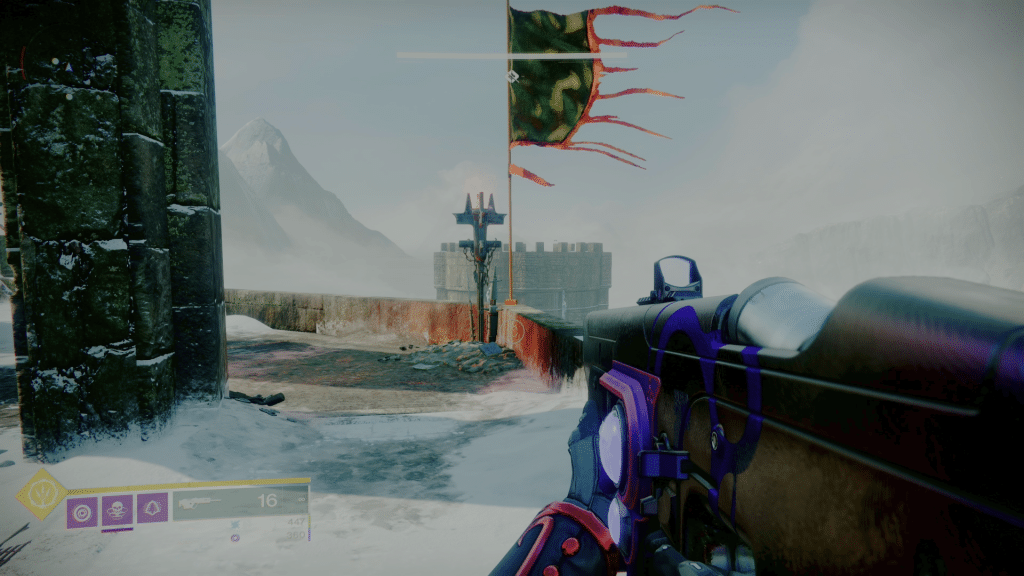
Rathil, First Broken Knight of Fikrul
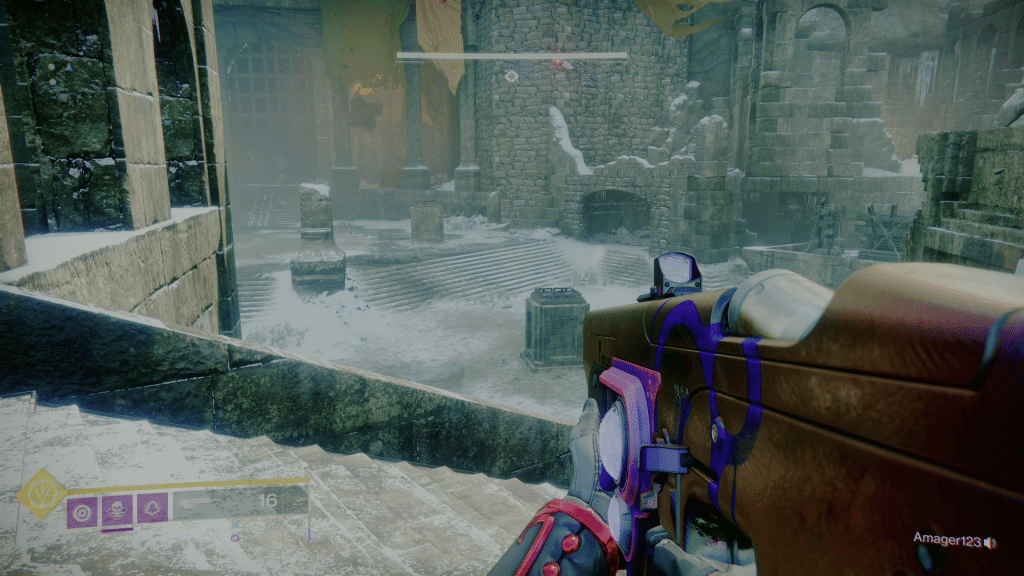
This dungeon starts with an incredibly simple boss fight. To defeat Rathil all you need to do is clear adds until he summons a black totem (Chieftain Totems). Shortly after all players will be teleported to a cage that slowly lifts up.
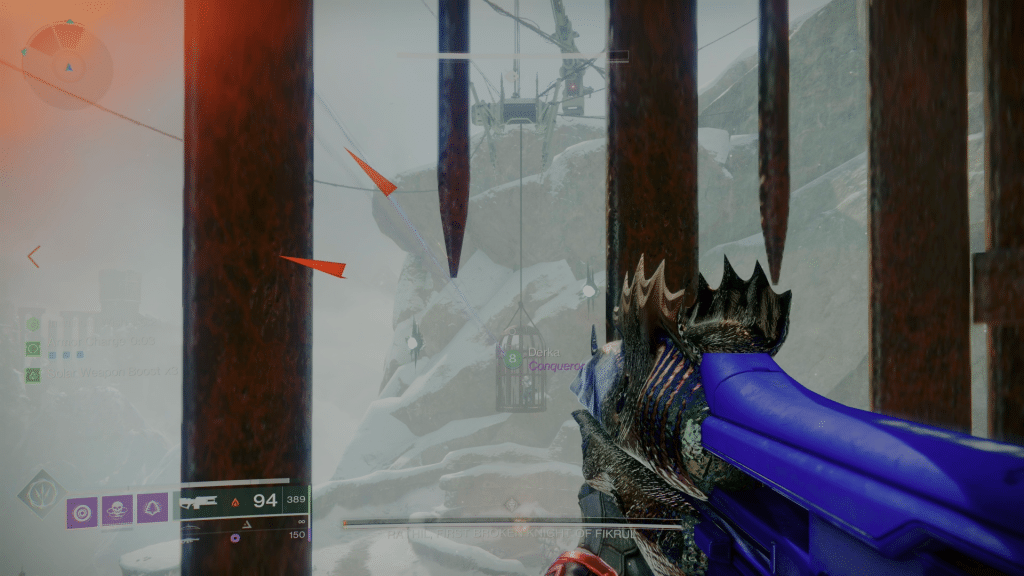
Around you will be three Acolyte’s Eye around you. It’s easiest to shoot your partners, as you can easily see all three (the third is directly under the broken bar on the left). When all three are broken the gate will open and you can break his shield.
All you need to do is stand in the Totems until the black orb in the middle goes away. It will also make a distinct sound as well. Do that for as many as possible and when the “imminent wish” timer hits zero it will backfire breaking his shield.
Jail
This is probably the most confusing part of the whole dungeon. Throughout the area is six circular discs and two skeletons. Start by finding the two skeletons. One should be next to one cage, and inside another. This indicates which ones you need to shoot.
They should have one hand missing and a number. The missing hand indicates what way the wheels turn, and the number is how many wheels need to turn.
Finding the wheels can be hard, but they’re the white circles pictured above. Simply shoot them one to have them spin, again to stop, yet again to spin the other way, followed by the cycle restarting.
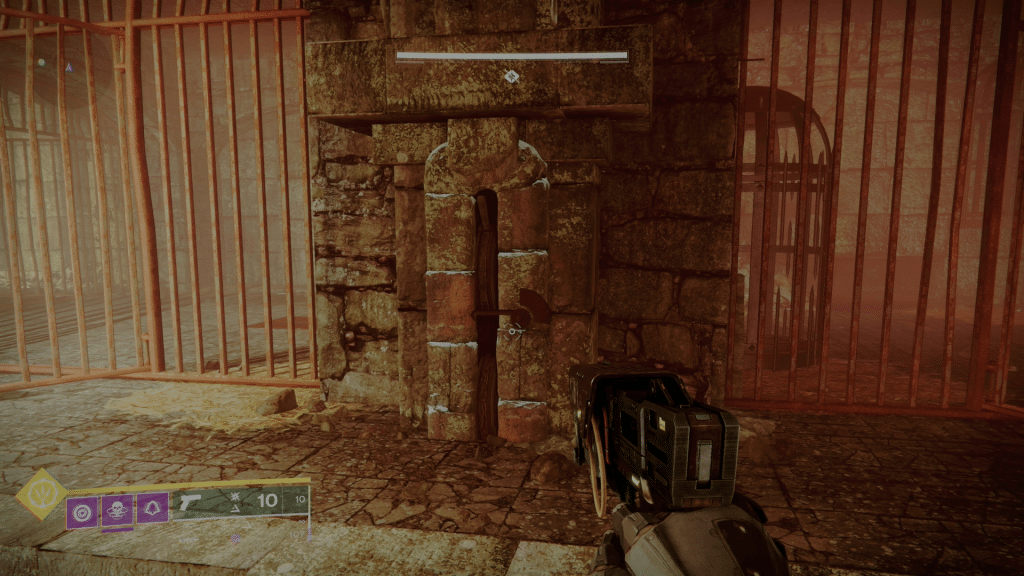
When all six are moving the correct way shoot the lever and it should open the gates.
Locus of Wailing Grief
Locus of Wailing Grief is very similar to the first encounter. First you need to kill Acolyte’s Eyes to summon a two Unbroken Knights. One will appear on the left, with another on the right.
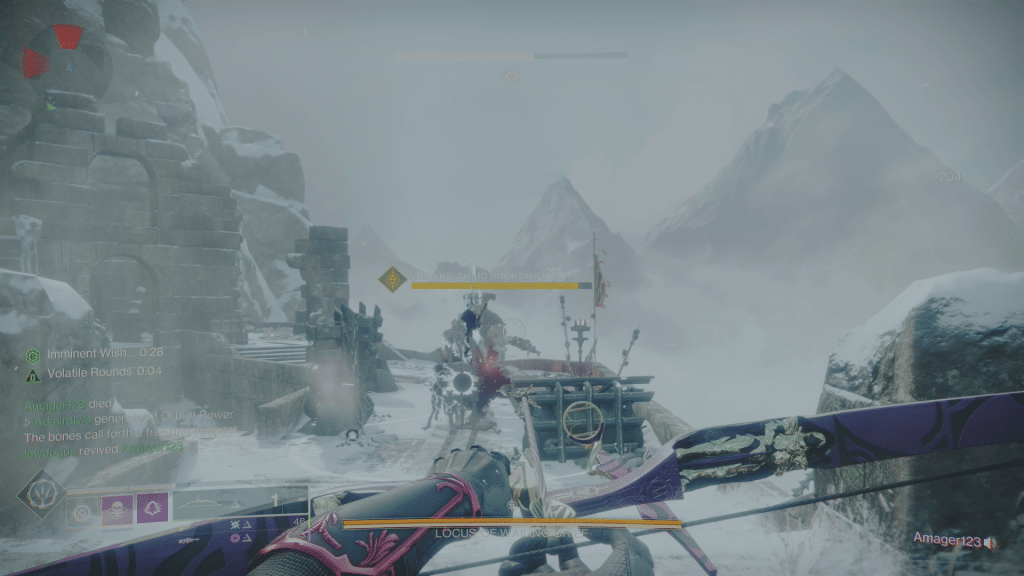
The way these enemies work is simple. They will spawn one of those totems, along with summoning a second when they die. Ideally you’ll get two of them to sync up so you can capture one or both at the same time.
During this section you’ll also gain a debuff called Biting Cold. Getting to 10 will instantly result in your death. To survive, simply stand by a totem and Biting Cold will quickly go away.
Based off the number of totems captured you’ll get flaming orbs in the middle. Each of those need to be dunked in the four podiums pictured above. When the fourth is dunked damage will immediately start on that area.
Each location has about 15 seconds before the flame goes out. You want to go to the starting plate and then go in a clockwise motion. Do not accidentally touch the other locations or you will waste a damage phase. Keep going until the fight ends.
Hefnd’s Vengeance, Blighted Chimaera
The final boss is not hard, but it is very easy to wipe to. Start by killing adds until wizards spawn. Kill them and then focus on the six Acolyte’s Eyes. When all the eyes are destroyed you’ll see two Unbroken Knights spawn. They work exactly the same way as the previous encounter. The only difference is instead of surviving the cold you need to melee a special Wraith to give it your hex. One extremely helpful hint is powered melee attacks work, so if you throw a knife/smoke bomb it will transfer.

Please note, only one hex per Wraith. When the totem is captured you can run away until the wish timer runs out. At this point you’ll have a small section of health that needs to be removed to open the next section. Repeat the same cycle twice, followed by a longer damage phase in the top area. Make sure everyone goes the same direction in the circle or you will lose a damage phase.
When Hefnd’s health gets low you’ll get a last stand and finish the dungeon.
