
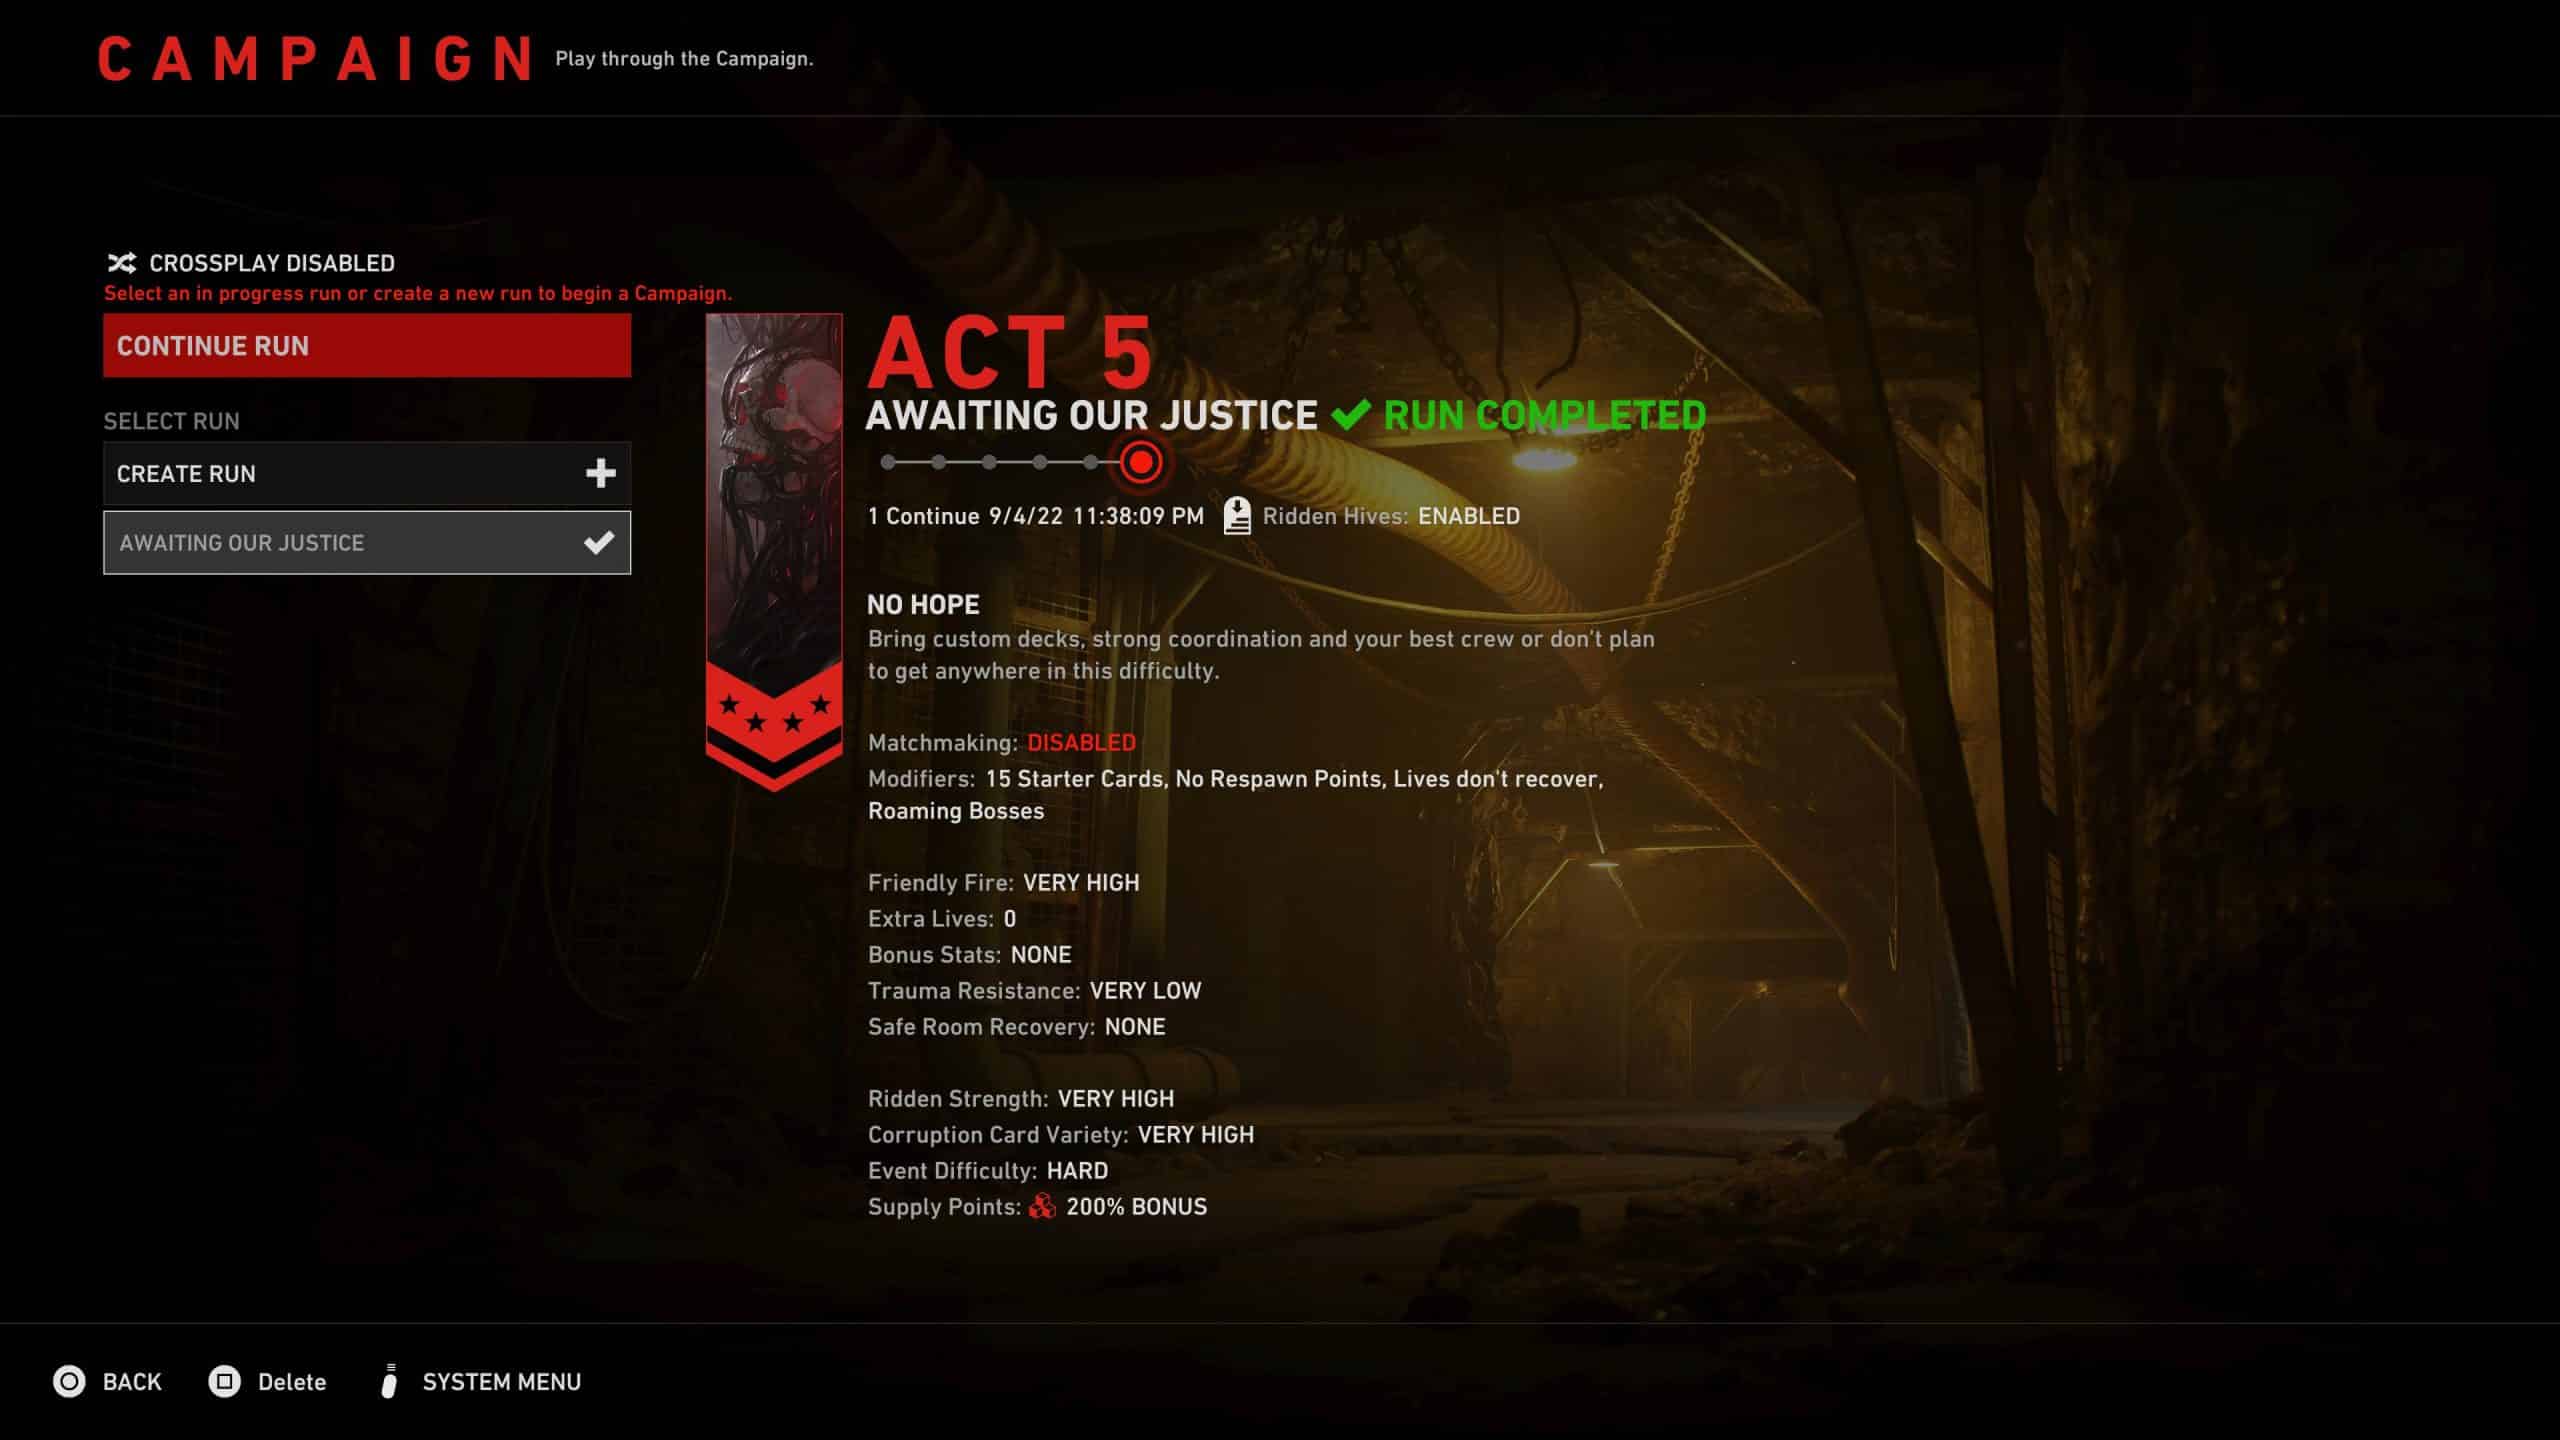
After the extremely easy Tunnels of Terror trophy/achievement list, Children of the Worm really makes players work for it. There are a lot of really conditional tasks, like killing a Slasher with Iron Claws or killing a Crone with a Bow, but the really notable addition is requiring No Hope difficulty. It’s a task that skilled players are absolutely up for, with something less skilled players dread. Thankfully, there are a lot of tricks to make it easier, which will be covered in this guide.
Back 4 Blood Act 5 Ace Trophy/Achievement Guide
Overview
How Difficult Is It?
One of the reason why I write such long and detailed guides is due to the disconnect in experiences. I’ve read a lot of people say this item is overpowered and this one trivializes everything, but the truth is every build I’ve tried requires a fair amount of skill and luck to actually be successful. This is true for this build as well, though my hopes is to illuminate some of the finer points to make your run a lot easier.
Do I need to do Each Difficulty?
No. Unlike the base game, beating No Hope unlocks everything else. Feel free to skip it if you don’t want to do it.
Set Up
Required Build
For this you basically just need a card called Expired T5. It’s one of the new cards, which uses 50 rifle bullets to create clouds that deal 8 fire weak point damage every second. It’s also an activate to use skill, which disables your support slot and has a 26 or so second cooldown and lasts roughly 10 seconds. It’s a really powerful ability, since it kills basic Ridden, weakens some of the enhanced ones and damages special. The power can be further enhanced by using Pyro, since that doubles the damage and gives temporary health for fire kills. It’s a strong play, as you can easily kill every Ridden around you and gain 20 percent or more temporary health.

As for the actual build itself, it really depends on what you want to do. I did it with the build pictured above, though it is in no way a perfect build. I’d probably drop something like Dash for Hyper-Focused, though the basic idea is that you want weak point damage for Expired T5 and speed to cheese a few sections. There is a weird arc where the first couple of sections I sped through, with third, fourth and fifth being more traditional and finally sped through again.
Another alternative is a strong melee build. I’ve personally heard people were successful with the build posted by OCZSAVAGE, which uses the following cards:

I tried it briefly before writing this guide and can confirm that when it works, it works. The main reason why this guide will not focus on it, besides the fact I did not complete the act with that build, is that it is extremely unforgiving on higher difficulties. Getting the wrong enemy, not dropping the items you need to transport and just bad luck like a bear trap, Hag or any number of other things makes it harder to suggest. However, I do want to offer an alternative for anyone struggling with the Expired T5 build or perhaps don’t want to grind for it. Admittedly, this uses Food Scavenger, which is another item to grind for, but is not essential like Expired T5.
Is Expired T5 Worth Grinding For?
While it is not absolutely required, it’s a really helpful card. It basically allows you carte blanche when running past foes or doing any objective. That said, it isn’t exactly god mode either. Expired T5 has no impact on Sleepers, meaning they need to be dealt with, along with Charred Ridden being immune and triggering any precision kill thing, both good and bad. All things considered, I would say it’s still a great way to make up for a lack of skill, allow for a more aggressive play style or just get free healing.
Grinding for Expired T5
Since you’ll probably be grinding for Expired T5, it helps to know the best way to do it. While there is some merit in grinding the levels to learn them, getting Expired T5 is no easy feat. The loot pool includes all the new items, holiday items, apparently skull totem items and Supply Line items in the game. It’s a massive pool of well over 100 items, with it still being 80+ if you had everything before this expansion. Odds are you’ll end up having to do this 50+ times, which means you’re almost certainly best off doing the final stage.
This helps a lot to get a friend or someone online and grind it out. One reason is reports indicate they don’t appear offline, something I can confirm from my various runs here, with the other being it makes the levels a little faster and offers more supply points. Basically, have one person go left and the other right, which should end with all the prisoners freed in a minute or two.
The person on the left needs to grab the duffle bag, which will be in one of three spots. All three are pictured below and are in the exact same general area in the Upper Shaft.


After that, set the explosives and get to the car. One last thing to note, whomever has the duffle bag needs to make it to the car safely. Dying also drops the bag, so you need to be aware of this.
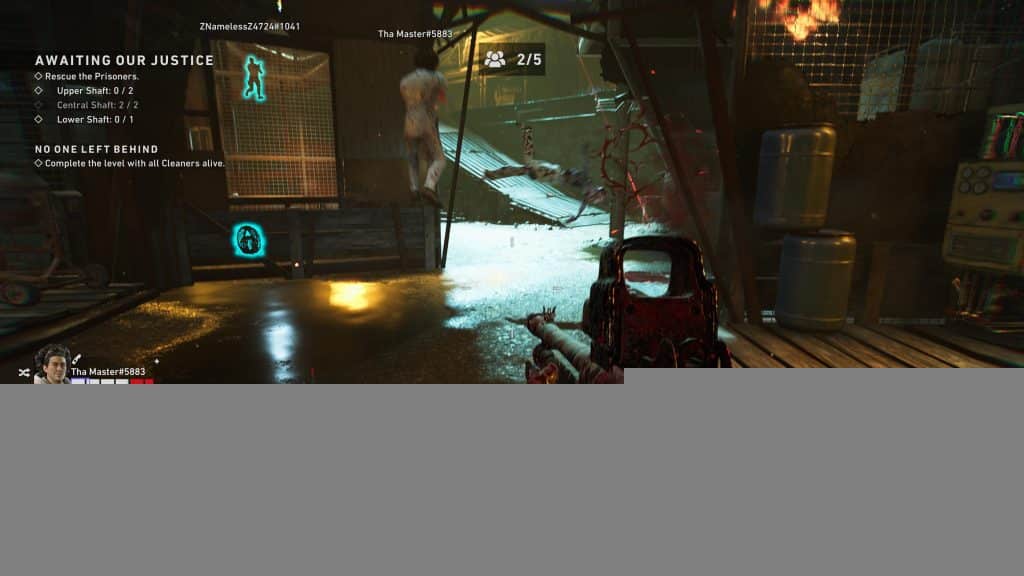
In the event you don’t have a friend, most groups playing this level intend to grind it. This makes it a lot easier, though there will always be one or two people who don’t realize others just want to rush it. In the end you play with others or are not sure, the image above shows what the duffle bag looks like if someone else has it.
Playing Act 5
Which Cleaner?
This question comes down to who gives you the best perk for your specific play style. I did Holly for extra health, though Jim benefits the most from this build and Evangelo is good for further rushing things. If you’re confident in health, I would strongly suggest just picking Jim.

The obvious reason for Jim is precision kill buff is a perfect synergy for Expired T5, but the other reason is his 357 Magnum.
As you can see, the 357 Magnum is a secondary weapon that uses rifle bullets. This small detail is actually pretty big, since the AI will not give you free ammo for a type of gun you’re not using. As a result, it’s even easier to run out of ammo to use Expired T5 and potentially ending a run.
Ridden Hives
Before starting your run I want to confirm that you can skip some of the annoying levels by simply entering a Ridden Hive, running to one of the earlier exits and going to the next level. You do not have to actually reach each levels conclusion to get the trophy/achievement or credit.
Starting Point Cheese
In addition to that, another cheesy detail is how checkpoints work offline. You can simply play a level, see how it goes and back out if you don’t like the direction it’s going. As long as you do so before a wipe occurs, you’ll retain your single continue and it will start exactly the same way as the previous attempt.
A couple things to keep in mind about doing this. The first is that your cards are set in stone. If they suck, the run will either suck or you might want to try again. Burn cards are used regardless. Leaving simply nullifies their benefit. Bosses are seemingly predetermined. This means if a Breaker spawns once, it should spawn on every other attempt. However, when and how you face them will vary. The good news is that you can get more advantageous spawns if you’re lucky.
This is also something worth considering as there are no checkpoints on No Hope. You either beat all six or you don’t.
Difficulty Listing
For anyone curious about progress, the following list shows the stages in the order from most to least difficult. This will make it easier to know what to expect or plan for.
- In the Depths
- Where Me Flocked’s Chained
- Light Guide Us
- Surrounded by Devils
- To the Den of Evil
- Awaiting Our Justice
What makes In the Depths so bad is how long it is. Every other level can be rushed, with enough skill, but that one absolutely requires players to fight enemies and slowly progress forward. Where Me Flock’s Chained at is a similar problem, just with a lot of tight places, though many sections can be rushed and the final one is a lot easier with Expired T5.
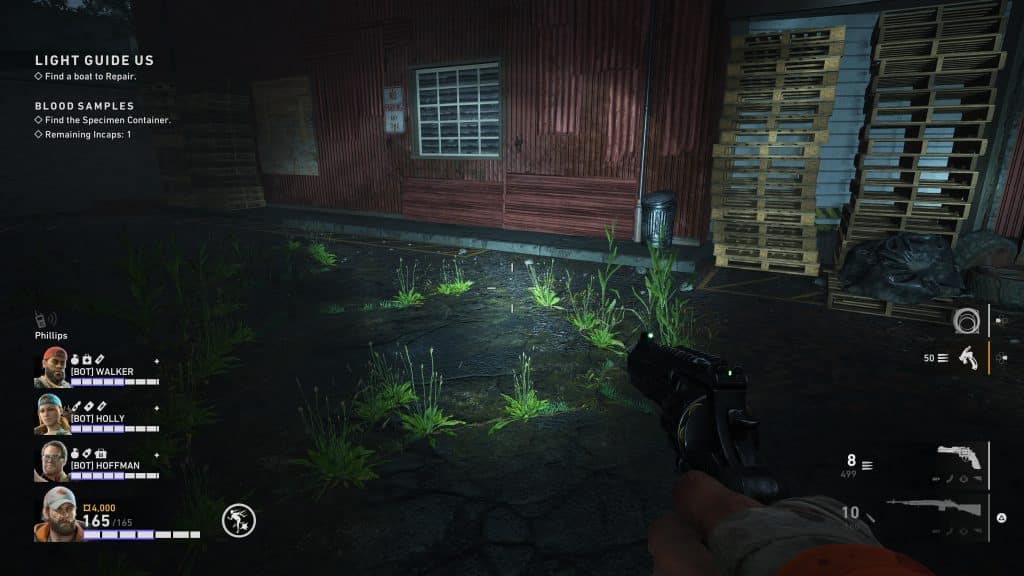
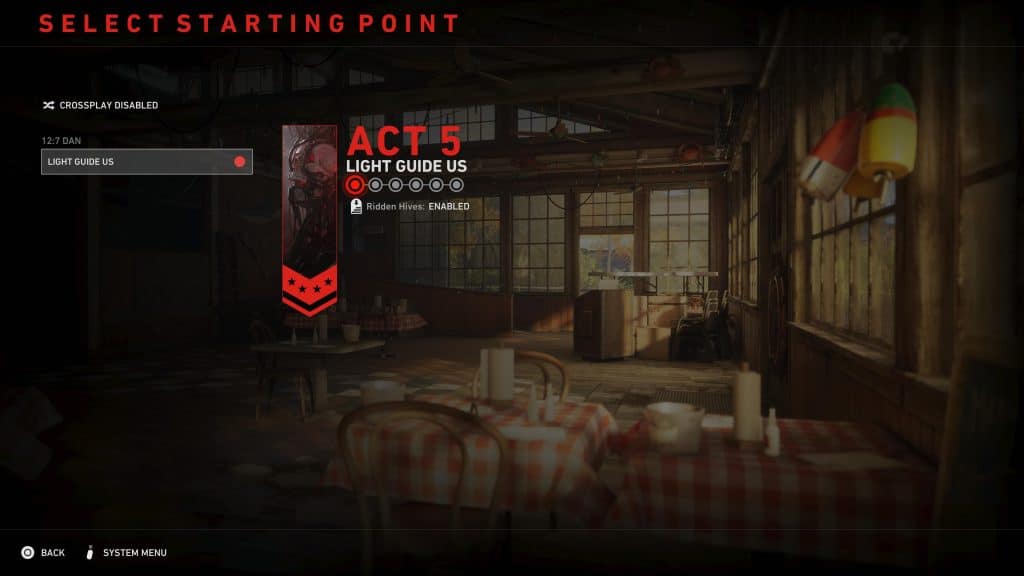
12:7 Dan – Light Guide Us
In a lot of ways the first level will be the hardest. The best way to start it is to pick ammo or stamina, at least swap your primary weapon to one of the green weapons, consider purchasing something like extra stamina and then rush out the door using Expired T5.

This should give you a sizable amount of temporary health, making it a lot easier to get to the first objective. Trigger it once your Expired T5 is available or close to being available. Kill some of the hoards and rush the first part. Generally speaking, there is almost always one in the restaurant and top boating area, with the third being around. Always verify the item you’re going for is actually where you’re heading.
Collect all three, start the boat and you should be free and clear.
12:7 Dan – To The Den of Evil
For this one it helps to have a piece of armor if you’re not a quick shot, otherwise same as before with maybe a pipe bomb.
Once outside, kill the snipers. If you lack a good way to do it, get on the turret and make quick work of them. Be very careful as there are sometimes birds and police cars that can trigger a bigger hoard.
With everything dead, rush until you get to the toll gate, activate Expired T5 and then finish progressing to the main building. Inside, clear the remaining enemies, possibly use Expired T5 again, before rushing the gate on the other side. After blowing it open, rush forward, activate Expired T5 when you get to the car with an arrow on it and make it to the safe room. Blow open the door, close it and finish off the enemies.
12:7 Dan – Where Me Flock’s Chained
Like the previous stage, it helps to have a pipe bomb, otherwise stick to staples, ammo and so forth.
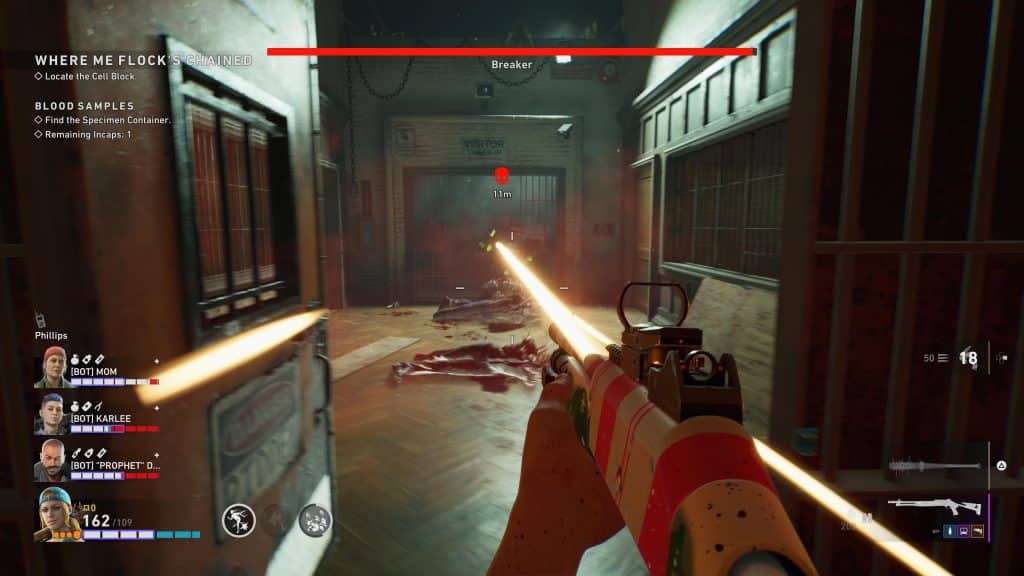
Exit out the door and head up the stairs. There is almost always a bear trap or Sleeper on the stairs, so be careful. Once Expired T5 is ready, blow open the door and try to melt everything inside as quickly as possible.
With the room clear, move forward, blow open the door and look for traps. There is typically another bear trap and Sleeper. In the next area you need to free prisoners, which will be marked, with it typically being one on the top level, another below and the remaining two on the third level where the exit is. What makes this part tricky is enemies will appear from both sets of stairs, along with gates opening at seeming random. Just pay attention, don’t step on traps, which there will be many, and motor to the exit.
The next room takes you into the pit with the Ogre. Good news, there is an ammo resupply box in that room to ensure you have Expired T5 and you don’t need to kill everything. The bad new is how bad that rush will be is largely luck based. Sometimes it’s littered with traps, other times you’re just unlucky with enemies, but the best tactic is to disarm traps/Sleepers and rush forward.
In the final area, just run around with Expired T5 and you should be good. If there is a section that is getting a bit rough, sent the AI there and burn it with Expired T5.
12:7 Dan – In the Depths
Sadly, this one is really about knowing what to do. You shouldn’t get overran by enemies, as they come as the cart progresses, with not much to overwhelm you. The general idea is to ignore the cart, kill enemies, restart the cart and repeating this pattern. You only really die if there is bad luck, you run out of supplies or you get antsy.
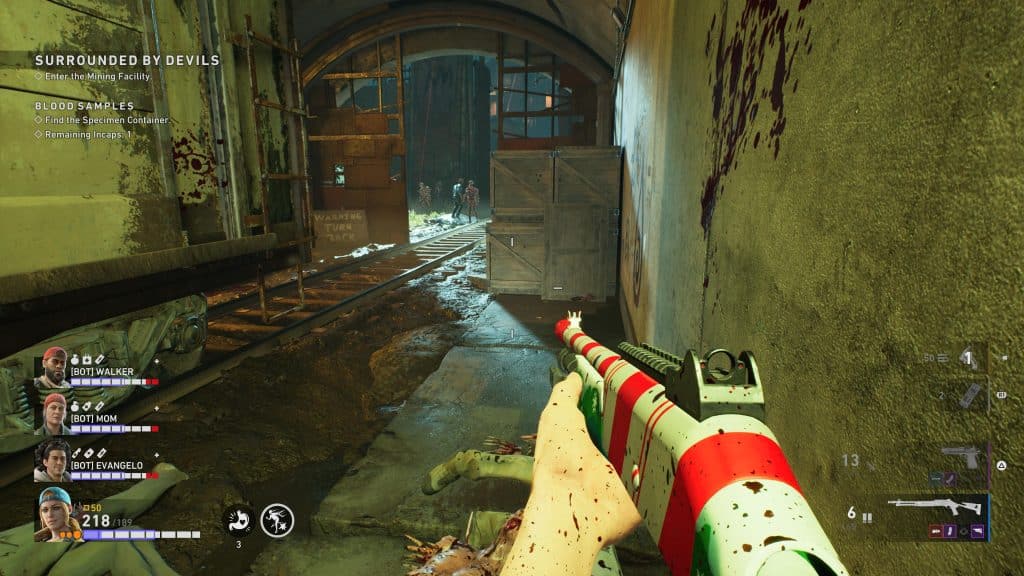
12:7 Dan – Surrounded by Devils
Like the others, purchase whatever you need and consider an ammo box, a piece of armor or two and pipe bomb.
Exit the door and immediately use Expired T5. This should kill most of the adds and allow for safer progression. Before heading outside, kill the two snipers and slowly progress forward. There will be a lot of Sleepers, traps and birds, which can end your run if you’re unlucky.
The best tactic is to use Expired T5 to clear open areas and pull enemies into narrow lanes to ensure they die. Keep doing this as you push forward.
There will be two choke points to keep in mind. The first is around 80 percent of the way when you blow open a door. This helps to have something to distract enemies to burn with Expired T5 or ignore for the objective. Do something similar at the very end and you should be good.
12:7 Dan – Awaiting Our Justice
If you’re here you can basically consider the trophy/achievement done. Read where the prisoners are and just spam Expired T5 to melt every enemy possible. I suggest having a pipe bomb or two to ensure waves leave you alone but it’s not needed to win.
