
Back 4 Blood‘s latest patch made the game more accessible, added new options and changed things to be a lot easier. It also largely did away with the previous tactic of just avoiding every and all enemies to overcome difficulty. However, beating nightmare is still far from an easy task. Thankfully, those who’re still struggling can rejoice, there is an exploit that makes the mode a lot more manageable.
How to Easily Complete Back 4 Blood on Nightmare
How Easy is Easy?
Before talking about the actual exploit, I want to be forthcoming and talk about the realities of Back 4 Blood even with this. While a lot of guides will make any edge seem like you can one hit kill every enemy and you’re bad if the guide doesn’t work for you, the truth is Nightmare is still hard and don’t be surprised if you still lose. A lot of luck is involved and, to be perfectly honest, there will be sections where teamwork, intelligent plays and thinking well in advance will ultimately determine whether you succeed or fail. All I can say with absolute certainty is that this exploit is the easiest way of beating the game short of being carried.
The Good and Bad
While this exploit is great at finishing Nightmare, in our tests there are still some downsides. Despite finishing every level as the same character, none of us unlocked the ZWAT items. I am not sure why the host didn’t and it’s possible there is some minor quirk that we didn’t account for, but until reported otherwise, don’t expect the costume.
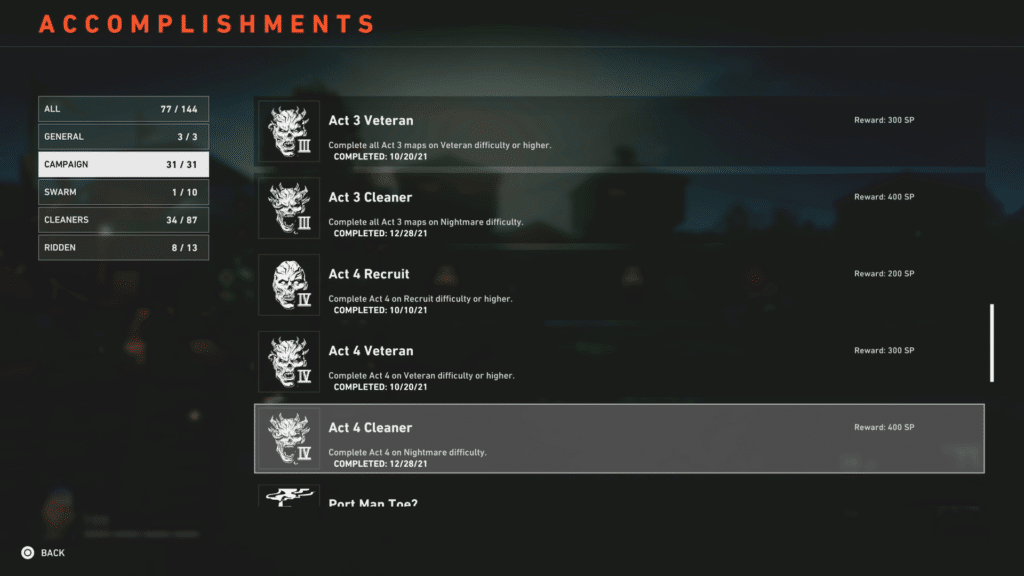
However, trophy/achievement hunters can rejoice knowing this will unlock the trophy/achievements related to Nightmare. You’ll also get the in-game progress, so checkpoints, supply points from the Nightmare tasks and character progress. Great if you just want all the trophy/achievements, but potentially worthless for anyone looking to show off.
What is the Exploit?
The exploit is rather simple. If you join a match, select your character, deck and cards, leave and then join back through invite, you can essentially run two decks. The game will remember what the character originally had and then give you another set of cards. So, the idea is basically make a speed deck and then a deck centered around health, making it easier to run though each task.
Where you face certain limitations is earlier levels don’t have a lot of support and there are several sections, especially in chapter one, where you need to complete specific tasks to progress. The most notable being the bar and cafe fights, both of which can not really be cheesed with this method the same way.

However, one massive advantage is doing this exploit generally restores your character to full health. This is massive, given damage on previous runs eat away at your copper and other resources.
How to Do it?
Set a specific person on hosting duties. The ideal host is going to have the best connection, though if that isn’t an issue, set the lowest skilled player on hosting duty. Have that player create a deck based off what we mention in the Host deck below.
The remaining, ideally three players, will make the two decks found below. I strongly suggest giving them an easy to remember name, as this will get confusing and it isn’t uncommon to second guess yourself.
Once everyone has created their decks, load into whatever level or checkpoint you to do the exploit on.
Have the non-host players select their usual characters, select Deck One and load into the game. Drop your copper and whatever else you think is useful (weapons can be dropped) and then quit. The host will then re-invite each player back into the room, where they select the same character, but this time select Deck Two. After these players are done, the host can select their deck and load into the game.
If you do this correctly, you should have the first X cards from Deck One and the first Y cards from Deck Two, plus twice the starting copper and whatever you gain from the Host’s deck. The non-host players will want to buy items deemed critical to success, typically Pipebombs, Frag Grenades or Pain Meds, though there are always exceptions like weapon attachments that boost speed. When everything important is bought, give your money to the host who should benefit from Compound Interest at the end of a stage. In the event you want a team upgrade, the host must buy it.
The average stage comes down to the non-host players making a mad dash through the level. Your goal should be to avoid as many hazards as possible, though it’s more of a time than finesse thing. As long as one player makes it to the end, every player gets credit. As for the host, they should follow sometime after the non-host players looking for copper. As players move forward, enemies in earlier parts should disappear or be reduced. This isn’t the most important thing, though it can help long term. But, as previously noted, even if they die along the way it isn’t a huge loss.
After finishing a stage or upon failing you’ll need to redo the aforementioned steps with a slight twist. The host can’t enter before the players, so they must wait as the others select their card, load into the game, drop their items, leave, get invited back and then select the opposite deck. This is due to how the exploit works. It will remember the current deck, but not the previous one, so you’ll get both decks, they just won’t compound (so you don’t get the benefit of five Run Like Hell cards, you get one). For this reason the rotation is extremely important.
From this point forward, continue until you your run ends.
Quirks and Notable Details
Having messed with this a bit, I can say with relative certainty joining on the host can break it or cause weird things to happen. Another is if players are dead and on the wall, reviving them will break the exploit as well (no issue after that run, just weaker for duration of that run). There are also issues if non-host players obtain cards on the run. Finally, on a redo, your characters will be reduced to their starting form, since technically you created a new instance for them. A rather huge loss if you had good weapons or a fair amount of cash.
Build
Before starting you’re going to want to have the following cards. The order isn’t an absolute, though make sure each person has the exact same order. If you find you’re missing a card, many of them are hidden in supply lines. The community created a list that tells you what every supply line has and the benefits of going down it.
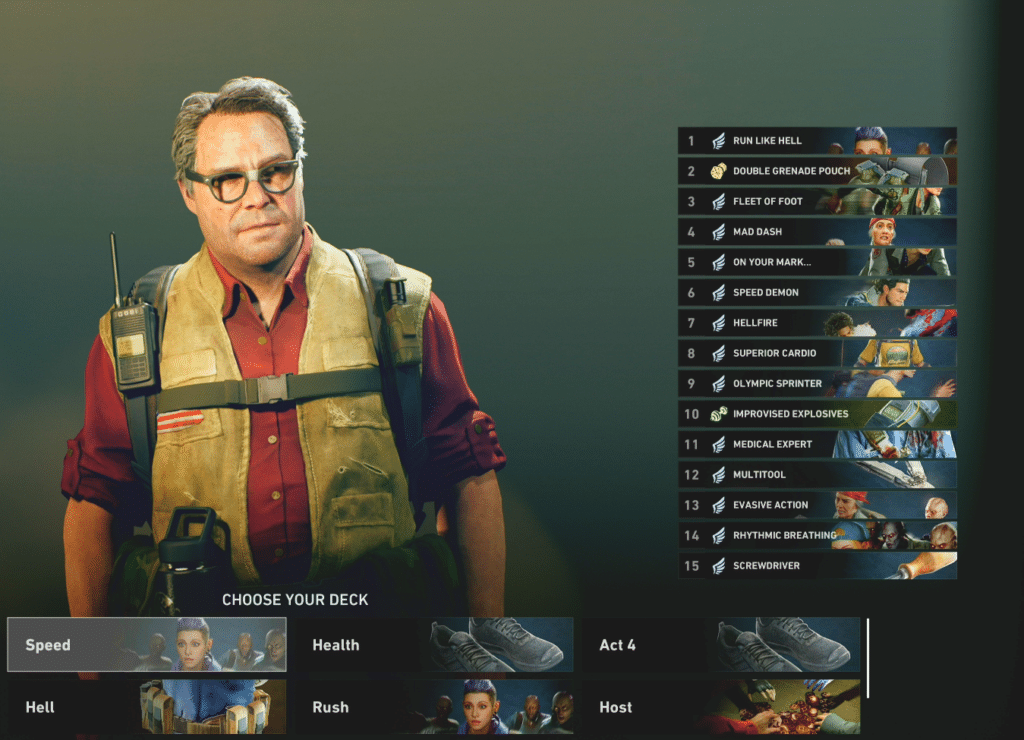
Deck One
- Run Like Hell
- Double Grenade Pouch
- Fleet of Foot
- Mad Dash
- On Your Mark…
- Speed Demon
- Hellfire
- Superior Cardio
- Olympic Sprinter
- Improvised Explosives
- Medical Expert
- Multitool
- Evasive Action
- Rhythmic Breathing
- Screwdriver
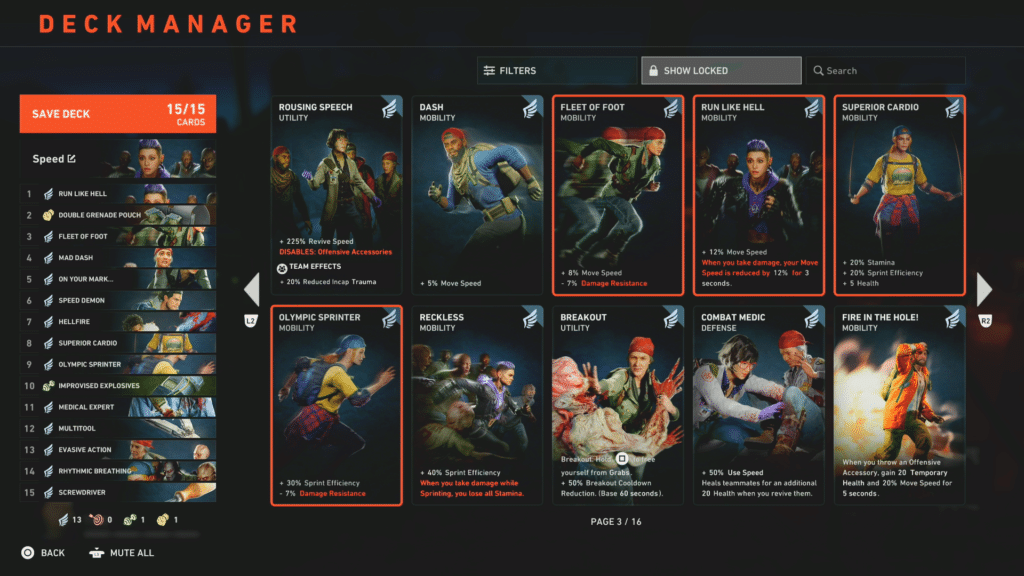
I suggest looking at what each card does and make calls that make sense for your specific character. For example, Speed Demon is great for characters that start with an SMG, but if they don’t it might actually be detrimental to your build. Some other useful cards are things like Stimulants, where pain pills give various benefits, regular Dash for speed or Bomb Squad/Demolitions Expert to increase the overall damage done to enemies.
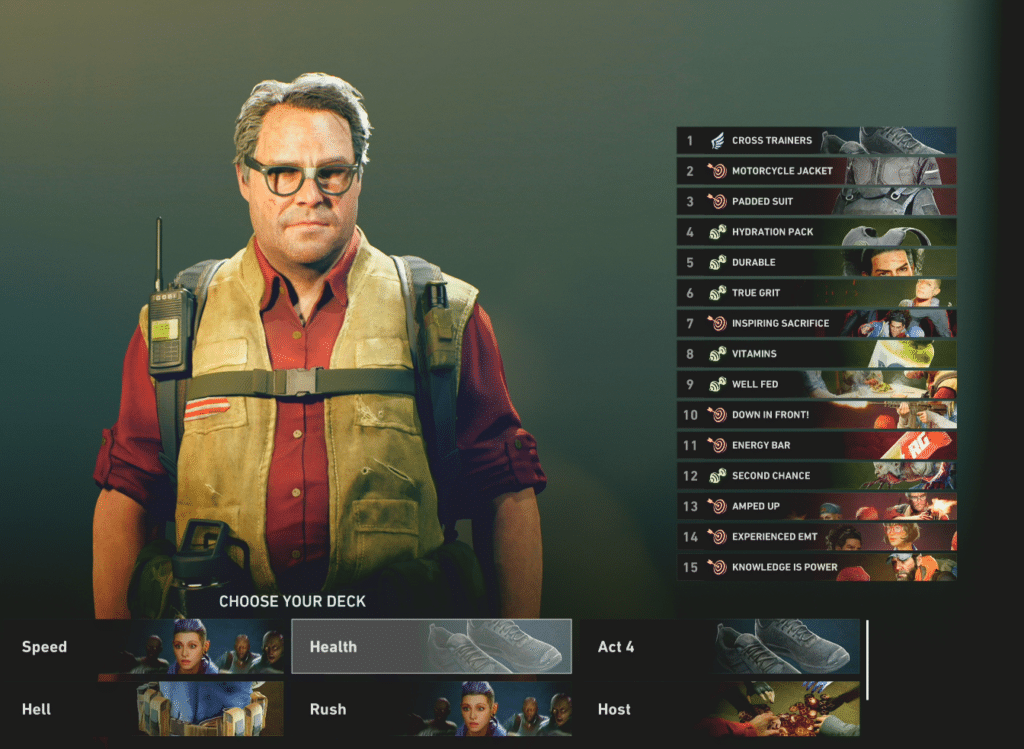
Deck Two
- Cross Trainers
- Motorcycle Jacket
- Padded Suit
- Hydration Pack
- Durable
- True Grit
- Inspiring Sacrifice
- Vitamins
- Well Fed
- Down in Front!
- Energy Bar
- Second Chance
- Amped Up
- Experienced EMT
- Knowledge is Power
These are a little more useful, but if you do find you’re doing more of one thing over another, you might want to change up the order or use case.

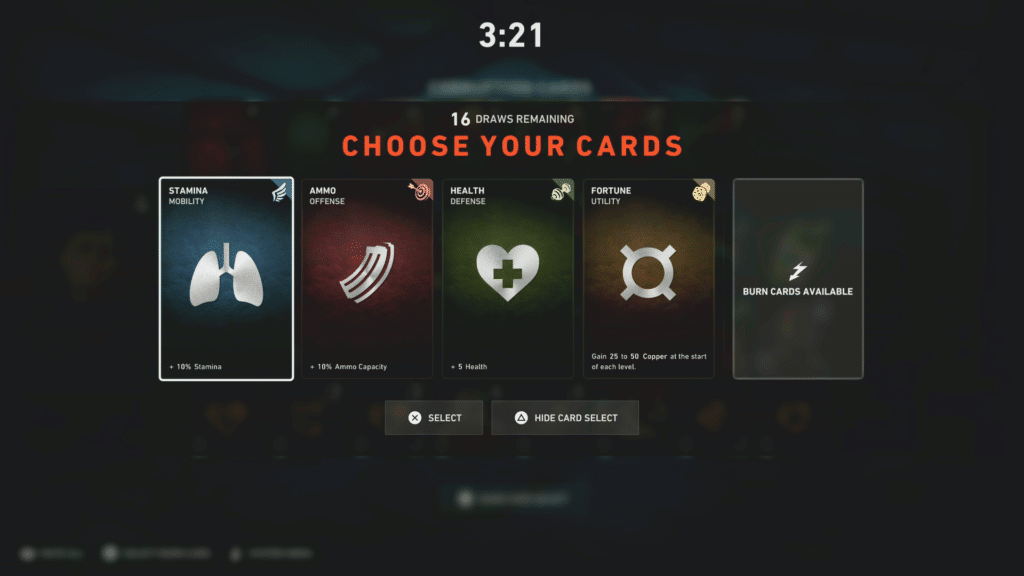
On later runs you’ll also get a stupid number of basic attribute cards (stamina, health, ammo, copper). It doesn’t actually matter which you select, though I strongly advise selecting cards that match your task. Fighting the last boss with unlimited stamina is a waste, just like having unlimited health won’t save you if you can’t run from death.
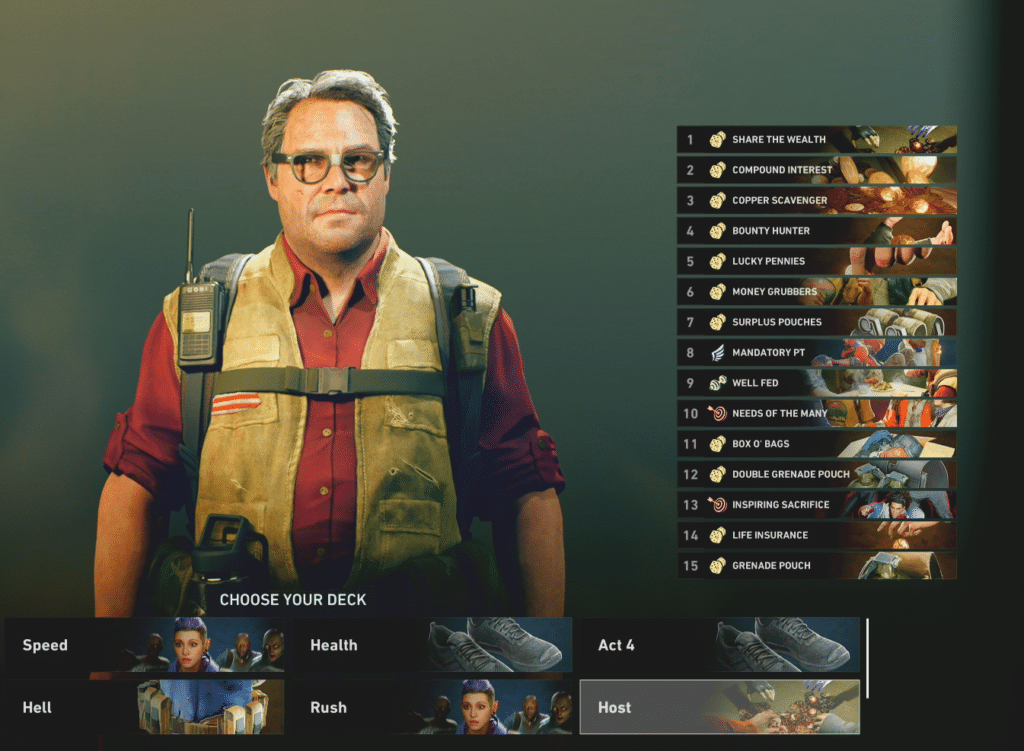
Host
The third deck is only used by one player and is designed around supplementing the other three players. Unlike the others, there really isn’t much need to list specific cards, as it’s more about collecting money and supporting the team. Some good examples include the following:
- Share the Wealth
- Compound Interest
- Copper Scavenger
- Bounty Hunter
- Lucky Pennies
- Money Grubbers
- Surplus Pouches
- Mandatory PT
- Well Fed
- Needs of the Many
- Box O’ Bags
- Double Grenade Pouch
- Inspiring Sacrifice
- Life Insurance
- Grenade Pouch
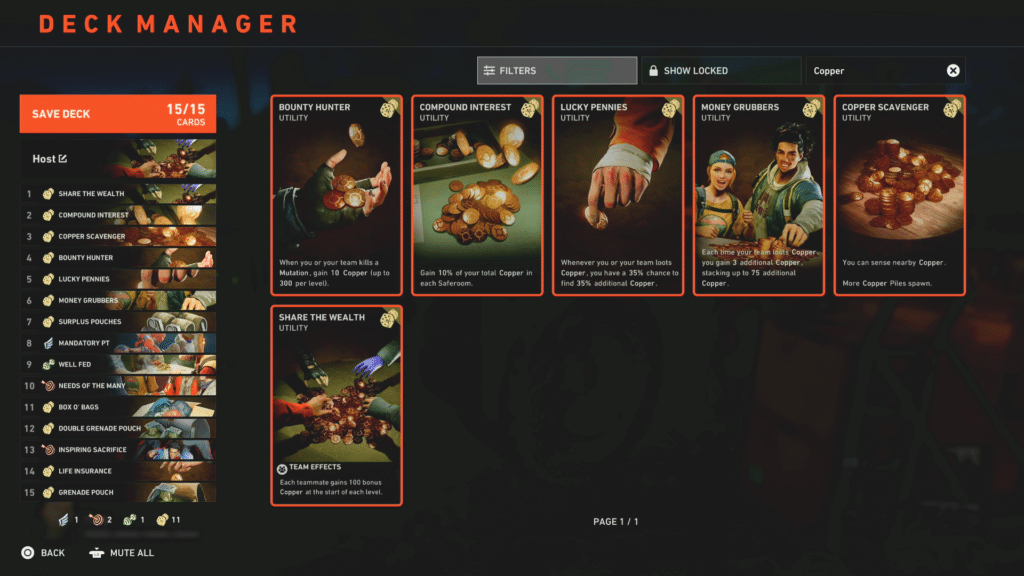
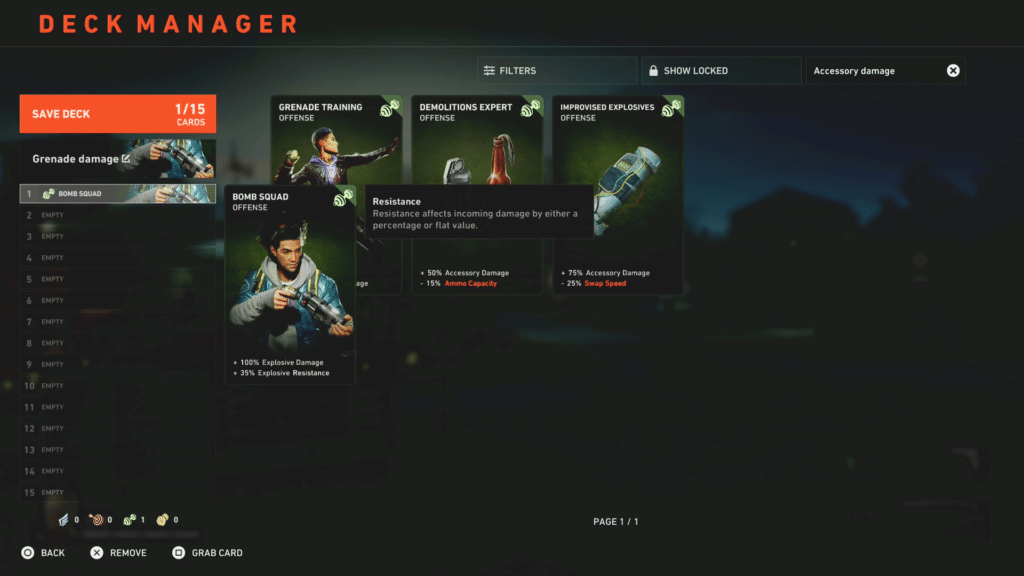
It also doesn’t hurt if this person has burn cards like Windfall, Hazard Suit or Hell Can Wait. The image above is also what I think would work well, though if I am being completely honest as long as they have Share the Wealth and Compound Interest it really doesn’t matter much. I largely included offensive inventory so they can hold onto more pipe bombs and things to assist the other players during tough challenges or specific problems.
Checkpoints

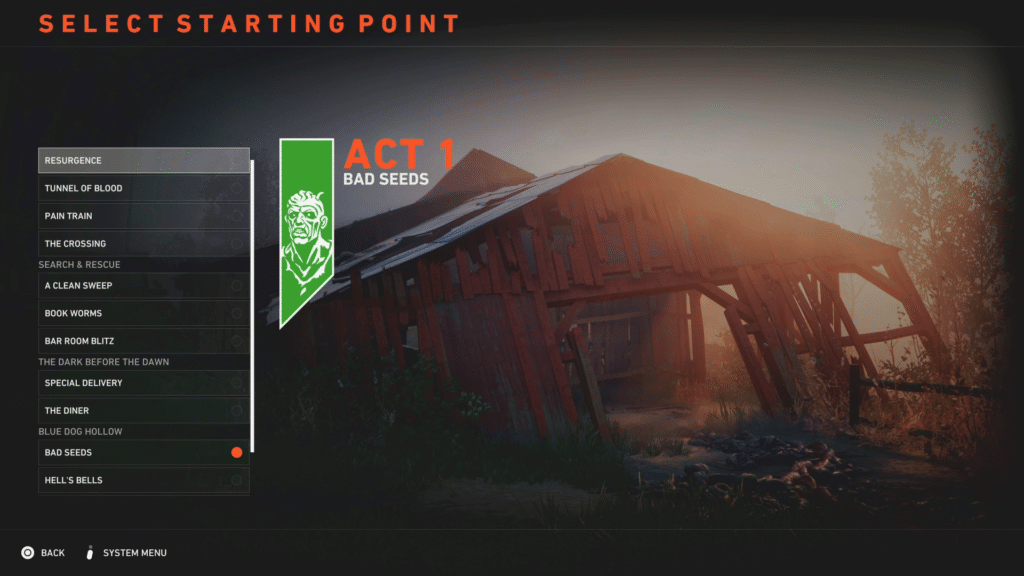
Since one of the biggest concerns my team had was checkpoints, I thought it was important to know where each wall is. Please note, I only show them for recruit difficulty because Nightmare only shows the first mission under a subtitle, which is when you achieve a checkpoint.
Stage Specific Advice
Pain Train
The hoard is unfortunately unavoidable, but it’s pretty easy if you can set up in one of the small shacks. However, if you still can’t win against the hoard, it helps to have one person attempt to start the hoard, stay alive for as long as possible and then have the remaining people attempt to run forward.
Bar Room Blitz
Razor wire is a must for this stage, which is one of two times you’ll want quick accessory team upgrades. This is also a time it doesn’t hurt to have Mugger on to clean up enemies or see what you can do.
Another helpful hint is to load up on razor wire before starting a stage. It can be dropped from the first floor down to the second without triggering the shop to close or prevent you from buying more/grabbing what others bought. This can then be brought to the fence, where players on the other side can grab and use to fortify the bar.
It also helps to have two people cover the north and south side of the jukebox, with any useful supplies on the pool table next to them.
The Diner
Like the aforementioned Bar Room Blitz, razor wire is a must for this stage and any upgrades make it a lot easier. Outside of that, don’t be afraid to leave the boxes and then rush forward or send a single person to start hoards as everyone else waits in the spawn.
As far as placement goes, the top left corner seems to work best with razor wire and the M134 Minigun
Hell’s Bells
This would quite honestly be one of the hardest stages if players didn’t find another exploit that allows you to cheese the hoard.
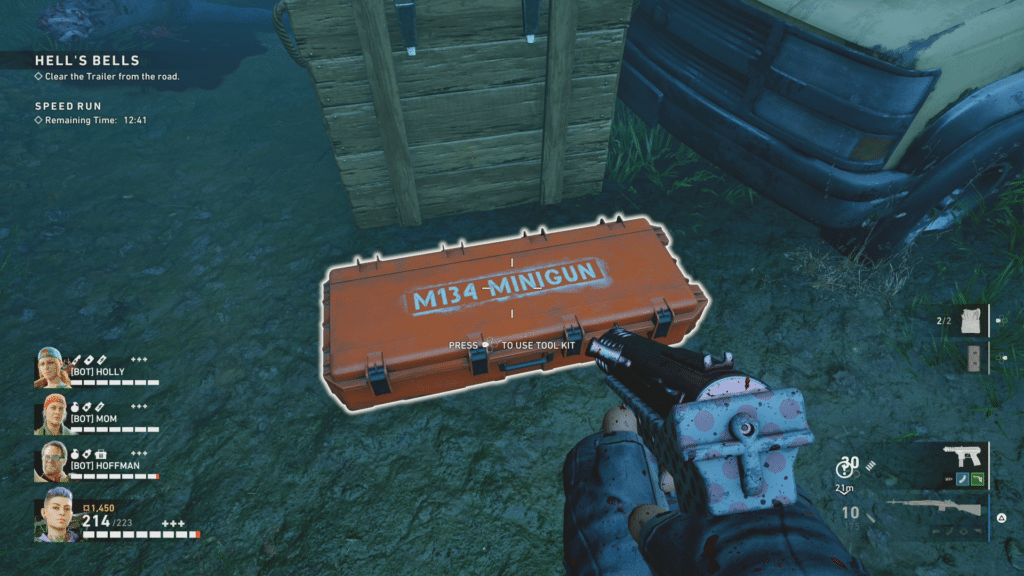

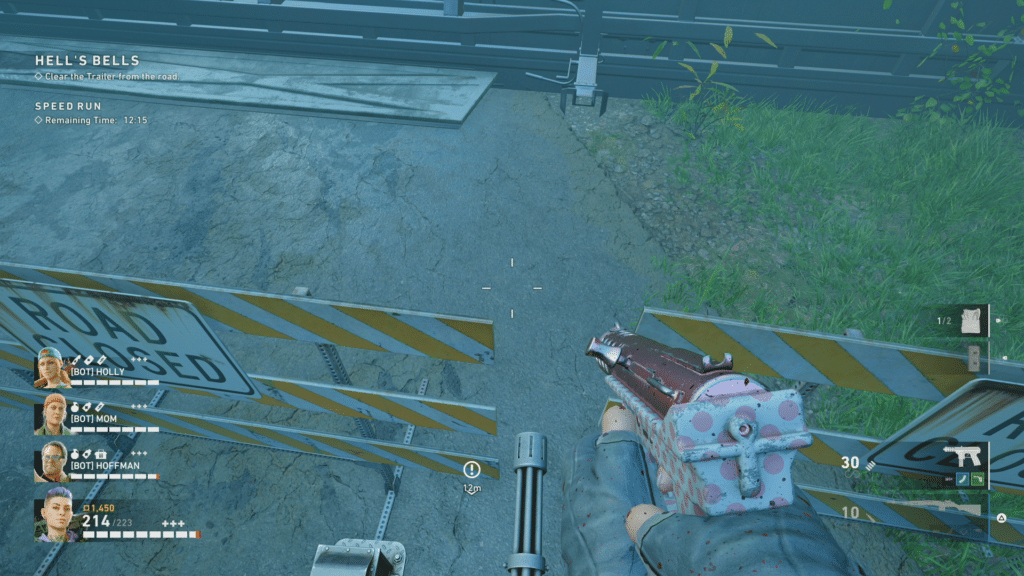
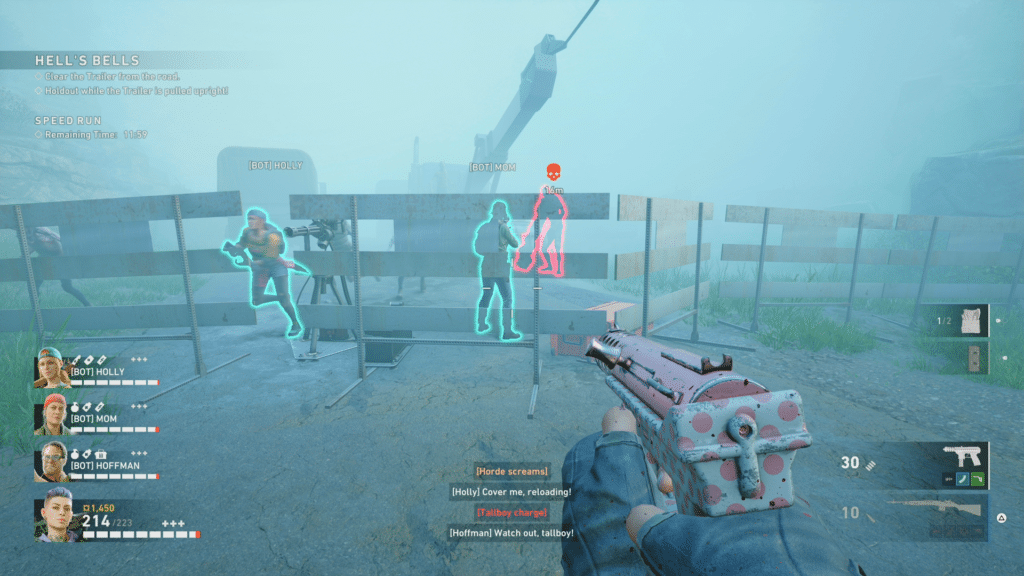
What you do is actually pretty simple. Obtain a toolkit and then continue down the tunnel section until you see a truck that you need to climb onto. Below it will be some enemies, which must be killed before you worry about finding the M134 Minigun. When they’re all dead, head to the left side and you’ll find the M134 Minigun in the place pictured above. Open it with the tool kit and then go to where the winch is. Set it where the gap between the barriers are and start the hoard. Climb onto the gun and simply jump over the barrier.
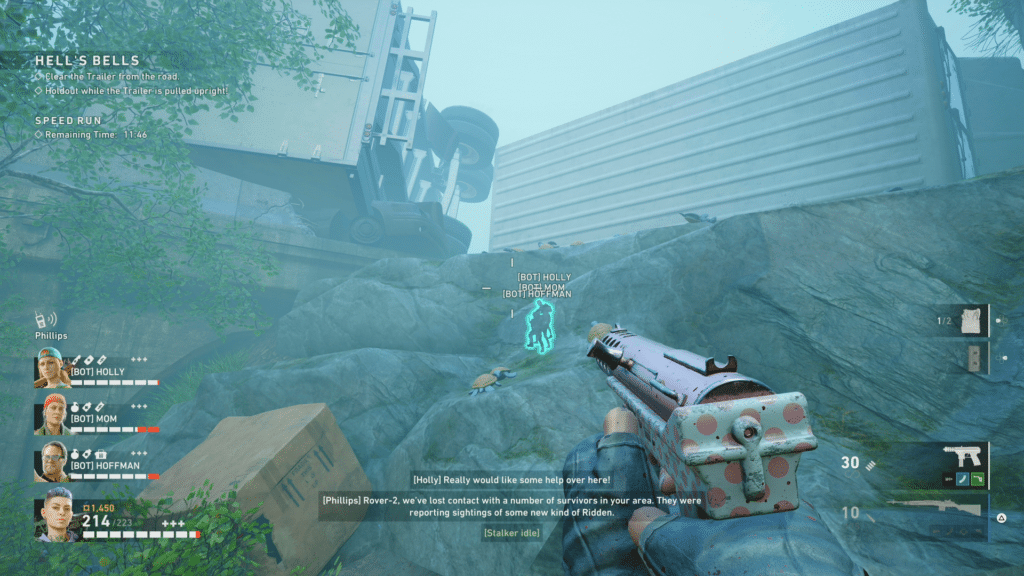
If done correctly, you’ll get on the other side. From there, move to the left and there will be some walls you can jump through. Once through, continue with the level as normal. Please note, if you’re really lucky you’ll find a hoarder room at the bottom and to the right. This is why it’s really important to have multiple kits, though not a must.
Another common tactic is to kill mutations behind the church door before opening it and only building one barrier on each wall to prevent enemies from immediately overpowering you.
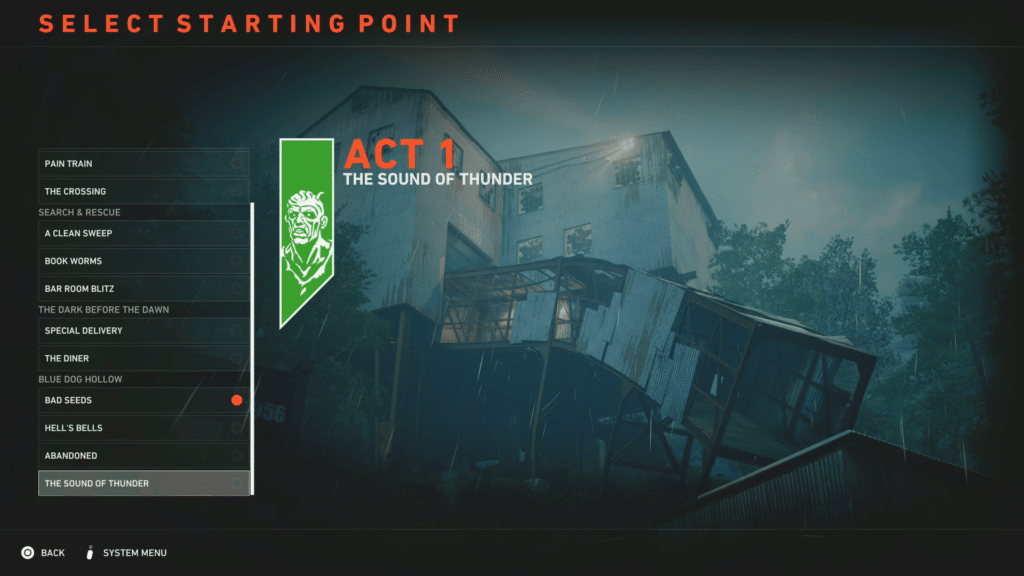
The Sound of Thunder
On higher difficulties like Nightmare, an additional enemy spawn opens on the left side. Moving a propane tank or tossing a grenade can destroy it instantly, removing this potentially massive threat
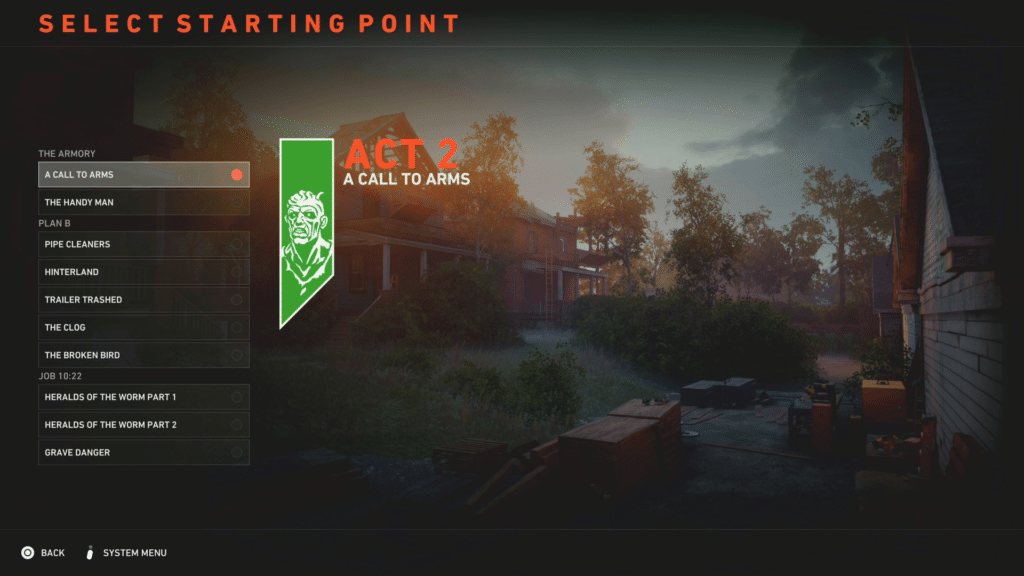
A Call to Arms
This stage is weird, because it contains the most advantageous hoarder room in Back 4 Blood. What you need to do is progress to the parking garage and see if it spawned. The simplest way to do this is to ping it. If the room spawned, you’ll see it and if it didn’t you’ll get a normal ping.
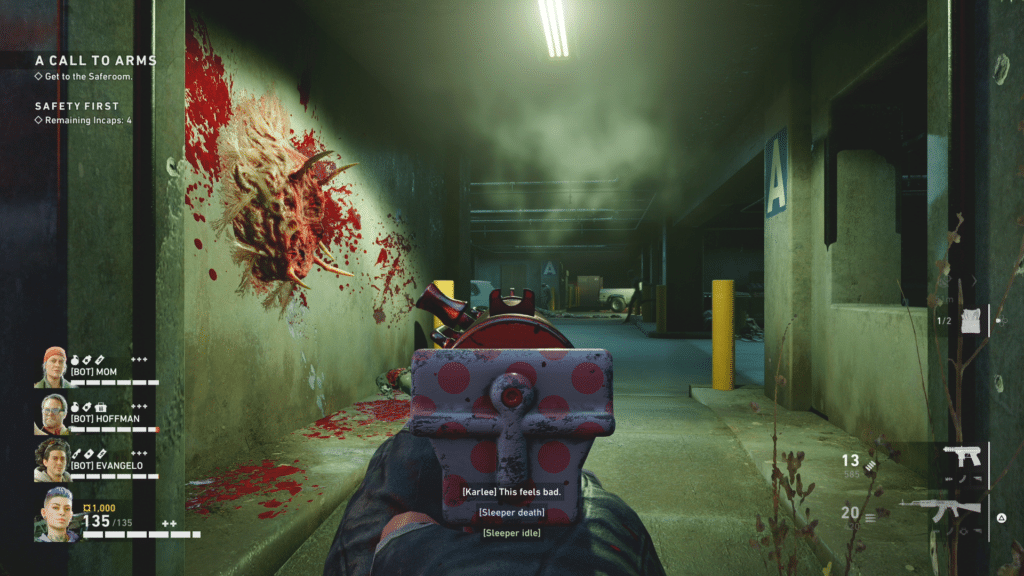
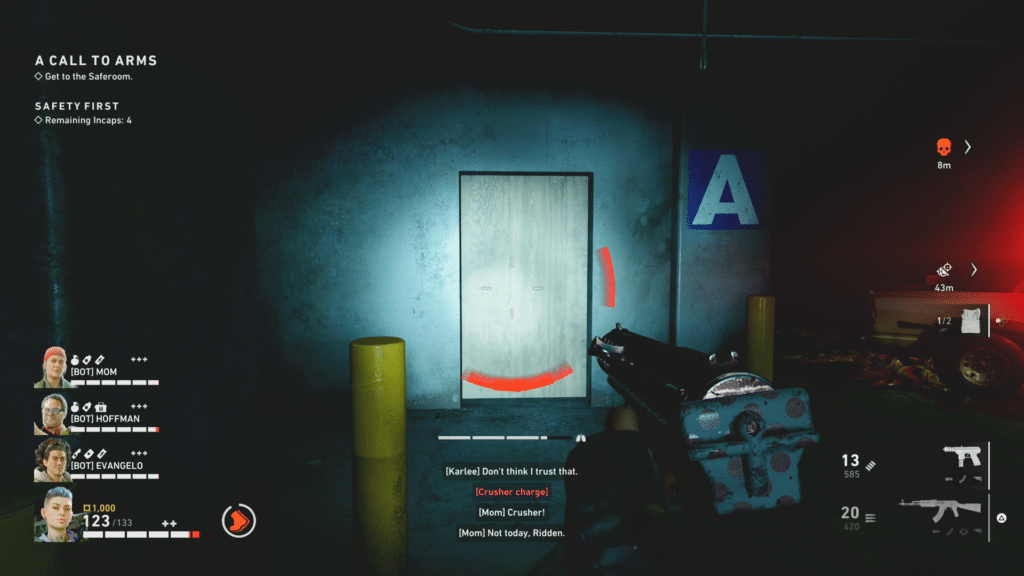
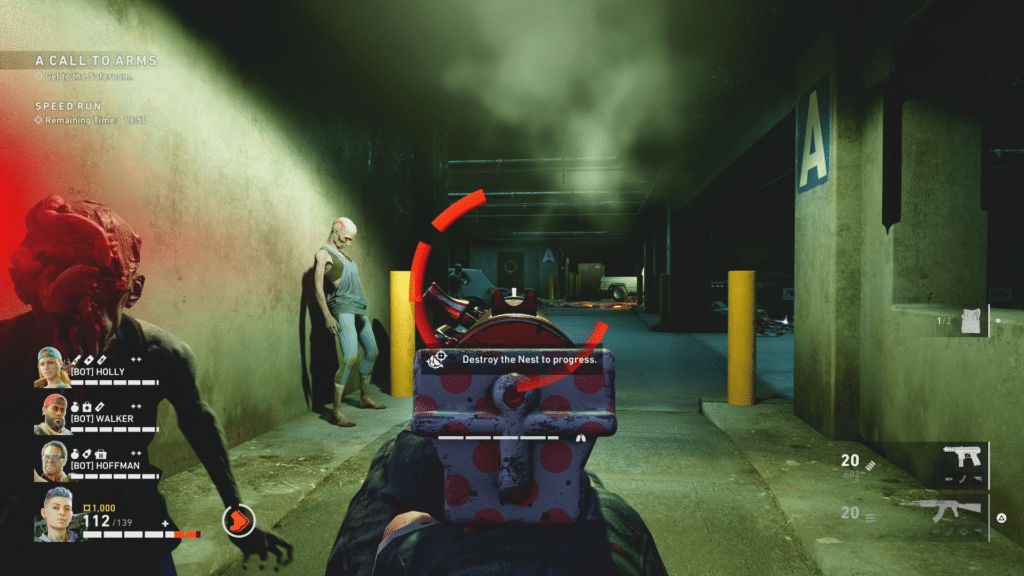
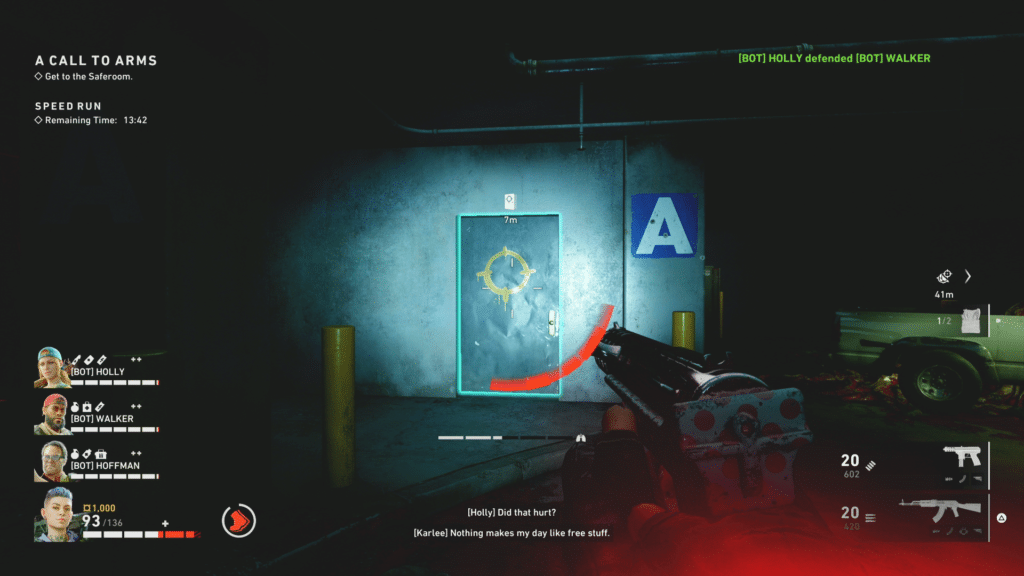
To make it easier, the above images show the location when it doesn’t spawn and also when it does.
What makes this spawn so important is the ability to just walk up stairs. Without having to blast open the door, you’re looking at a few less hoards and issues as you run to the end.
Heralds of the Worm (Job 10:22)
The final set of missions in act two, Job 10:22, are rather unusual in Back 4 Blood. Players must defeat an Ogre during the first stage, an Ogre and Breaker on the second and two Breakers during Grave Danger.
For this reason my team implemented more grenade damage cards and didn’t put as much emphasis on speed. We also moved a number of grenades from the spawn on each level to ensure we could quickly kill each threat. If this set is giving you issues, consider swapping one deck for a combat deck or implementing more combat related cards.
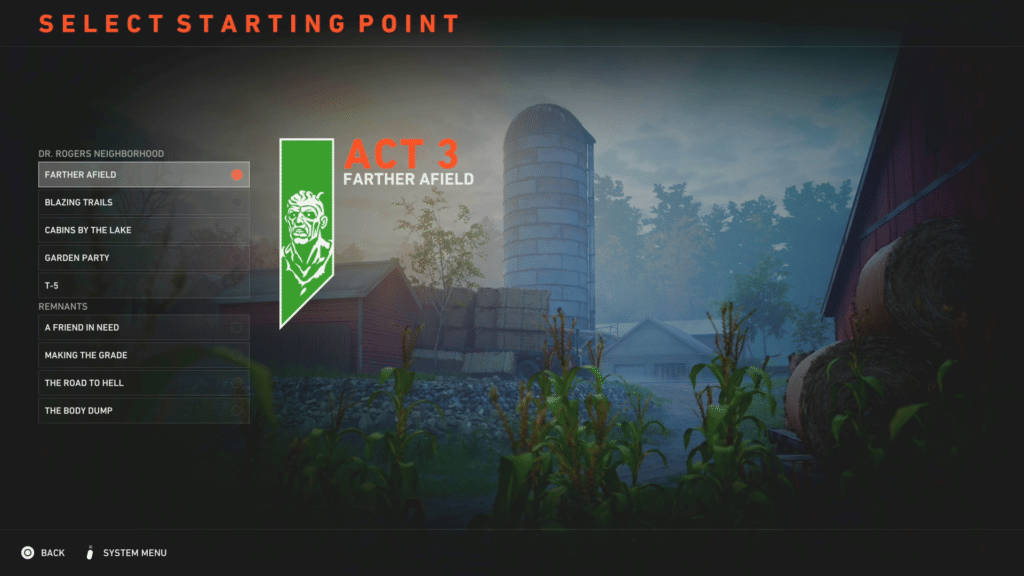
T-5
Unfortunately, we never really discovered a great way to do T-5. Moving over as many pipe bombs helped a lot, though the best advice I can give is to assign everyone a role and leave anyone who died out there to clear enemies. Most mistakes were due to revives or trying to clear a path, when you really just need to rush the mission.
The Body Dump
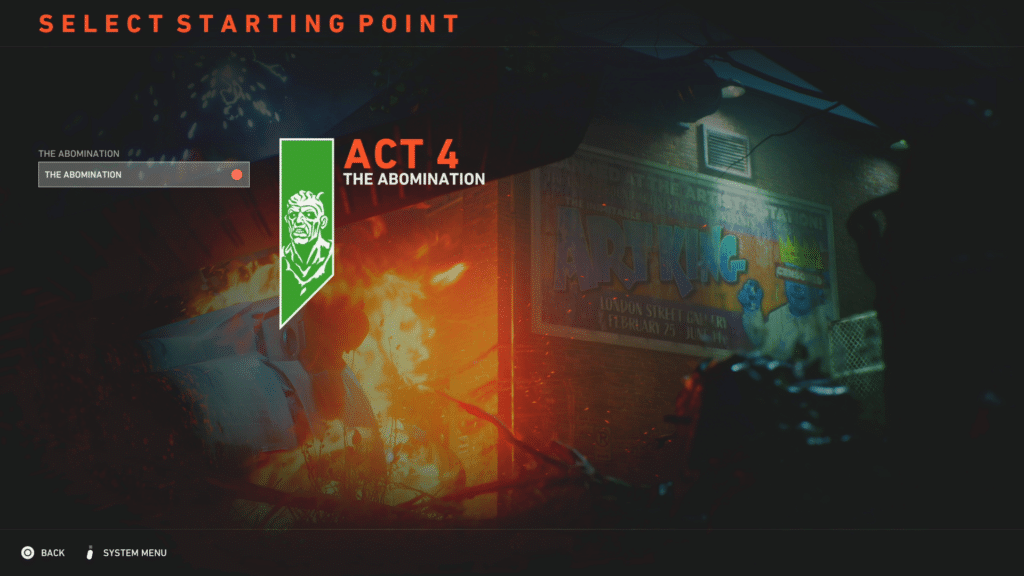
Good news, if you’re reading this far you can basically consider Nightmare done. With The Abomination you can get over 600 health and it really then becomes a battle of which team upgrades and weapons you get, plus how well you use your resources.
The even better news is The Body Dump is actually easier with this method than doing it normally, since you’ll eventually get overran anyway. However, don’t mistake this for it being easy either.
What you’ll want to do is have each player take a side and then have the right and left players help finish the middle. If done fast enough, you really only need to battle a couple enemies and maybe two Ogres. As long as someone survives the final onslaught, you’ll win.
If you do find the guide is still not enough for a specific section or area, please feel free to comment and we will try to help you through it.
