
The Ascent is an outstanding cyberpunk game, which you would know if you read our review. The arcology housed on the planet Veles is as eye-catching as it is unforgiving. The inhabitants enslaved by the megacorporation The Ascent Group have become quite bitter and angry, to say the least.
That not-so-sunny disposition makes encounters with the masses unpredictable. You never know when a group of thugs are going to execute an ambush or ferals will pour out from pipelines as the journey extends to the areas beyond Cluster 13. That unknown variable is what makes every journey beyond the neutral zone a potential bloodbath. The question is, whose blood is going to be spilled, yours or the enemy’s?
Luck for you, we have put together a handful of quick tips to ensure that your adventure in The Ascent starts off on the right foot.
6 Tips Before Getting Started in The Ascent
Aim high (when viable)
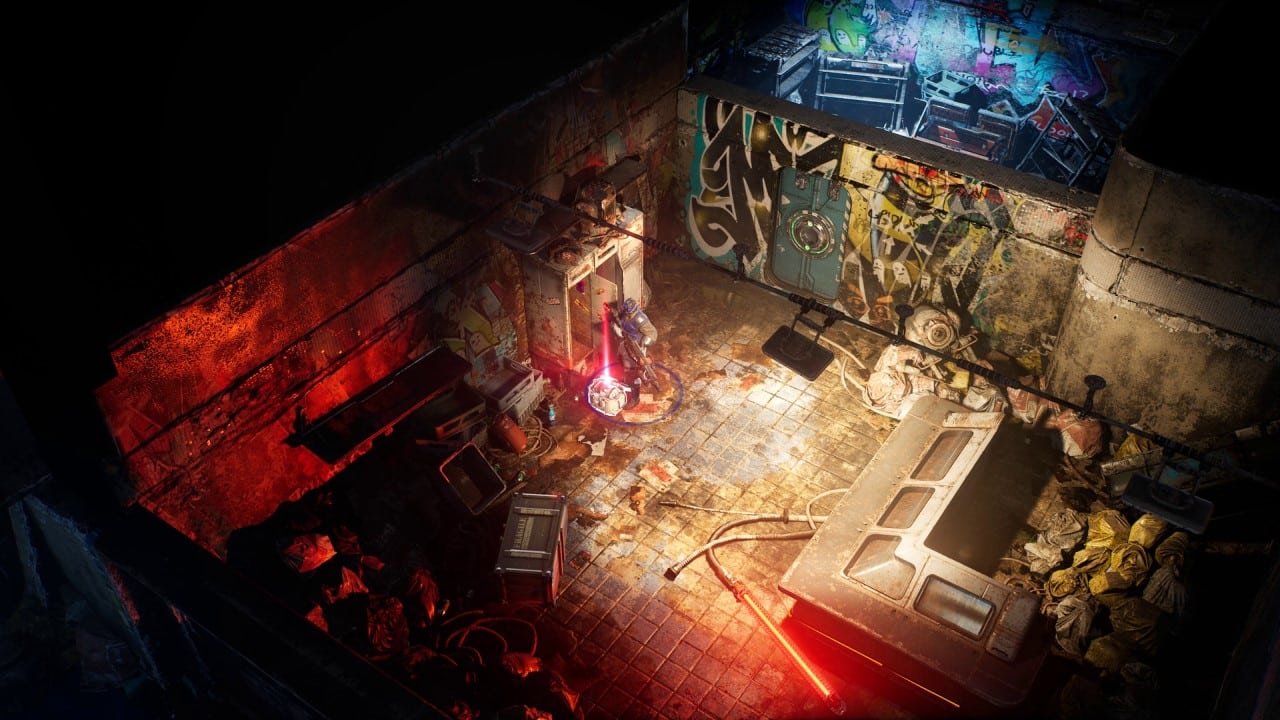
The Ascent employs a a unique, ADS-like option to fine aim. By holding the left trigger, the character will move his weapon from a hip-fire position to a raised state. The red laser sight beaming out from the weapon will reflect this change, moving from a human enemy’s midsection to their head. Not only does this increase damage, the raised stance can causing stagger on consecutive hits.
It also allows firing over cover. A raised weapon can even clear stairs in the event that the target is on a different level. Be sure to take elevation differences in the environment into account before raising that gun. And also keep an eye on smaller enemies, like the rabid ferals, who are short enough to safely pass under the higher aim.
Use cover
While it is thrilling to dive into an enemy-filled space and swiftly wipe them out with extreme prejudice, the Rambo approach isn’t always viable. There are many points in the game when enemies come in large, varied groups. The best chance for survival is to find nearby cover and crouch behind it. You can safely shoot over the cover using the raised aim (the tip you just finished reading) without fear of receiving damage in return. That said, you will need to keep an eye on enemy flanking patterns because they typically move up aggressively once you’re embedded behind cover.
Upgrade weapons and armor
Even with all the cover in the world, there is going to come a point where that starting pistol fails to get the job done. And that basic tank top won’t be stopping any bullets either. The Ascent is an RPG and that means there’s loot. Specifically, there are new weapons and armor to be found or purchased. Enemies will occasionally drop items from both categories. Chests, which are awarded to those willing to explore, can also provide either gear type.
However, if you’d like greater control over what you’re getting exactly, head to a nearby vendor to see how there stock has changed over the course of the game; just be sure to bring a hefty stack of uCreds. If you find yourself short on money, sell of duplicate items to any vendor or sell completed bounty tags to the nearest bartender.
Check recommended level for missions
The best gear in the world can’t save you if you’re walking into a fight against enemies several levels above you. Remaining aware of a mission’s recommended level is crucial unless you want to end up being virtually one-shot by a gang of beefed up baddies. At any point, you can press down on the D-pad to bring up the missions screen. Here, both main missions and side quest categories will be displayed. Highlight a mission and you will see the recommended level in its description. Use these for guidance when deciding what to do next.
Let the game guide you if you get lose
With the wealth of objectives you will inevitably find yourself tasked with further into the game, it’s easy to become disoriented and lost as you journey between areas on the arcology. Instead of looking around aimlessly in frustration, take advantage of the in-game guide. Pressing up on the D-pad will generate a digital line on the ground, leading you to whichever mission is currently set as active. Additionally, the distance from the objective will briefly display in meters, allowing you to cycle through available missions to see which is closest to your current location.
ICE is tied to your Cyberdeck
In your travels, you will come across doors and chests that can be hacked. You may notice that there is an ICE value showing above these specific loot chests and doorways. And you may wonder why your hack is failing. If you can’t hack one of these environmental items, it’s due to your ICE level being too low. ICE levels are tied to your Cyberdeck, which is upgraded throughout the game. Check your character’s Cyberdeck attributes and you will see ICE values for doors and chests. In the beginning of the game, you will only be able to hack objects with an ICE value of 1, but this won’t be the case forever. Mentally log higher level doors and chests so that you can return later once your Cyberdeck has been upgraded.
With those tips in mind, dive into the gorgeously gritty world of The Ascent and begin the exceptional cyberpunk experience.
