
After the wide variety of bosses in Unsighted, it comes down to a final battle with Anima Nightmare and Anima Essence. Not only is this boss long, but it’s also extremely brutal, making the trophy/achievement for beating it without getting hit an impressive feat. Thankfully, we overcame Anima and are able to tell you how to defeat Anima in Unsighted, along with some critical things to know.
How to Defeat Anima in Unsighted
Set Up
Going into this fight it’s important to decide which way you’re going. There is the normal version of the encounter, a far more difficult optional version that gives the trophy/achievement Hiding your Sins and an optional third form. I personally did the optional version first, which I don’t suggest unless you’re extremely good at the game. This guide will go over the first two. For the optional final form, due to the requirements needed to unlock it, please use the guide here.
Normal Path
If you’re doing this the default way, the best tactic is to go around the world and kill all the Shadow Creatures. I am not sure what the absolute max is, as there are missable ones, like the one that attacks you in the lab at the very start of the game, but you can easily get your blade to +30 and do 50+ damage. This alone makes the fight far more manageable and greatly increases the margin of error.
Optional
I strongly suggest getting a few revive gears, getting as much stamina as possible (no stamina gears though), and consider crafting a few syringes. You might not need them but it’s a long fight and it’s simply not feasible to level anything to the point where it makes this fight easier. Assuming you even have those NPCs.
Non-Weapon Items
To make this fight more manageable, it helps to either build a relationship with Olga/Samuel or let them become Unsighted. This might happen naturally or you can use M to force it. This will allow you to change your chips and craft items whenever you want. Extremely useful for longer fights or situations where you might need a syringe of reviving.
For sub-weapon I suggest sticking with the Auto Blaster, as the final boss has a lot of situations where you can easily refill syringes.
Finally, those with Iris might want to fully invest in her, since she overcomes her issues and will aid you in combat after you max your relationship with her. Also, if you haven’t found any already, a dog is very helpful. I included the location of the highest attack dog below.
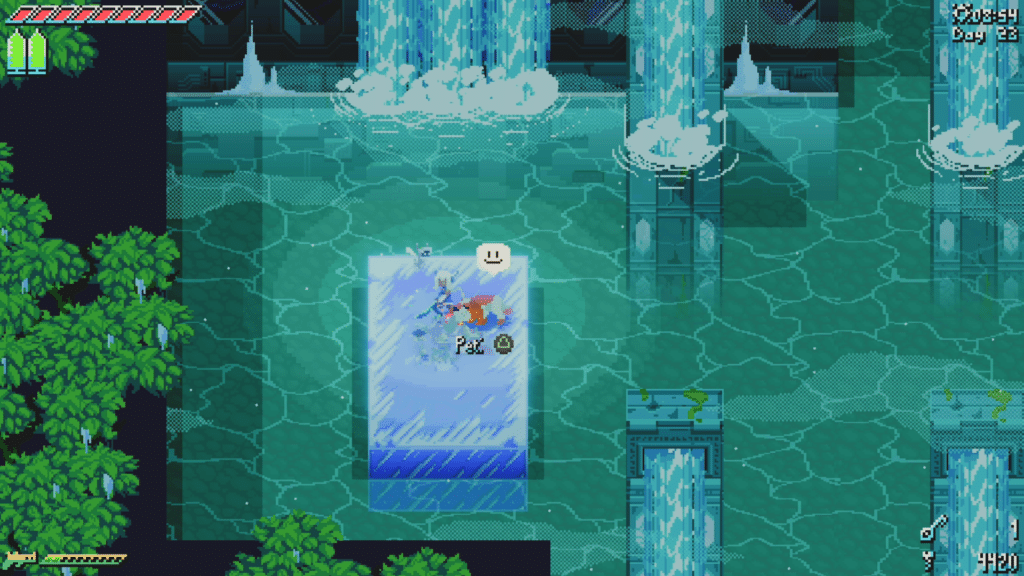
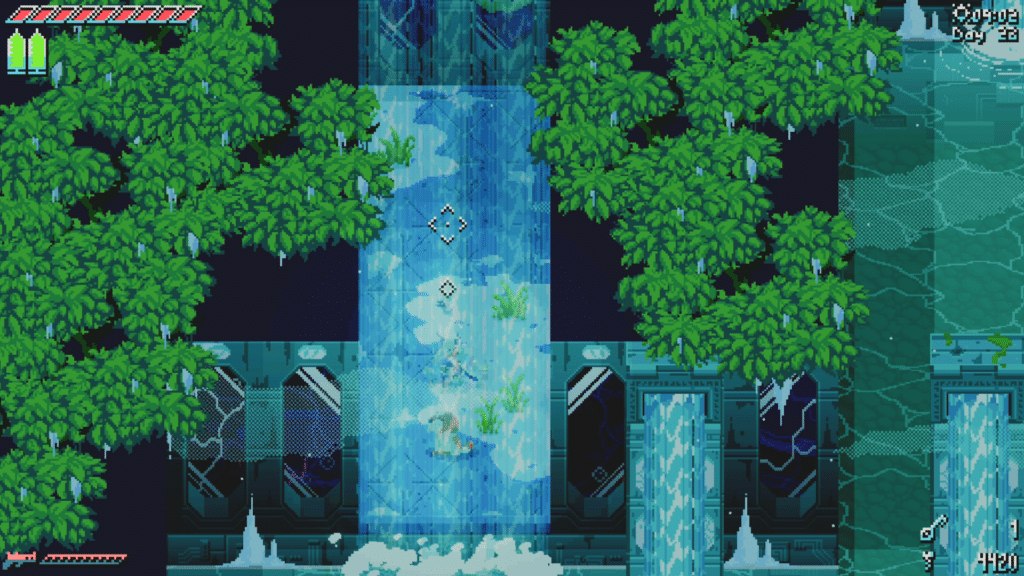
Go here, head behind the waterfall, and then continue down the path. There will be a fight which will conclude with unlocking the dog.
Hiding your Sins Trophy/Achievement
Before I continue with fighting the boss, I wanted to explain how to get this trophy/achievement. For those wondering, it’s actually a fun reference to The Legend of Zelda.
Unfortunately, when you go to craft the weapon to finally end things, it will end up corrupted. This means you can hunt down the Shadow Creatures and obtain untold amounts of power, except, instead of using that to defeat the boss, you need to get rid of the sword and do it with your normal weapons.
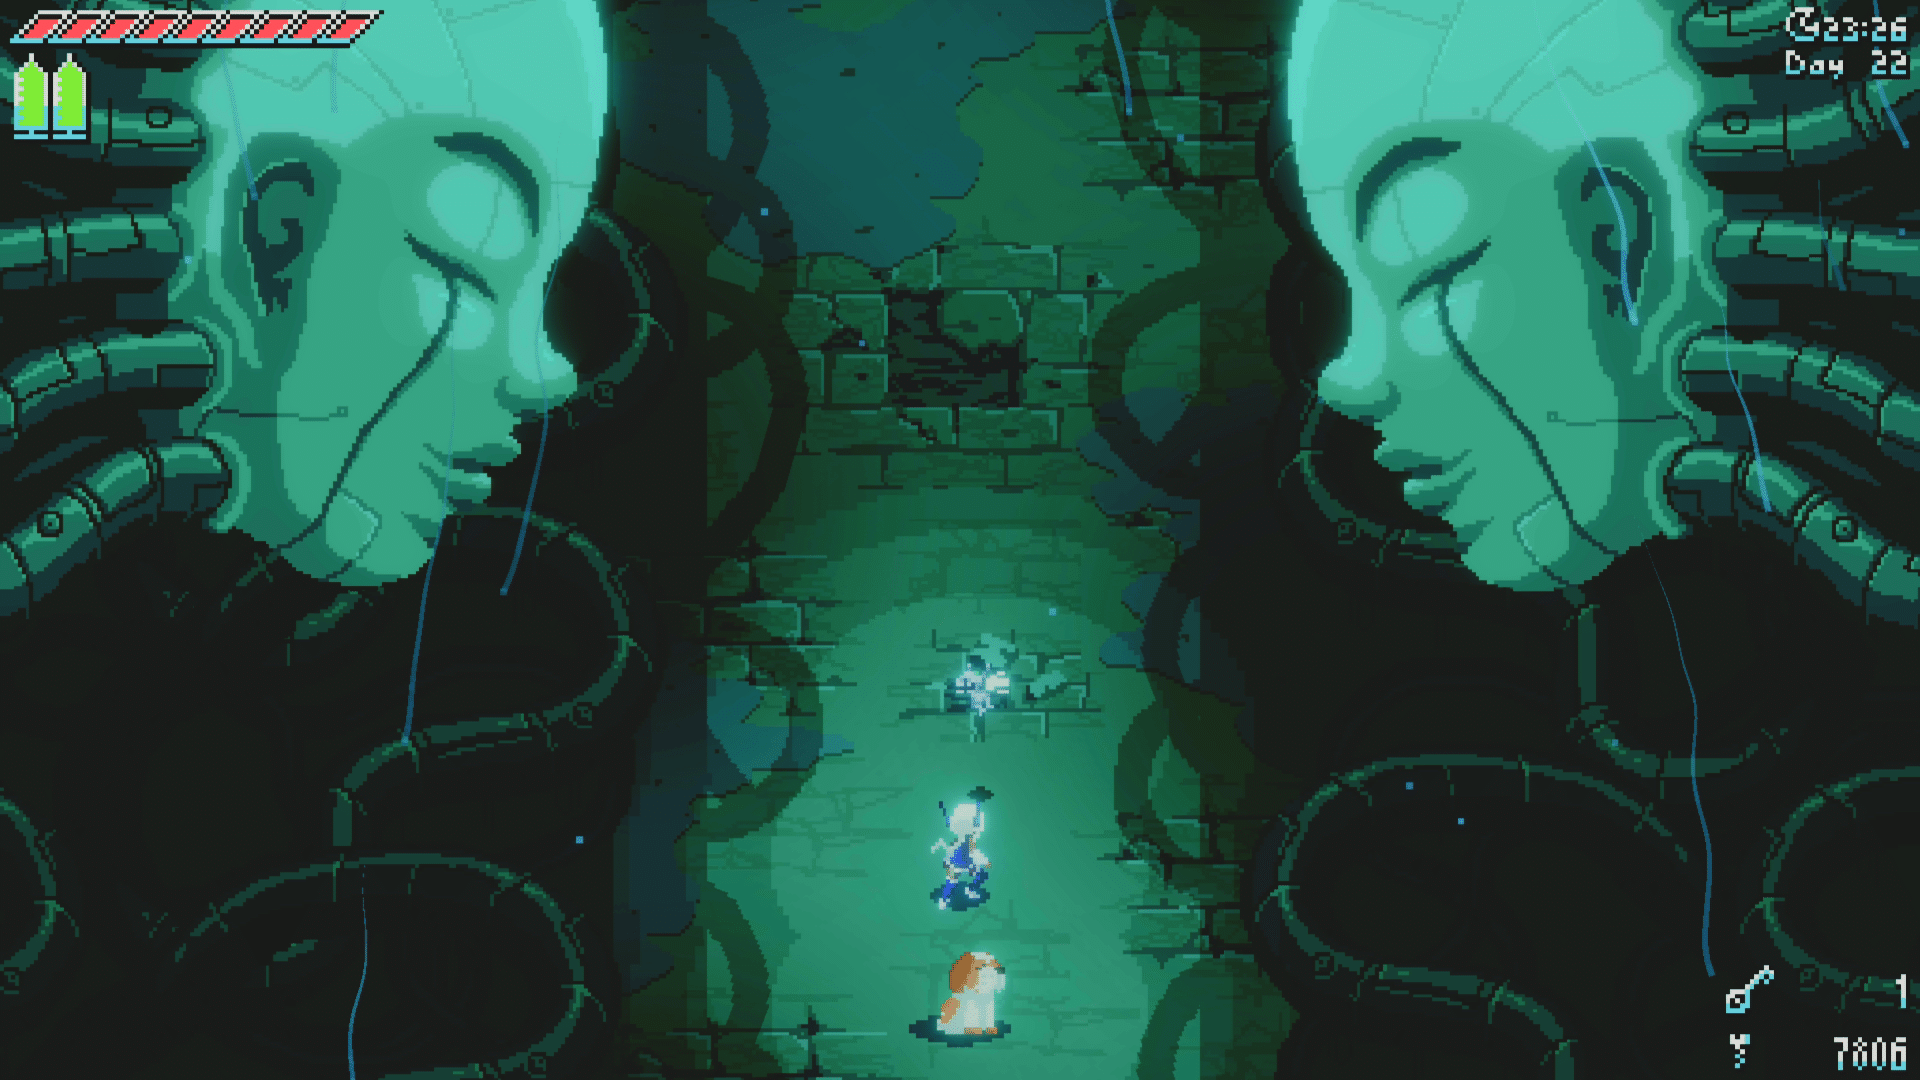
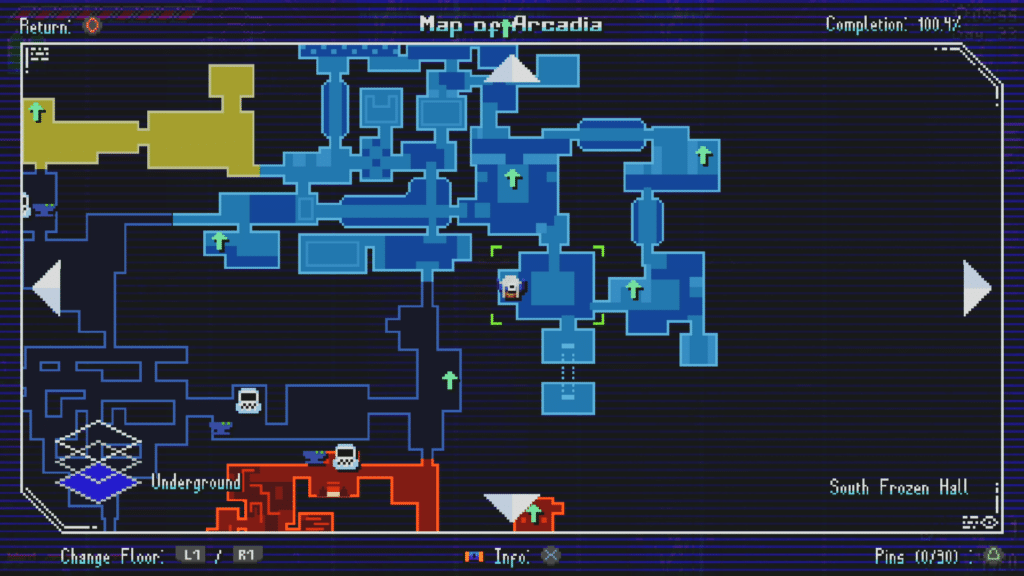
The only way to do this is to find the Crypt. This area is extremely well hidden and completely optional, so don’t be surprised if you’ve never made it there. It’s actually north of the starting area, down a small hallway that requires the double hookshot to obtain. To make it easier, you can see the map below.
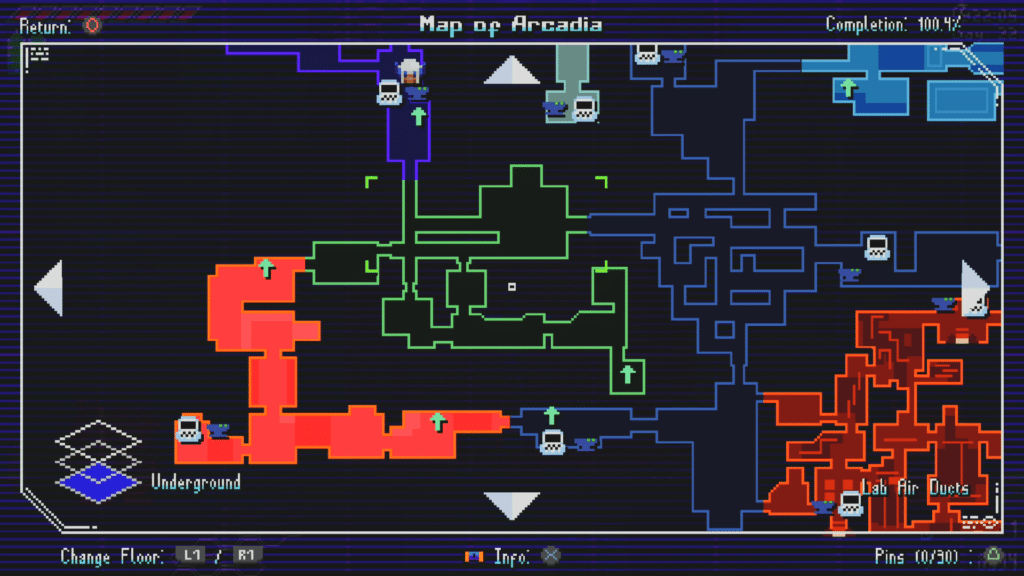
Unfortunately, due to story related reasons, it is not possible to just take the elevator down. You either need to go through the labyrinth on the right side or through the factory on the left. Out of the two, the left path is better since you don’t have to fight the Shadow Creature and can instead get that terminal and return to it, but both still require a wall jump or two.
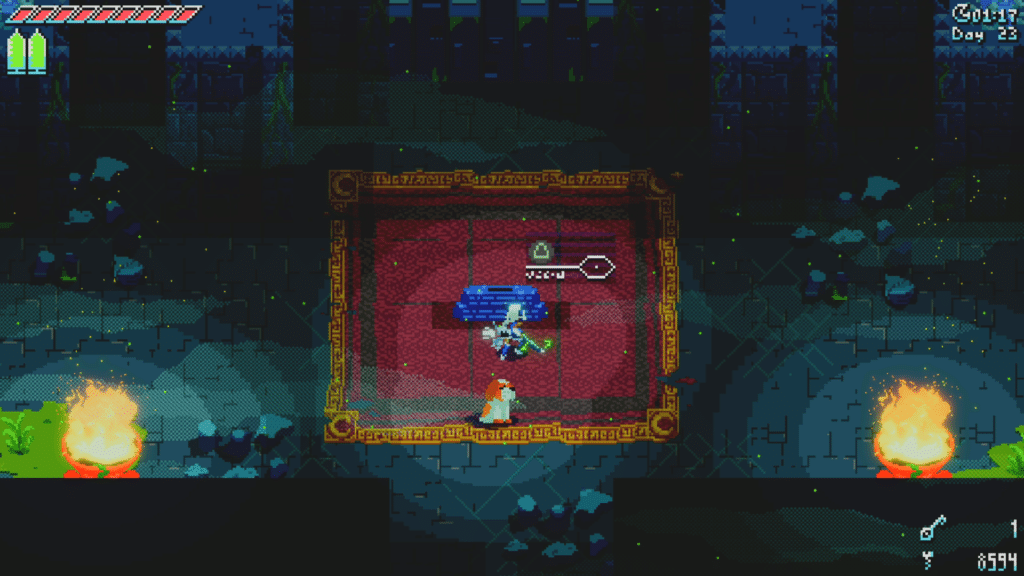
When you make it to the place where I’m standing on the map above, you’ll see this pedestal. Upon pushing the interact button, you’ll insert the corrupted weapon and the gate will drop.
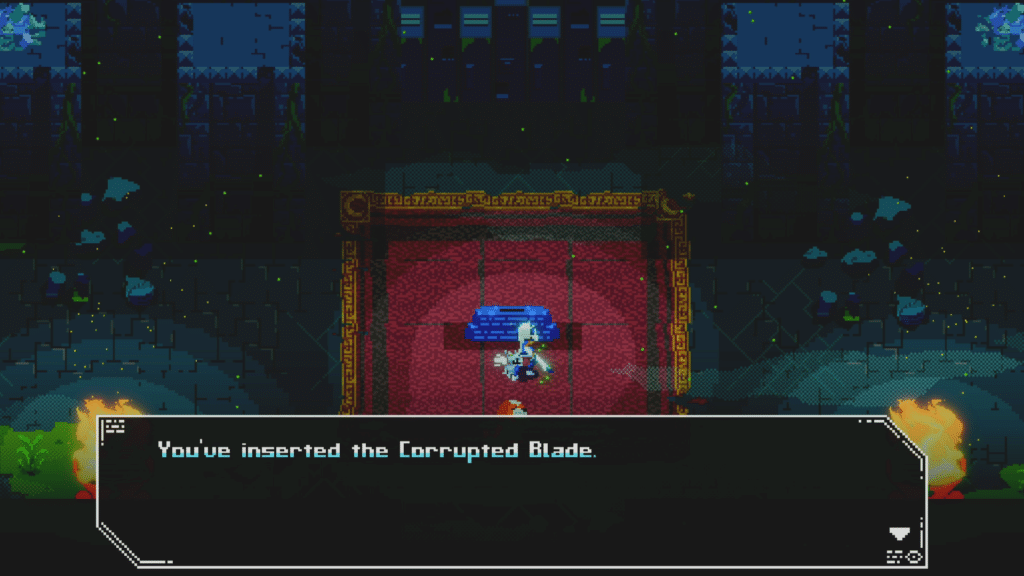
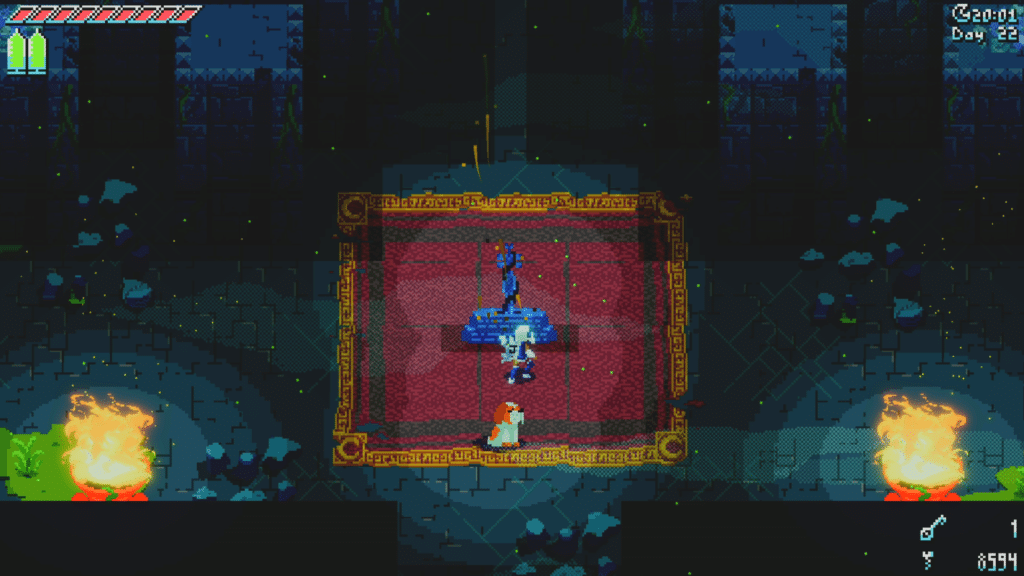
While this is all you need to do for the trophy/achievement, there are a couple important things to note. The crypt has additional enemies, challenges and items to unlock. There is also another optional boss behind a gate at the end, making it a worthwhile place to explore. You also need the corrupted weapon to kill certain enemies both in the Crypt (there is another way in) and at the Crater. You’ll know it’s safe to insert the weapon when you reach the Terminal right before the final boss. Once you get that, teleport to the Crypt, leave the blade and then return to the previous area.
Fighting Anima Nightmare
Phase One
There really isn’t much to Anima Nightmare. Instead of fighting an actual character, it cycles between the Ancient Guardian, Frost Automation, Forgotten Deity and Blazing Automation in that order. Each boss has a limited version of their previous move set and often favor attacks you should parry. In our previous guides we didn’t push that play style, whereas it’s essentially required for this fight.
Phase Two
After defeating Anima Nightmare it will return and then split into two bosses. Now you’ll need to fight the Ancient Guardian and Blazing Automation and Frost Automation with the Forgotten Deity. This fight isn’t hard but it is extremely easy to get overwhelmed. Unfortunately, the best advice I can give is to separate them and only parry if you know you can get both.
The most ideal situation is waiting for the Forgotten Deity to appear and parry the charge. Not only is it a single parry to stun, it has a very forgiving window. Just keep in mind the Frost Automation likes to melee and will come in fast, making it extremely easy to take unintended damage.
Fighting Anima Essence
It really isn’t an end game boss without getting that third form and Anima Essence is just that. This fight is all mechanics, meaning you can win as long as you’re defensive.
Attacks include spawning adds, electrifying tiles, shooting beams that swirl around the screen, attacking where players are standing, shooting three orbs in different directions, and every now and then Anima will leave the body to swing an ax at you. This is the only move that can be parried and should count as perfect if you wait for the red glow. It takes two to stun and you’re not guaranteed one if you miss it.
Since everything is based on what Anima Essence decides to do, there really isn’t much of a tactic besides wait for easy attacks (the parry, swirling beams) and be smart. The nice thing is, as long as you’re not making too many mistakes, it should give near-unlimited life from Auto Blaster shots.
Hiding Your Sins version
If you’re on the Hiding your Sins trophy/achievement path, shortly into the fight Anima will spawn hands like they normally do, but this time you’ll be told you can’t hide your sins. After this Anima will obtain the corrupted weapon.
This means, in addition to fighting this boss for two to five times as long, it will occasionally throw a blade across an area. This makes the plate section extremely hard to consistently do without taking damage, manage your stamina and survive. As with the normal version, it’s extremely important to play defensively and not get greedy. Even if you win through a series of single damage attacks, it’s better than losing from a careless mistake.
Tips for Worthy trophy/achievement
As mentioned above, there is a trophy/achievement called Worthy for beating it without taking damage. This includes all three fights, with it restarting if you lose to Anima Essence. This trophy/achievement sounds harder than it actually is, but don’t mistake that for easy either.
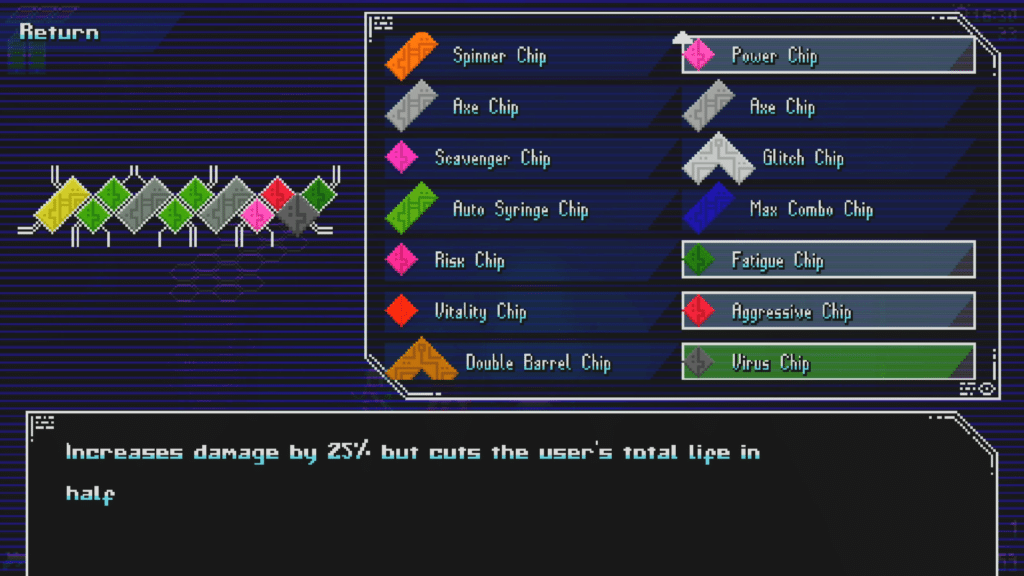
For this run I had the following chips installed:
- Strength Chip (Melee +2)
- Stamina Chip x4 (+6 each/24 overall)
- Sword Chip x2 (Sword 20 percent each/40 overall)
- Power Chip (when life is full, plus 20 percent melee)
- Fatigue Chip (increases damage by 25 percent at the cost of half your stamina)
- Aggressive Chip (increases damage by 20 percent, but increases damage taken by one)
- Virus Chip (Increases damage by 25 percent, but decreases life in half)
I also used two stamina and attack cogs, though the fight can be completed without using all the stamina.
With my Corrupted Blade +36, this build destroys the final boss. However, it comes with some distinct downsides. The first is any hit will kill you. This is fine for the trophy/achievement, but not viable for anyone struggling. The second is with all of these buffs it brings you the stamina to about where the default is.
As a result, your ability to dodge, swing carelessly, and run is severely limited. If this is a deal-breaker, I suggest removing it. I only included it in my build because it can kill the first boss before Frost Automation can attack.
This was also largely the goal of this build. Swap survival for pure power and overwhelm the bosses. For example, a critical hit and like six normal attacks can finish the first phase, two critical hits can finish the second, and the third is really just luck and defense.
In the event you’re still struggling, I included a video guide of me getting Worthy.
Video Guide
Post Fight Escape
After winning the fight the place will start to fall apart and you’re given five minutes to escape. You’ll also see Raquel, who can be saved, it just makes the escape harder. While I didn’t know the path (it’s different than the way in) and had her weight, I was able to do it with three or so minutes to spare.
Trophy/Achievements and NG+
Following the fight, you can continue to explore the world or start one of many different types of new games. One of the options gives players all their precious resources, making the hour-long play-through doable and makes certain challenges, like Beating the Unbeatable, a lot easier.
