
With Destiny 2: The Witch Queen, Bungie revived campaign difficulties and gave them a massive reward. In this case, not only do you get an emblem, it also immediately brings you to 1,520 power, a point that is about halfway through the soft power cap and in the perfect position to do start grinding for the raid. Despite this, beating Destiny 2: The Witch Queen‘s campaign on Legendary difficulty is no joke. There are tons of mechanics, details, enemies, and more to overcome. This guide will attempt to make it easier and clear up some questions, but still expect to lose once or twice.
Destiny 2: The Witch Queen Legendary Difficulty Guide
Basic Information
How Hard is it Exactly?
There are a lot of different difficulty levels in Destiny 2. The default is pretty low, strikes are a little higher, with raids, grandmaster stages and more being beyond that. I would say this is below a raid, but well above a strike. Most of the stages are about tactics, building, and understanding the task at hand. As long as you can do this you can win.

Do I Need to Beat it in One Sitting?
No. The activity The Witch Queen- Legendary is what keeps track of progress and is all you need to do. So if you find yourself wanting to finish the story, that can be done on normal without ruining your legendary run.
Is This the Whole Campaign?
Technically, no. To complete all the sections you’ll need to do some other tasks, like a specific strike, which do not need to be completed on higher difficulties. Only the missions mentioned in the triumph matter.
What if I quit?
Similar to raids there are checkpoints. I can’t tell you how many total, though I’d guess after each encounter, or for how long. If nothing else, it means you can freely quit and return with a fresh head sometime later keeping some amount of progress. Also good if you’re unsure how long you have but want to play something.
Is Co-Op Required?
No. All missions can be completed solo, though how difficult that is will vary. Even if the difficulty is notably higher with more people, changing how the AI behaves, other struggles and more will determine the better option. If nothing else, just know they don’t have an edge.

Should I level First?
The highest possible power you can have on legendary difficulty is 1,485. Speaking from my own experience, just doing the legendary campaign got me to 1,500 by the final level.
Should I Infuse or Wear the Drops?
Unless you get something good, just infuse. Every major section on legendary gives upgrade modules, which cap at 25, so you’re the best keeping with the cap. I also strongly suggest you keep it within the minimum at all times. The difference in power is staggering, especially when you figure you’re already at a disadvantage.
Are There Champions?
No stage features any champion.

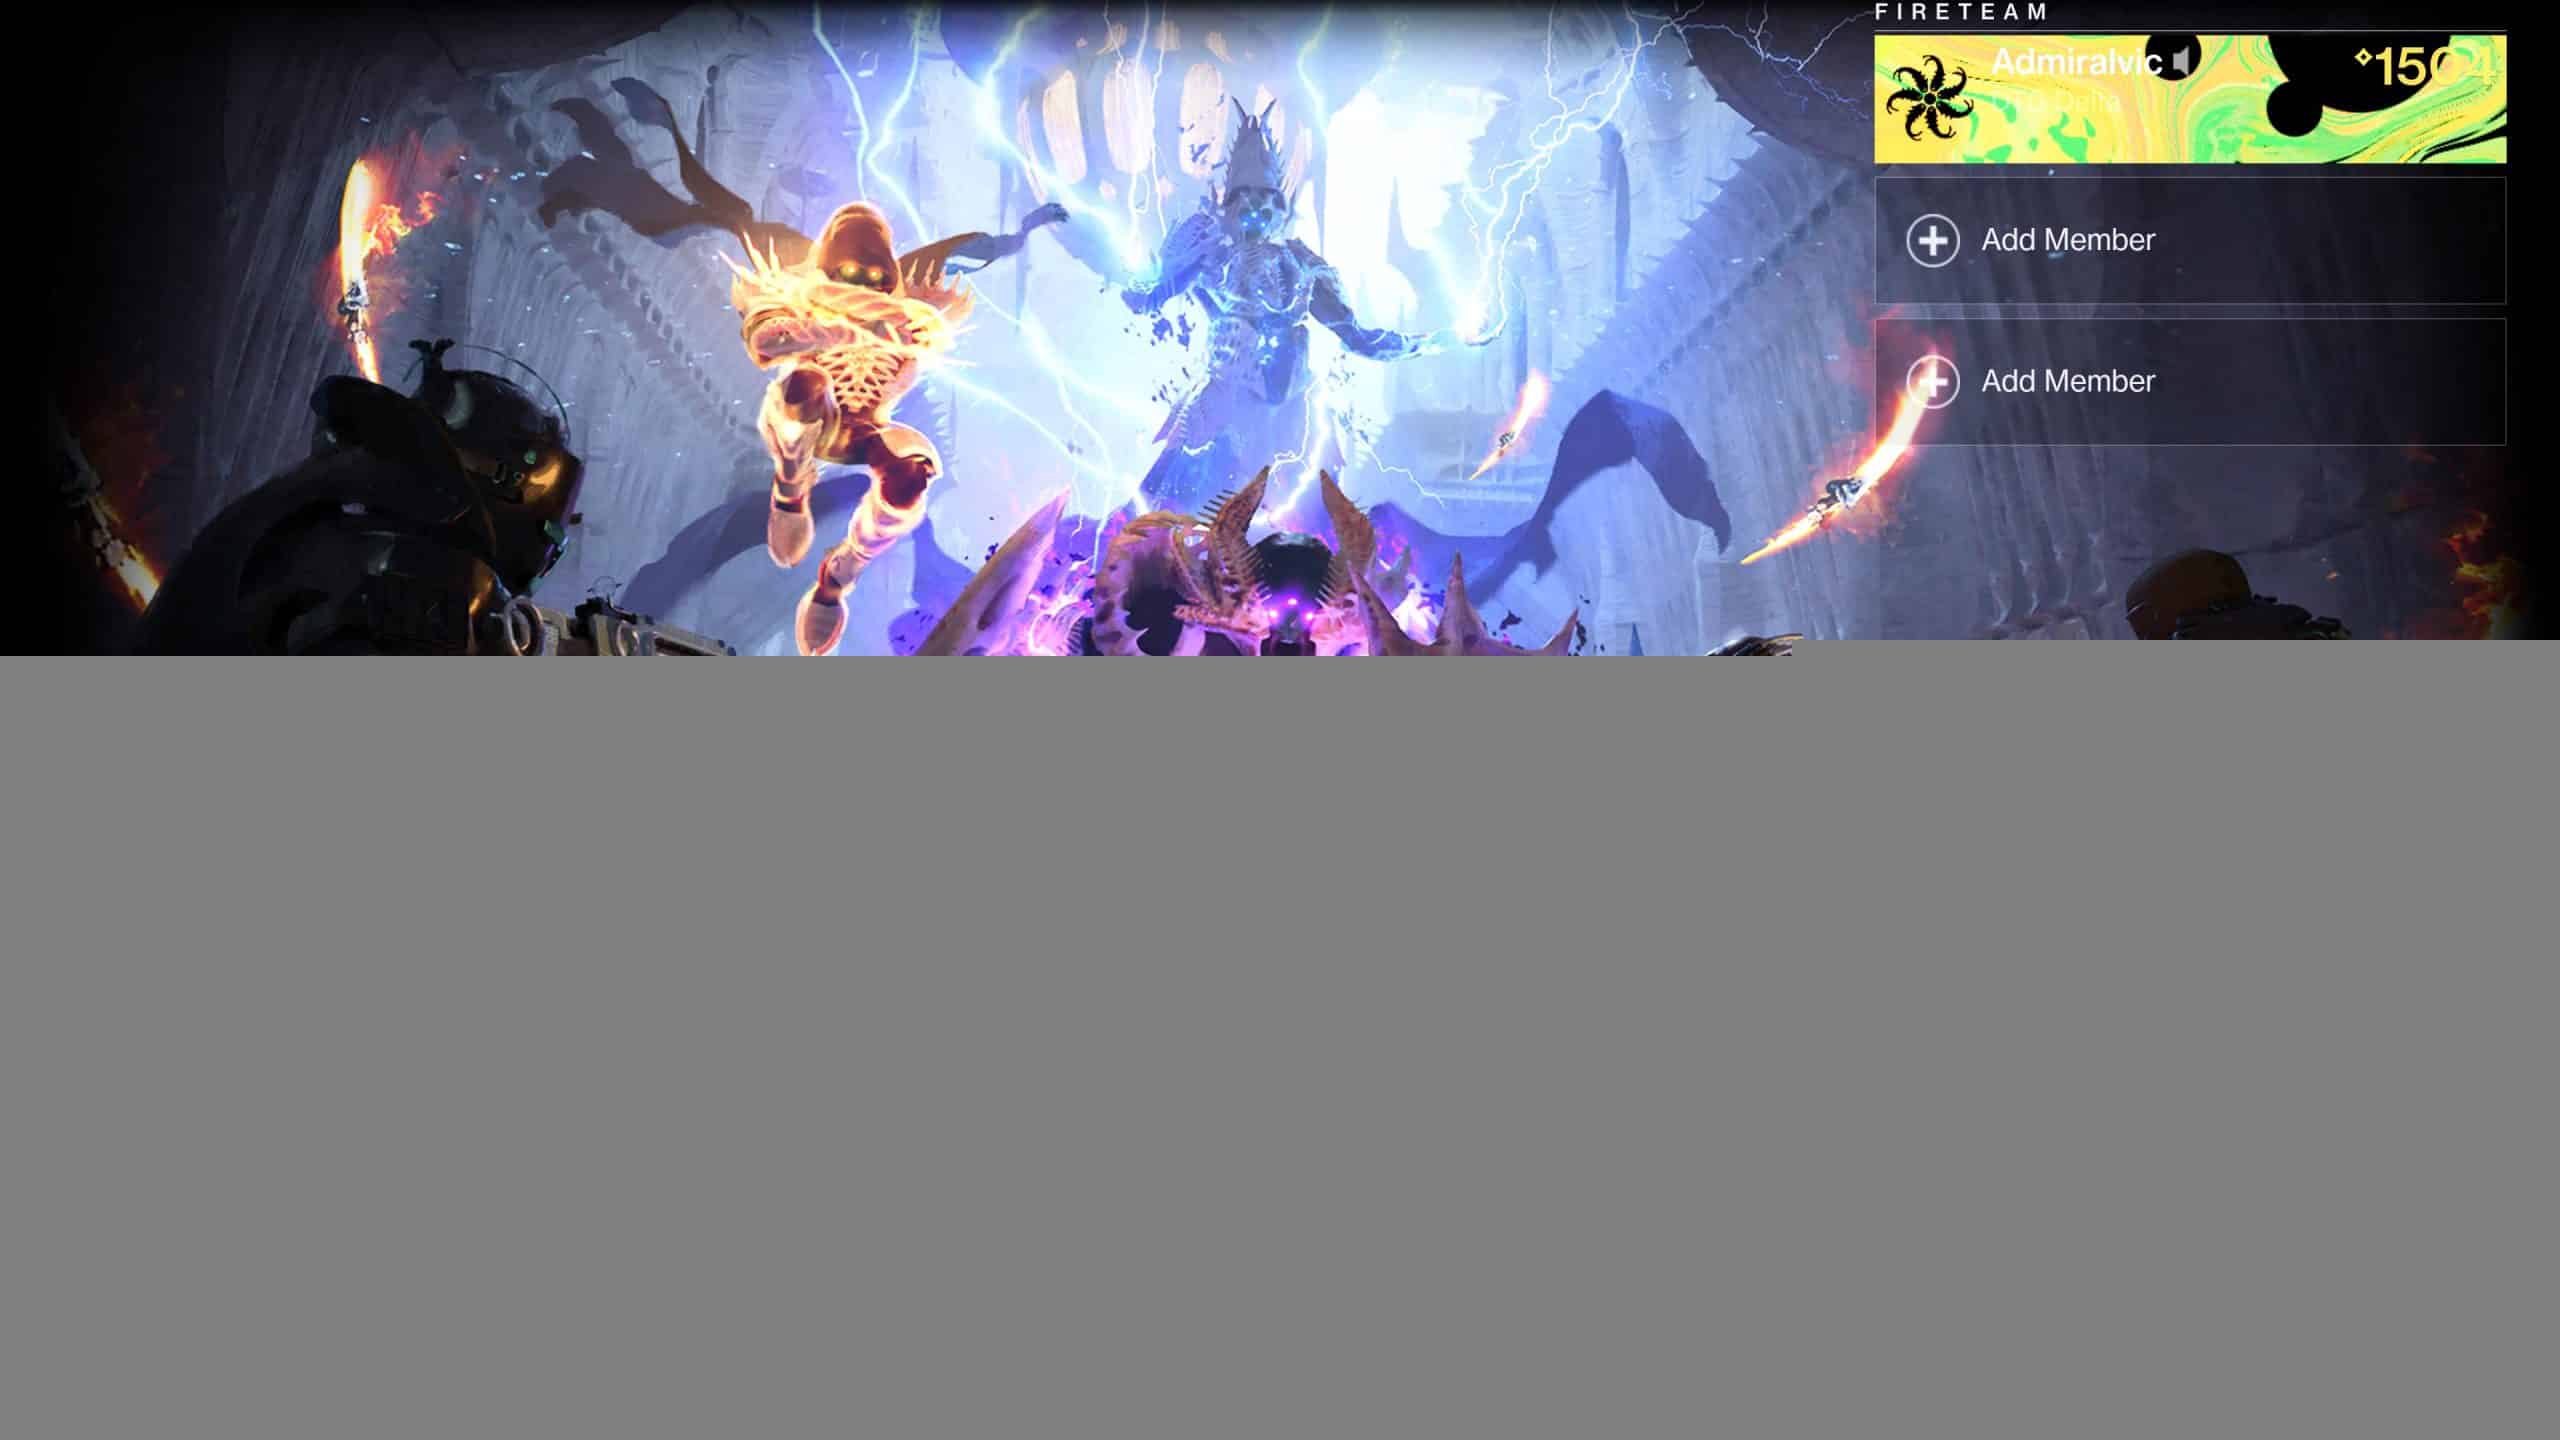
Can You Use Banners?
Yes. Every Darkness spot starts with a banner point like pictured above. If you’re unfamiliar with the item, they instantly give you max heavy and special ammo, along with recharging all your abilities. Great for anyone who gets stuck or wants an edge.
Set Up
Build
So, the good thing about the campaign is no level has a gear lock on it. This means you can freely swap gear or formulate the best strategy to overcome any particular challenge. Many of the stages are also not damage check-based or timed, meaning any weapon is technically viable. That said, I do suggest making sure you have a way to deal with every elemental type, or at least solar and arc.

Notable Weapons
Speaking for myself, I had the most luck with Trinity Ghoul. This breaks Knight shields, clears adds effortlessly, is a lot of fun, and is perfect for destroying hiding foes. During some of the later sections, I moved to a different arc legendary and equipped Gjallarhorn.
It might not be as powerful as the original version, many sections have annoying wizards, which use solar shields. Beyond that, it’s a great gun for clearing multiple enemies quickly. I would commonly shoot it at a major threat that spawned, often damaging it and killing all the additional enemies.

Anyone with considerable progress on their seasonal artifact can also consider using a Glaive. With the seasonal mod Suppressing Glaive, you can suppress enemies, something that is really useful against Lucent Hive.
The final notable weapon I’ll mention is Osteo Striga. If you’re not familiar with its name, it’s the new exotic SMG that is currently limited to the deluxe edition. There are a few steps to unlock it, most notably beating the campaign but worth it if you know someone with it or just need an edge. Not only does it do a lot of damage really fast, it’s extremely useful for keeping shields off annoying foes.
Suggested Mods
With the changes to builds, there are likely many mods that need to be cycled out. While I don’t have specific builds, I will suggest a couple easy to miss mods that can help.
Right off the bat, there are several useful mods on this season’s artifact. As previously mentioned, one is Suppressing Glaive. This prevents Lucent Hive from using their light-given powers, an extremely useful bonus for anyone that wants to try out the latest weapon. Rocket Launcher Scavenger is also located under the second column. This gives you additional ammo when for rockets, a must if you’re using Gjallarhorn or another rocket. In the third column, there is also Thermoshock Plating, an extremely useful mod if you’re struggling to stay alive. Most of the annoying attacks are arc, making it an extremely valuable mod. Lucent Finisher is also great for increasing your firepower, though like Suppressing Glaive, requires a lot of progress to unlock. Finally, Suppressive Darkness, Energy Vampirism, and Suppression Mastery all have benefits but require a maxed out artifact.

Arc, Solar and Void Siphon are another good mod if you’re looking for a slight edge. Pairing that with Gjallarhorn or Trinity Ghoul can help turn the tides and come out on top.
Finally, for anyone struggling with specific attacks, consider boosting your specific elemental resistance. With enough you can survive some of the most annoying attacks, taking away almost all their bite.
Campaign Guide
Basic Information
For this guide, we’re going to give tips and advice for some of the hardest sections of the campaign. I also included fundamental elements under the first stage, The Arrival. Some mechanics will also be explained, though this guide will not contain an explanation on how to do literally everything. In the event we missed something that is troubling you, simply leave a comment and we will try to assist.
The Arrival
At first glance, this is a pretty straightforward mission. Kill some Hive, open a door, and then kill some more Hive. However, this mission introduces two new mechanics, Moths and Lucent Hive.

Moth enemies are flying blue orbs, not unlike Navi from The Legend of Zelda. They can either buff a Hive or deal damage to you. When they buff a hive they will have a blue bar on their health. This bar will not heal, though it stacks with a shield, and needs to be depleted to reveal the Moth. If there are no nearby Hive to buff, Moth will fly towards you and explode. With enough level difference, this can kill you instantly. Thankfully, they can be shot to eliminate their threat, though they will always explode. This can still kill you if it’s close enough but if you kill it you might hit Hive for some free damage.
In this article, I’ve mentioned Lucent Hive a couple of times without explaining what they are. These are the Hive enemies who have Light powers. Unfortunately, they can use it far more often than players, with the Blade Barrage skill being far more powerful for Hive. Thankfully, they don’t have an obscene amount of health or break the established Destiny lore. This is why suppression is so useful. Now they can’t use their powers to kill you, so you want to make sure to use this whenever possible. Another thing to keep in mind is that they can revive. Whenever they die a Hive Ghost will appear and requires a takedown to actually kill. Always plan for the takedown, as missing it will revive the enemy with full health.
The Ghosts
This stage is the first spike in difficulty and it’s entirely due to Brutiks, Lightbane. What makes this fight hard is the relatively small room, dark backgrounds, and a sizable number of additional enemies. Thankfully, the tactic to win isn’t too bad.

For the first phase, you just need to kill a single enemy, break a crystal, and damage Brutiks. When you hit to finish the first segment, a number of enemies will spawn in the middle and the three side rooms will have these runes over them. Each room has three enemies and a major Chieftain of a different element. What you need to do is enter every room, kill the Chieftain, break the crystal in their room to remove the seal. Doing this three times will break Brutiks’ shield and allow you to do damage to him.
What I suggest is killing enemies in the middle as you go between rooms. I also kill the weak adds, followed by the Chieftain. Since Brutiks can not enter a room with a rune, take a moment to recharge abilities, possibly change weapons and prepare for the next one. In the event you bring Brutiks into a room that spawns a rune, he will quickly leave.
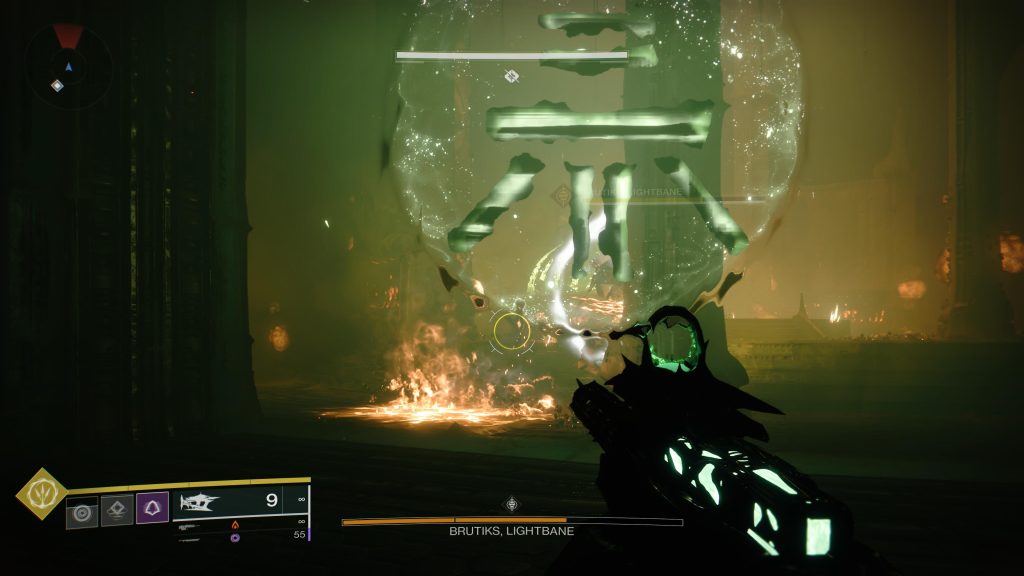
The third segment is largely the same as the second, except there are three enemies that spawn down the hallways. You can take them out if you want, but don’t linger or you might die to the boss.
The Cunning
For some, The Cunning is the hardest part of the whole set. This is entirely due to The Warden, Termiks, Invasive Warrant. What makes them annoying is rather simple. They snipe and do a lot of damage, while enemies rush and if you’re really unlucky, they get protection from a Chieftain.

This is one boss you just want to burn like Skolas during the House of Wolves’ days. For this, have everyone use the banner, with two standing near the entrance on the left side. The other player needs to run close enough to trigger it before running back.
When he spawns, deal as much damage as possible through rockets and supers. He should have a brief shield that will go away on its own, followed by an opportunity to finish him off.
Those who fail to burn him can still win, you just need to prepare to deal with waves of enemies and his snipes. This is best done by moving around a lot of hiding behind shields or other resources.

Killing him will spawn an Ahamkara Illusion, which might look like Riven, but is nowhere near as terrifying. The basic trick is to hide behind things when the mouth is blue and shoot when it’s orange like pictured above. Placement isn’t overly important, though the left side is easier than the right or middle.
When enough damage is done a number of enemies will spawn. These are some very annoying Scorn, so make sure to save your rockets and supers for them. This section is honestly as hard as you make it. If you anticipate the enemies, it’s pretty easy and if you try to burn the boss, you’ll likely get overran.

Similar to Riven, this fight ends with a race section. This is nowhere near as complicated or demanding as Last Wish and can honestly be done with a single person. The basic idea is to take a pike and drive to a specific location. Only one person needs to make it, so I suggest sending someone who can go invisible.
Simply drive past most of the enemies and at the very end, leave the pike, go invisible, walk past the last group of enemies and step into the light.
The Last Chance
This mission is pretty doable, though it depends entirely on your teammates. If they don’t get the concept you will lose, just like you will lose if people are not planning ahead.

The basic idea is incredibly simple. Clear out the first area of enemies, kill the enemies in the middle, kill the swordbearer and then take it. Doing this will spawn another set of enemies on both sides that need to be killed to break a specific point that is placed in the small gap on the lower level. Breaking this will spawn more enemies, most notably a Lucent Hive on the first go, with ogres on both, with a small battle at the end.

What typically happens is someone jumps the gun and it puts your team at a disadvantage. There were many times someone would break the lock with half the enemies alive, especially if we were on the second one, or just grab the sword without considering placement.
To be perfectly honest, all you need to do is be slow, kill every enemy, get in the right place and move ahead. It helps to constantly pick up and drop the sword, as a Swordbearer will not spawn until it disappears, but even that isn’t required. Finally, there is a mini-boss that appears after breaking the second lock.

As long as you kill every enemy and are careful, this shouldn’t cause too many wipes.
After that, there is a boss, though it’s also pretty straightforward. It’s best to burn her first phase, collect resources during the second, and when you get to the third rushing it to kill the Lucent Hive, followed by slowly killing the boss from below.
The Ritual
The final mission starts with one of the most tedious sections in the whole campaign and quite possibly the game itself. What you need to do to kill the Wizard shielded by two crystals is pretty simple, it will likely just take a couple of attempts to get right.
I personally start by going right, as the left is harder, but there is no disadvantage to either. All you need to do is kill enemies to unlock a door and on the top-level kill several groups of enemies to break crystals to unlock additional doors.


When all the crystals are broken, various doors will open with runes above them. There is no penalty for picking incorrectly, it will just teleport you to the beginning. All you need to do though is look at the runes above the initial door and then enter that door above. This will give you an orb that can be deposited in the middle section to break the crystal’s shielding. Doing this will spawn adds, with the second starting a mini-boss battle.
Please note, this whole section needs to be done in a single go, so be smart and plan ahead.
After this, you’ll fight Savathûn, The Witch Queen, which is an extremely long fight that is broken up into multiple parts. Several of these have no penalty for dying, nor is there an issue losing to a later one, it’s just getting there that is hard.
The first phase can be tricky, though it’s actually pretty easy if every player separates. Savathûn can only do Nova Bomb or throw lightning at you, both of which are devastating but easily avoided when you see it coming. When everyone is separated, she will switch targets allowing the other players to safely attack, with the targeted player knowing to play defense.
When using this tactic she is basically a non-threat, so save all your rockets for the adds that spawn at 50 percent and like 20 percent. The first will be a couple of enemies with an ogre and the second will be one of each Lucent Hive. Thankfully, Savathûn leaves until all three Lucent Hive is dead. For her last stand she will shoot from the far side, so prepare to damage her there.
After this the section will end, there are some sections where you kill Wizards and other enemies, followed by the final showdown. This can be done by killing all the enemies, getting the full Thread Cutter buff, and repeating. Depending on a variety of factors this can take around eight cycles, which is doable but if you’re reading this guide you probably want the cheese.

While it’s true you gain additional damage from maxing out the buff, along with Wizards typically dropping heavy ammo, the easiest way to beat Savathûn is to clear the adds, kill the Wizard to the left, and right, followed by focusing on her.
Please note, this will take a while, but as long as you separate her attacks, stand by something that can block whatever she throws at you and every add is dead, it’s just a matter of time before she dies.
Enjoy the final cutscene and then head back to Mars to speak to Ikora.

She will give you one of the new exotics, and exotic missions, access to the aforementioned SMG, and the gear bundle pictured above. This is a full set, so all the armor and three weapons, instantly bringing you to 1,520 power.

Finally, go to your Triumph section and finish that to get your emblem.
