Watching old sci-fi series can be a lot of fun. There are ideas for how tech might work in the far future, like The Jetson‘s took place in 2062, though how these items actually came to be is often different. Among the most common are items we would consider smart home by today’s standards. While people are working hard to turn fantasy into reality, it was something I thought about a lot with Sonoff’s NSPanel Pro. It has an ambitious use case that could make it a must for someone looking to build a smart system. However, given how often these things fall short, is it fantasy made reality, or a trip into The Twilight Zone?
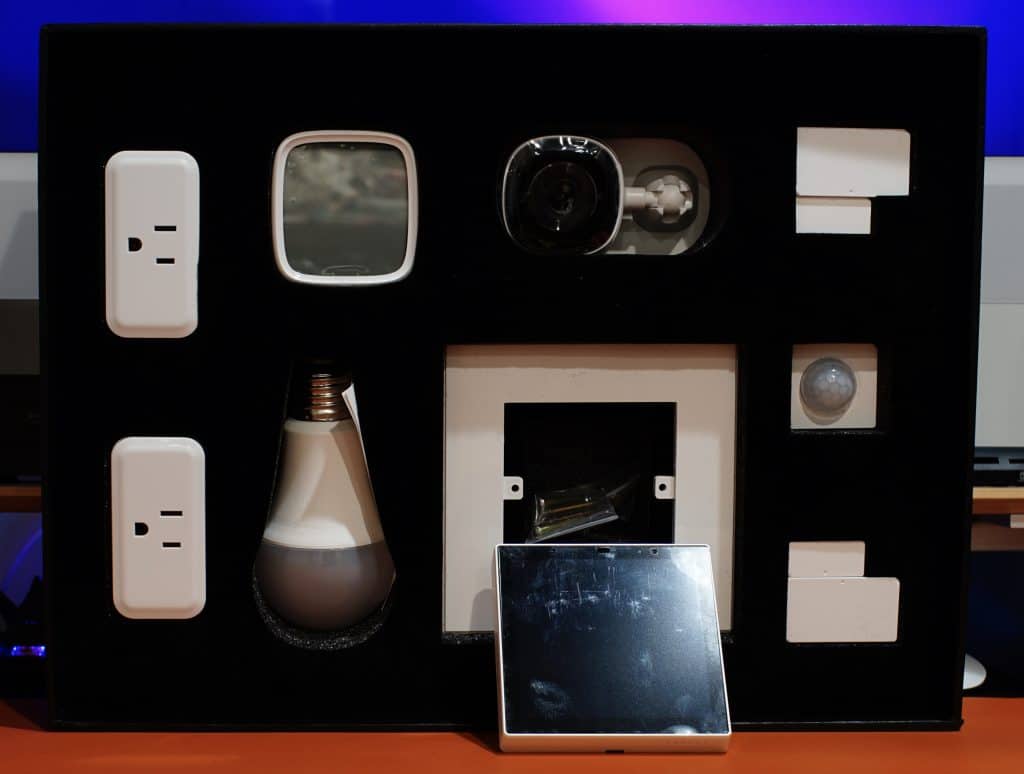
For this review Sonoff included a number of accessories to really experience NSPanel Pro. These include a temperature/humidity sensor (SNZB-02D), window/door sensor (SNZB-04), Cam Slim, iPlug (S40, S40 Lite), lightbulb, Motion Sensor (SNZB-03), and Enclosure Stand. While this review will not be a full review of these additional products, they will be briefly touched on at various points. That said, if you’d like to see one reviewed separately please let us know.
Standard Packaging and a Look at the Various Products
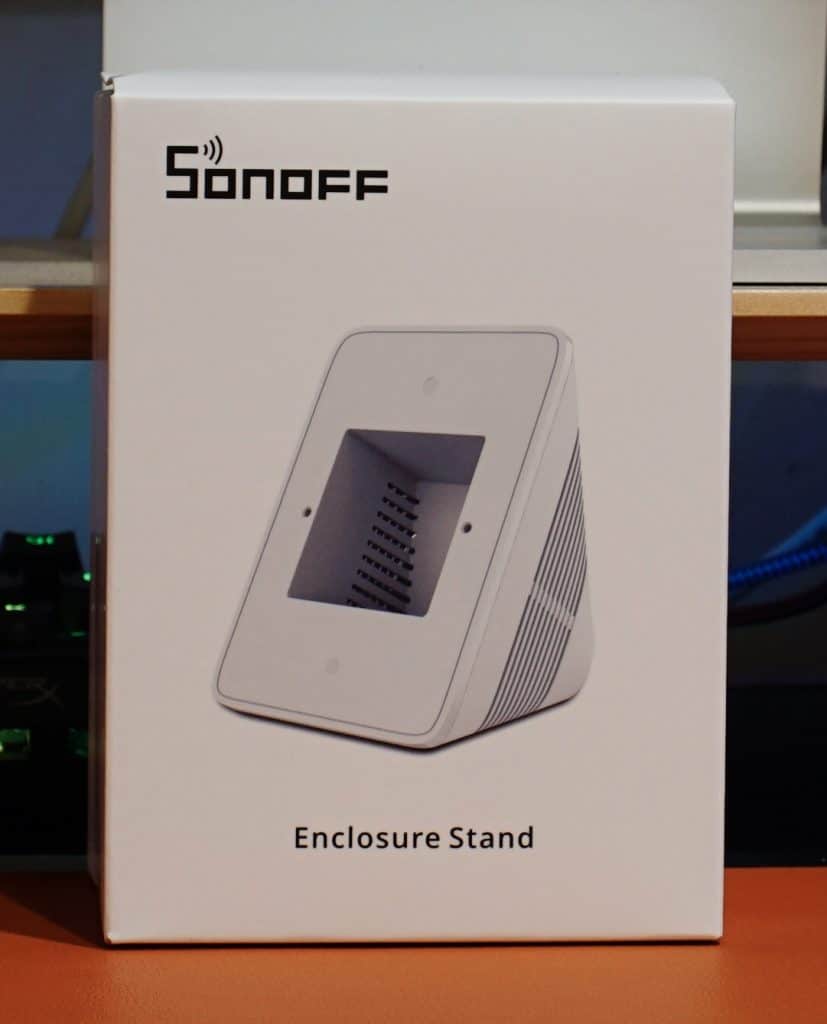
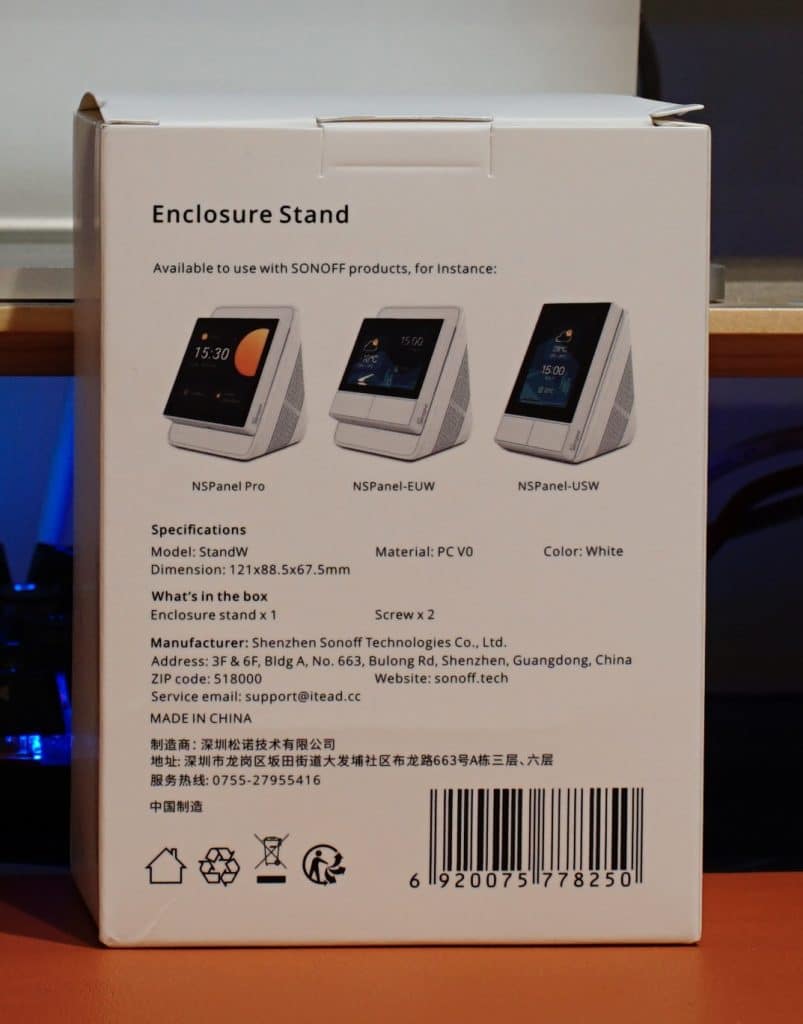
Unfortunately, Sonoff did not include the packaging for any device besides the Enclosure Stand. Based off pictures I’ve seen elsewhere it’s pretty similar to what their other products packaging looks like. Front shows the product, with the back detailing features. The box itself is a very thin cardboard that basically just houses the product. It doesn’t make much of an impact, though the important thing is how the items actually function.
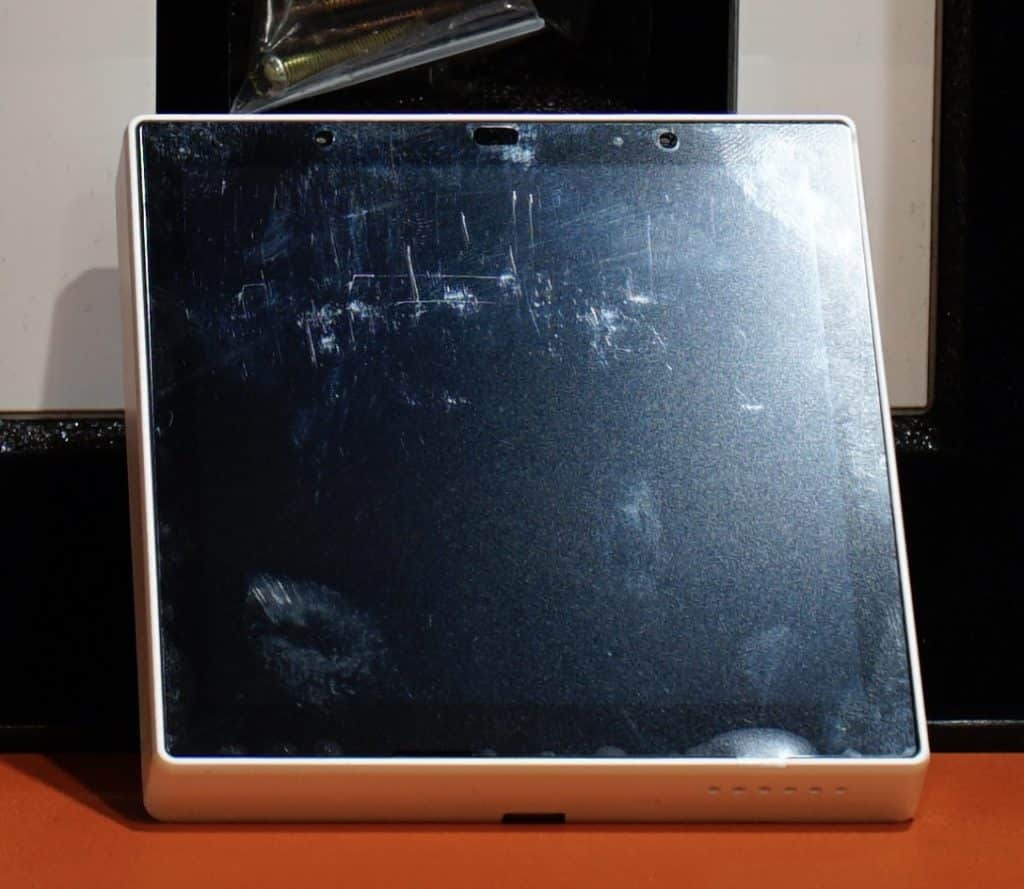
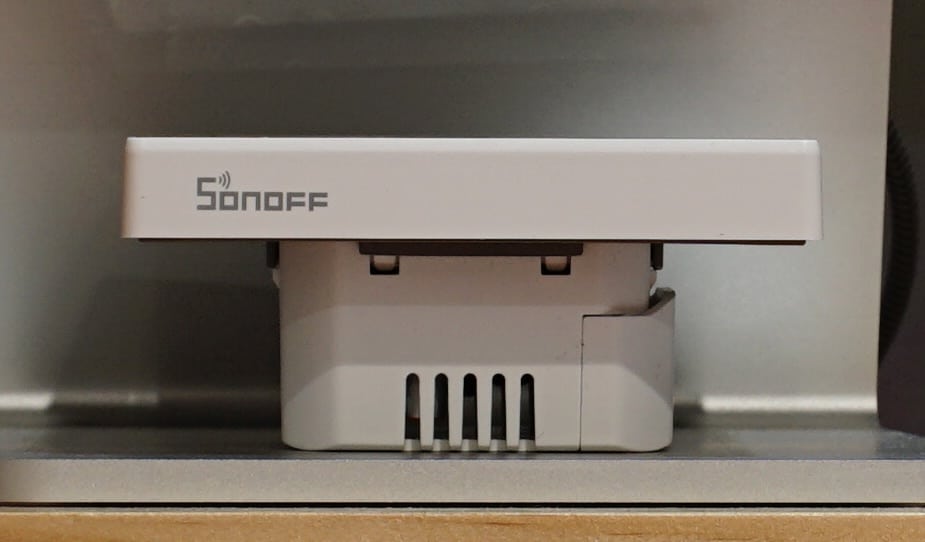
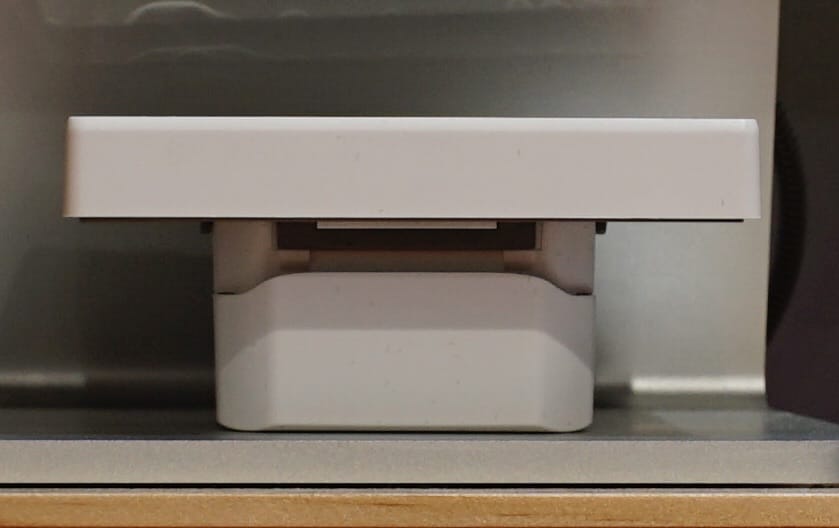
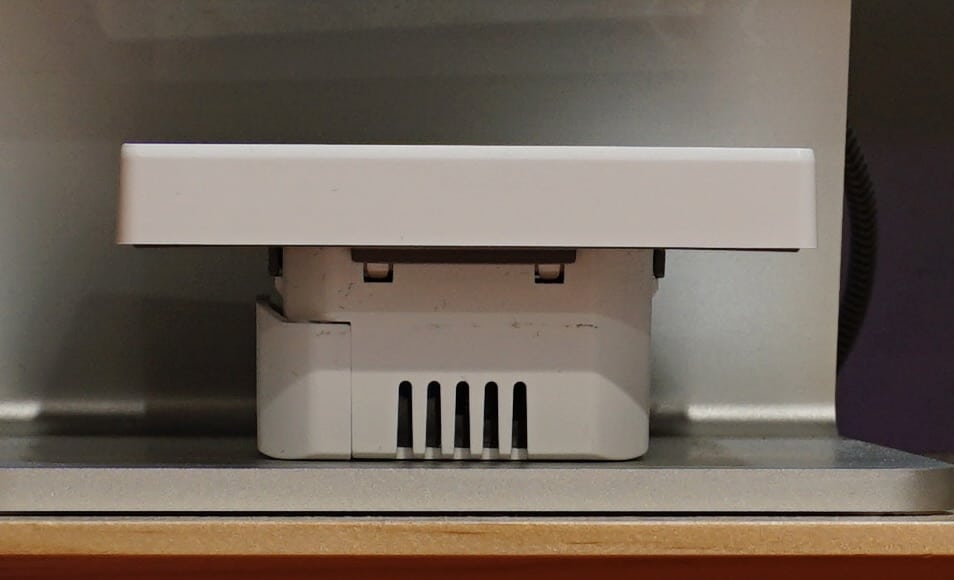
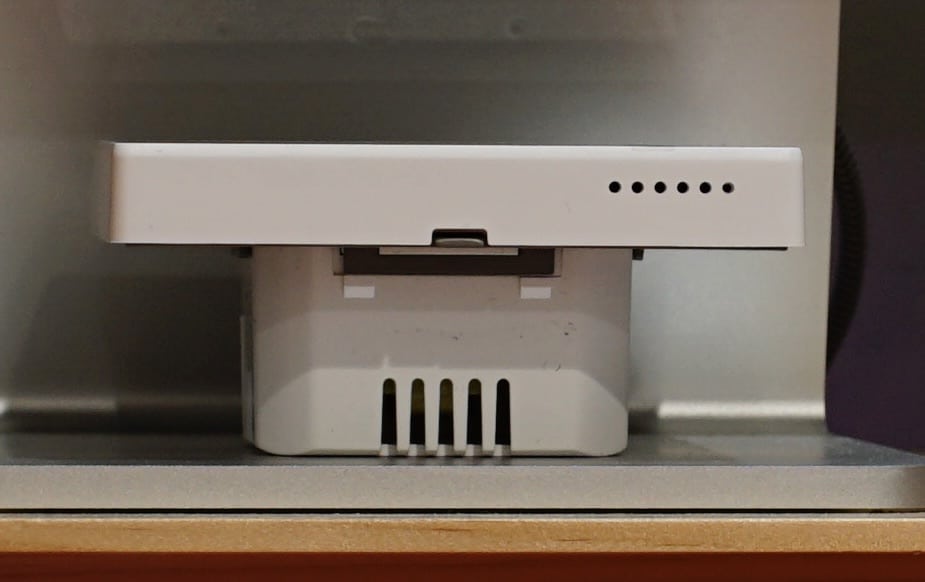
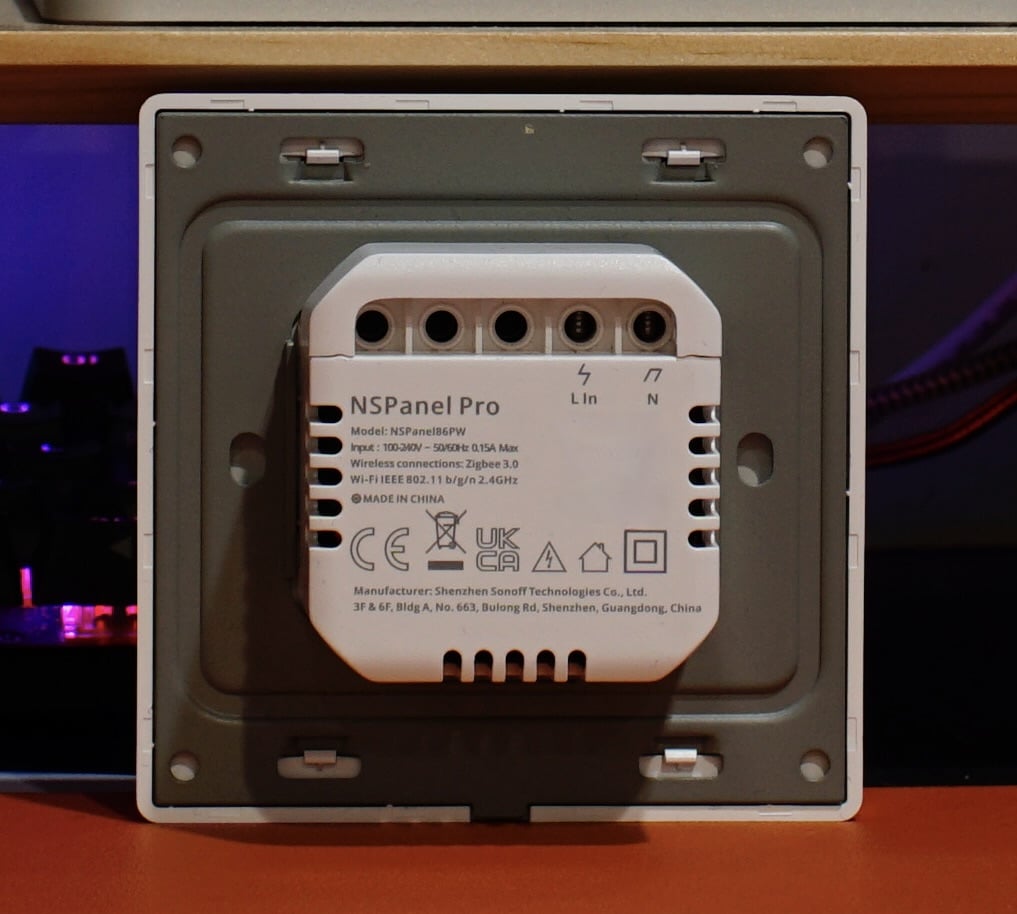
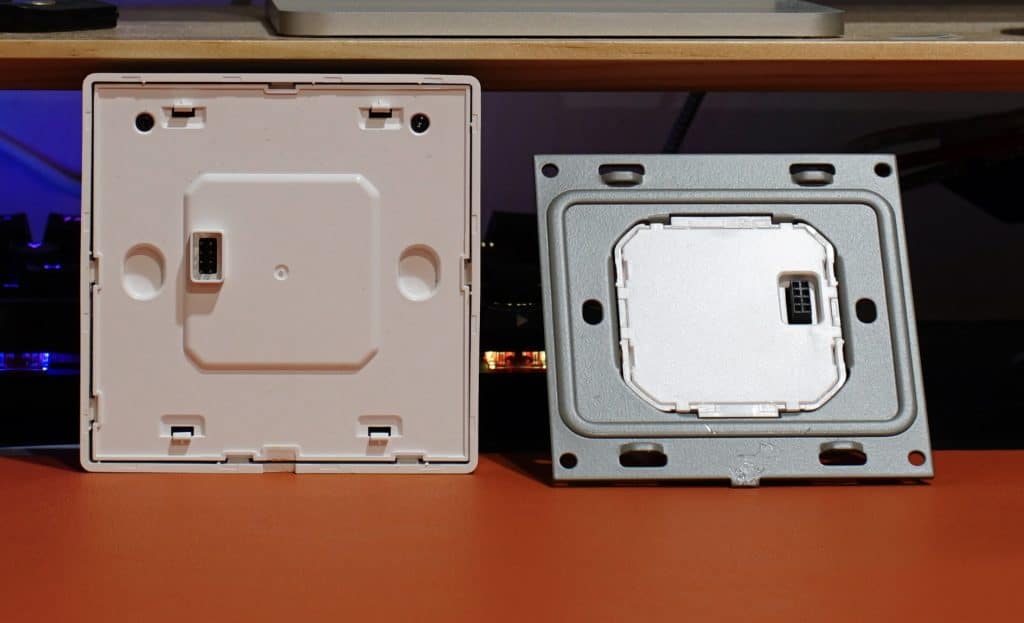
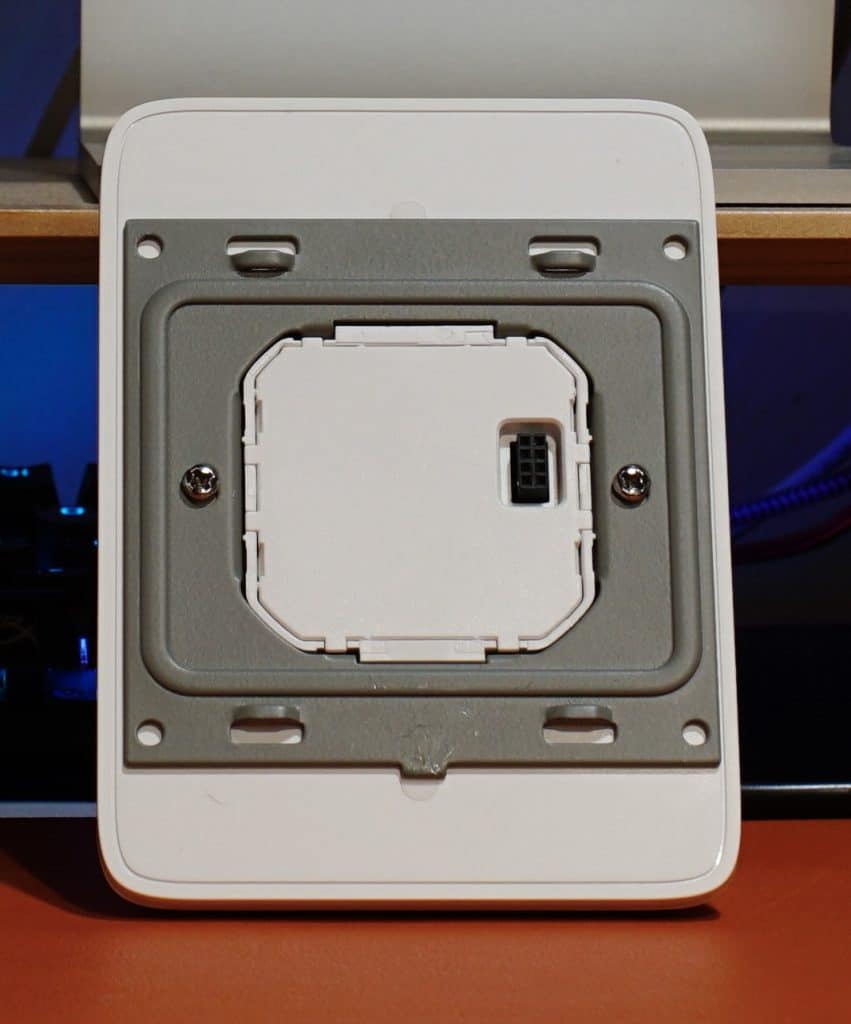
NSPanel Pro starts by looking like a nice quality product. The roughly 3.5″x3.5″ device has a simple white plastic frame with capacitive touch screen. On the back is a metal mount with a small box that is used to connect wires to power NSPanel Pro.
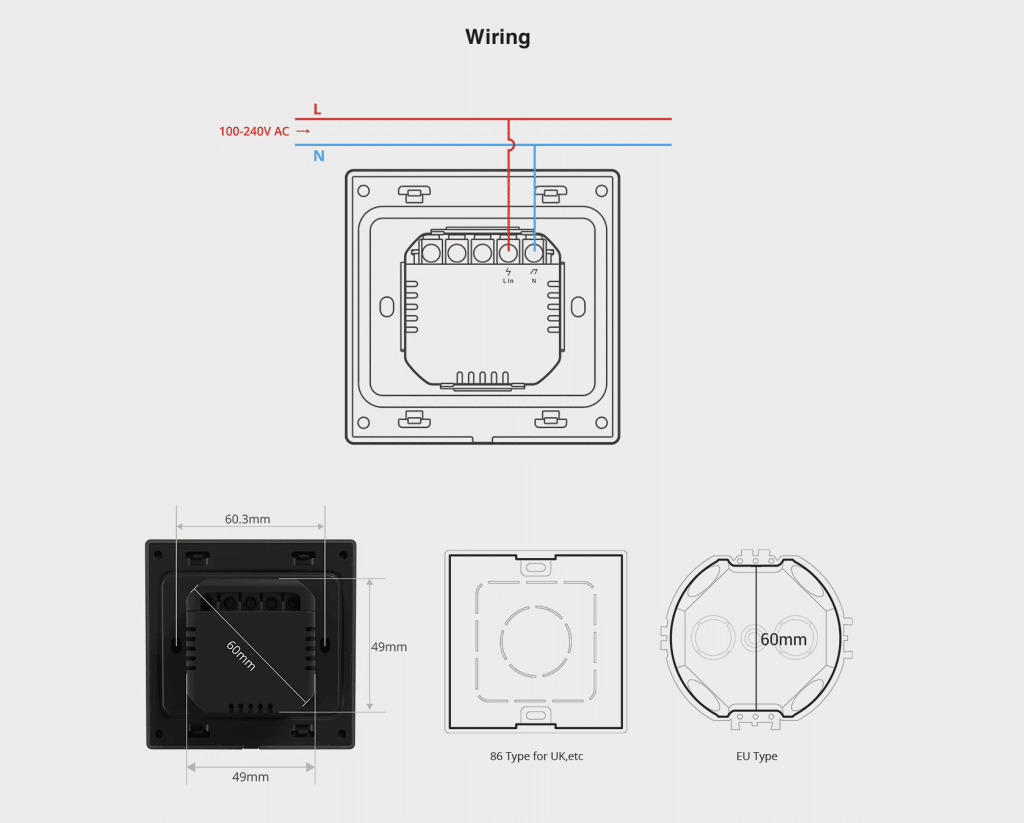
Installation of NSPanel Pro is a bit more involved than most consumer electronics. Since this product is meant to replace a light switch, it connects to the same electrical wires. This is done in a couple simple steps.
Remove the mounting bracket, expose the ports, connect the correct lines in said ports (they’re clearly labeled on NSPanel Pro), mount, and then stick the panel over it. Sonoff included a nice bracket that I imagine looks good on a white wall, though my current living situation did not have a particularly great place to mount the device and opted for using the stand.
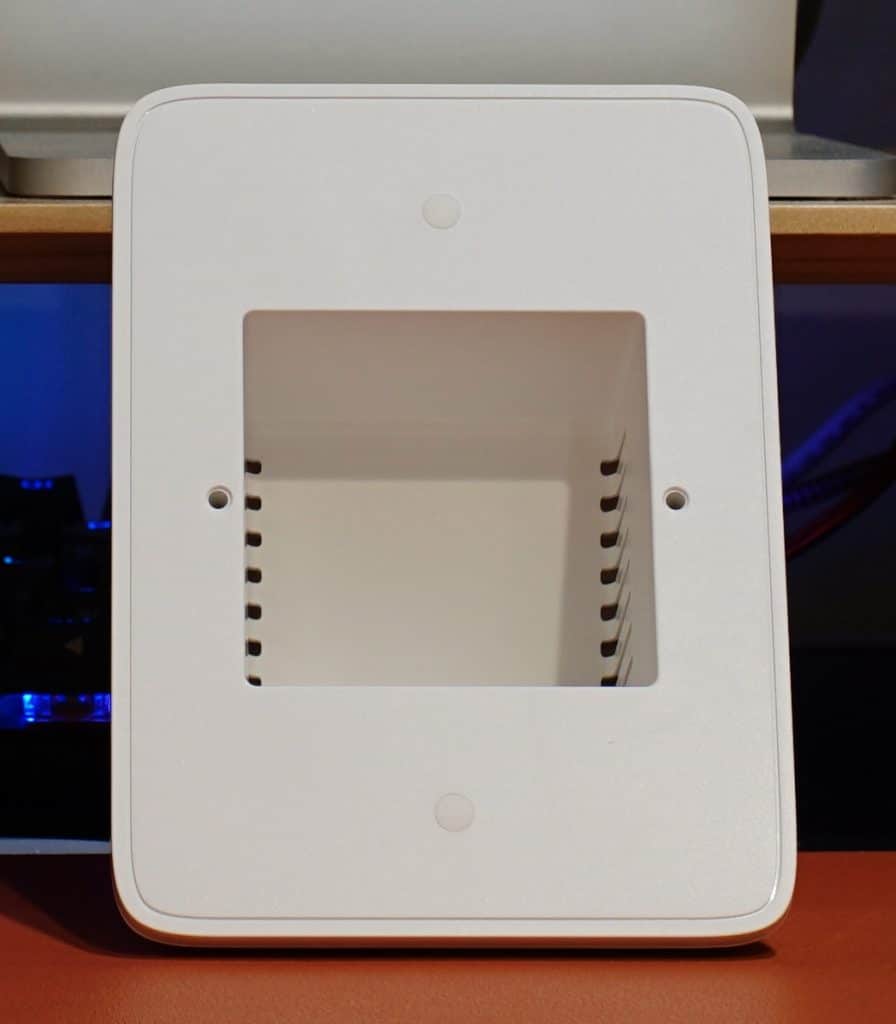
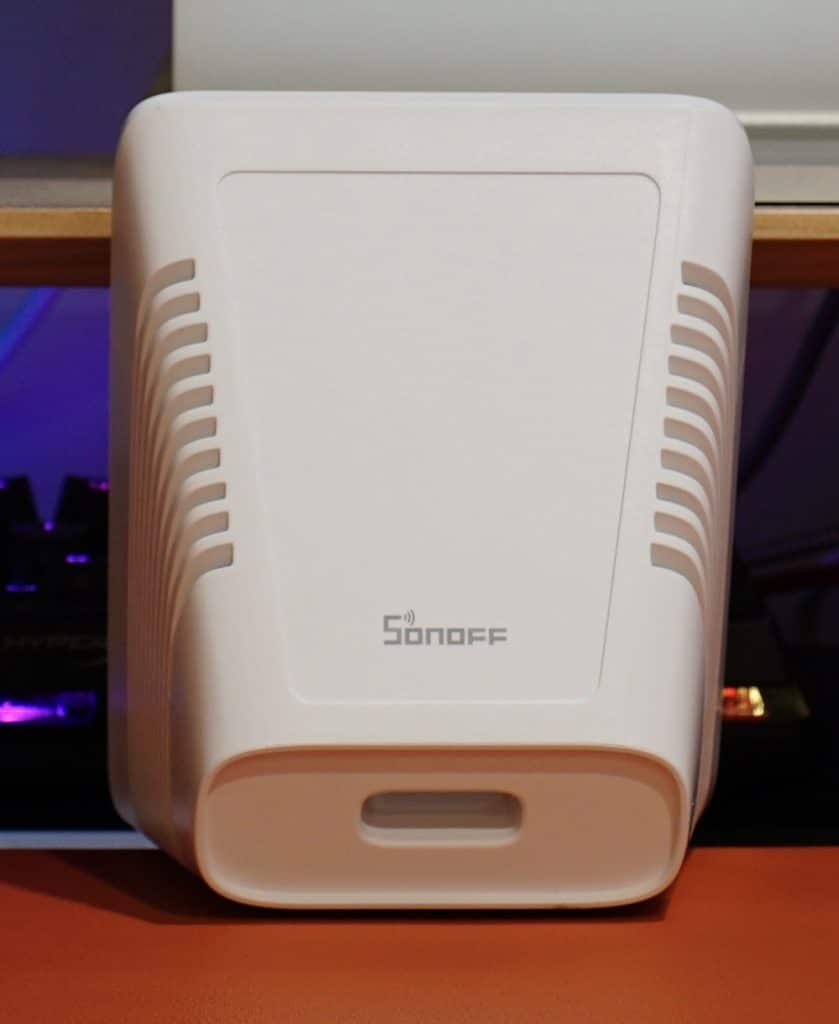
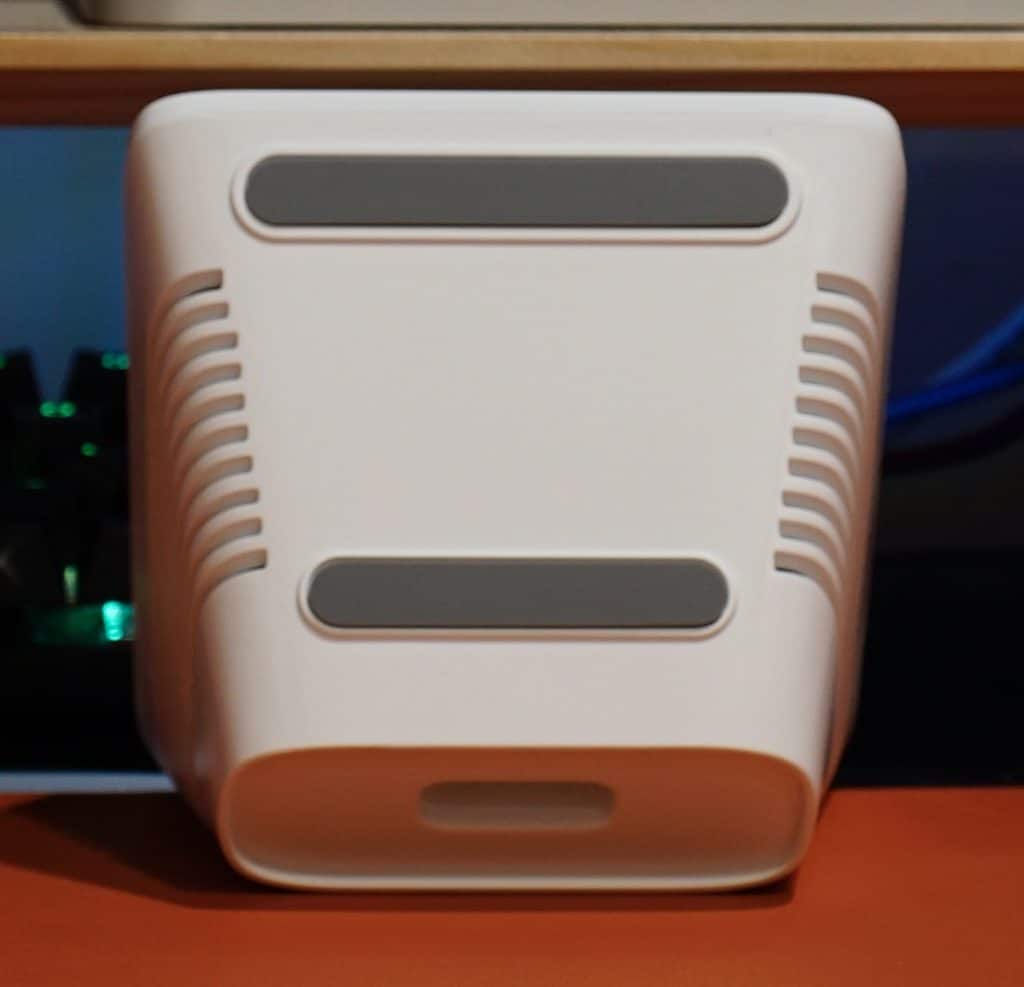
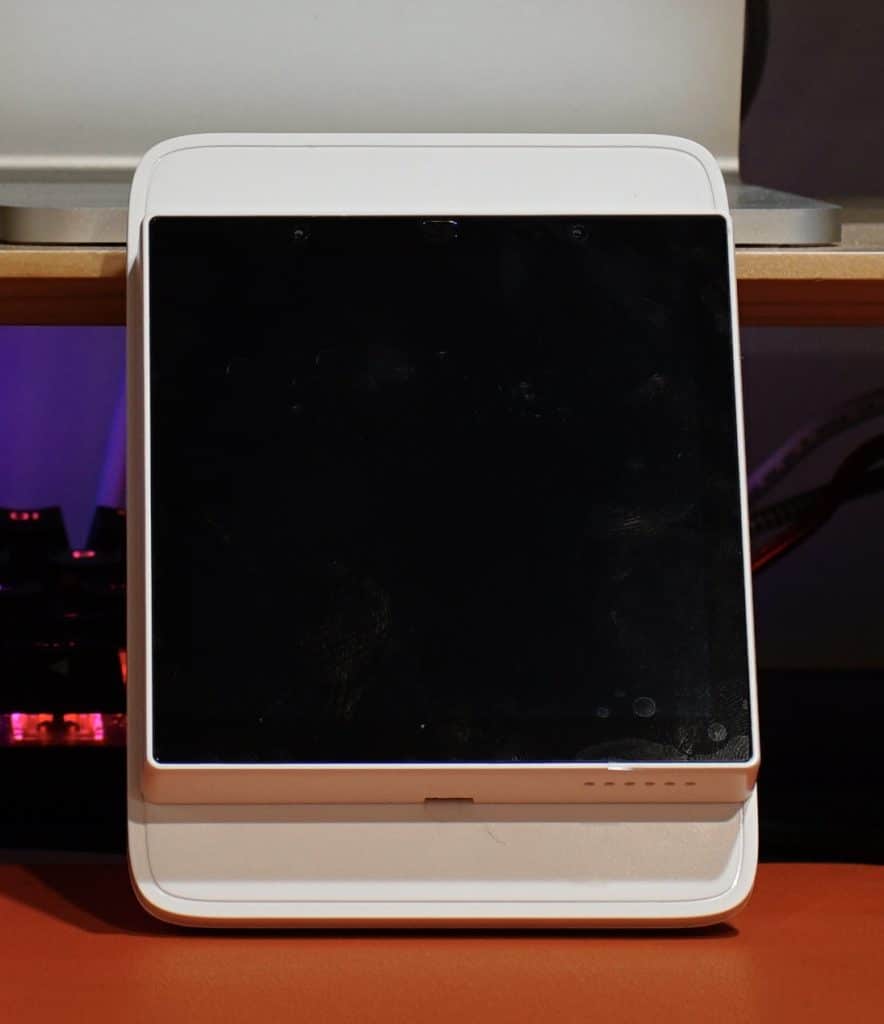
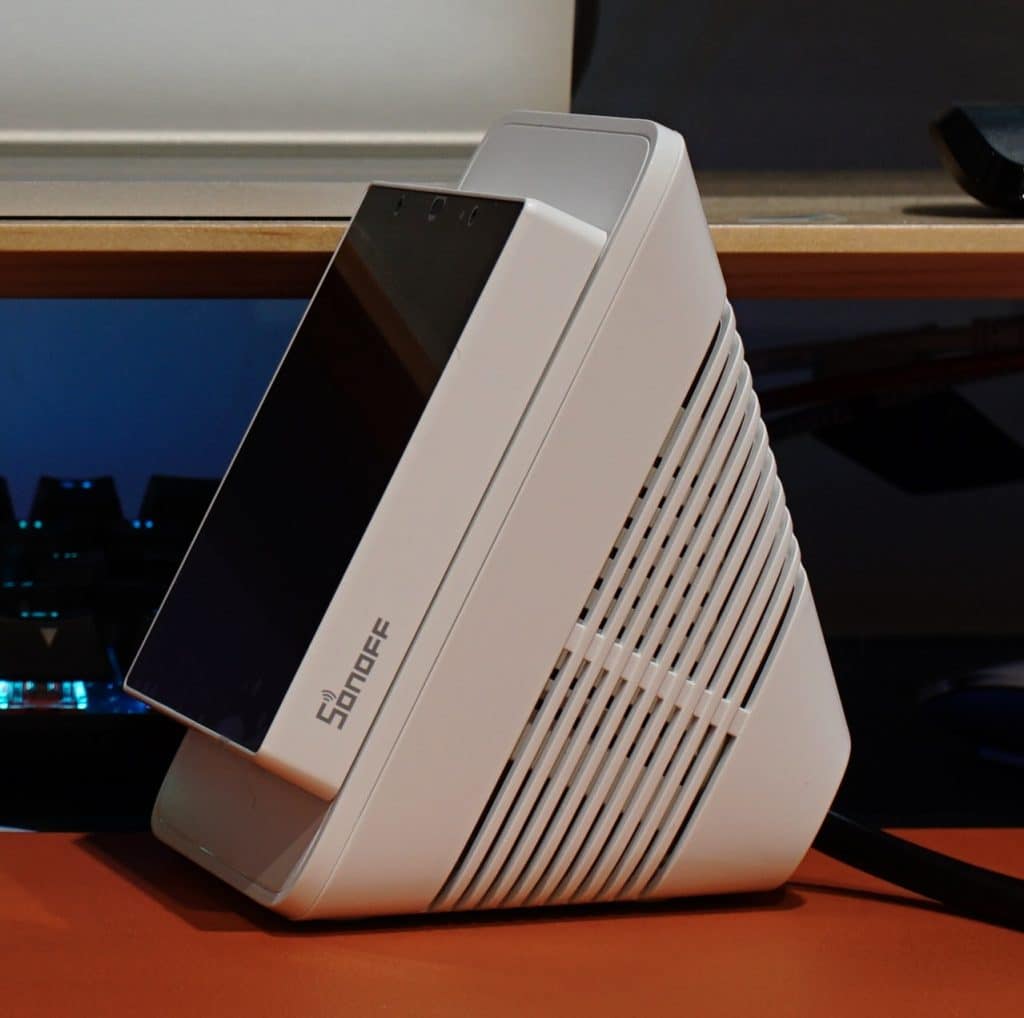
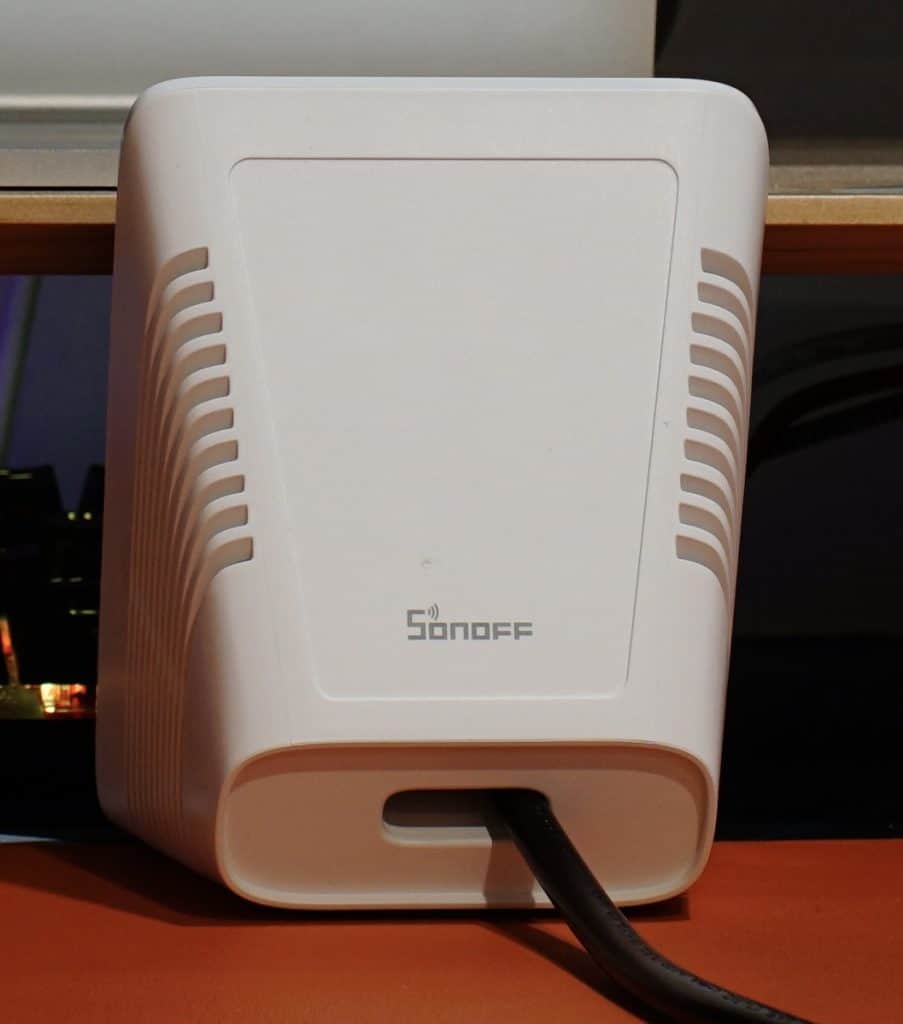
What the Enclosure Stand (Sold Separately) Looks Like
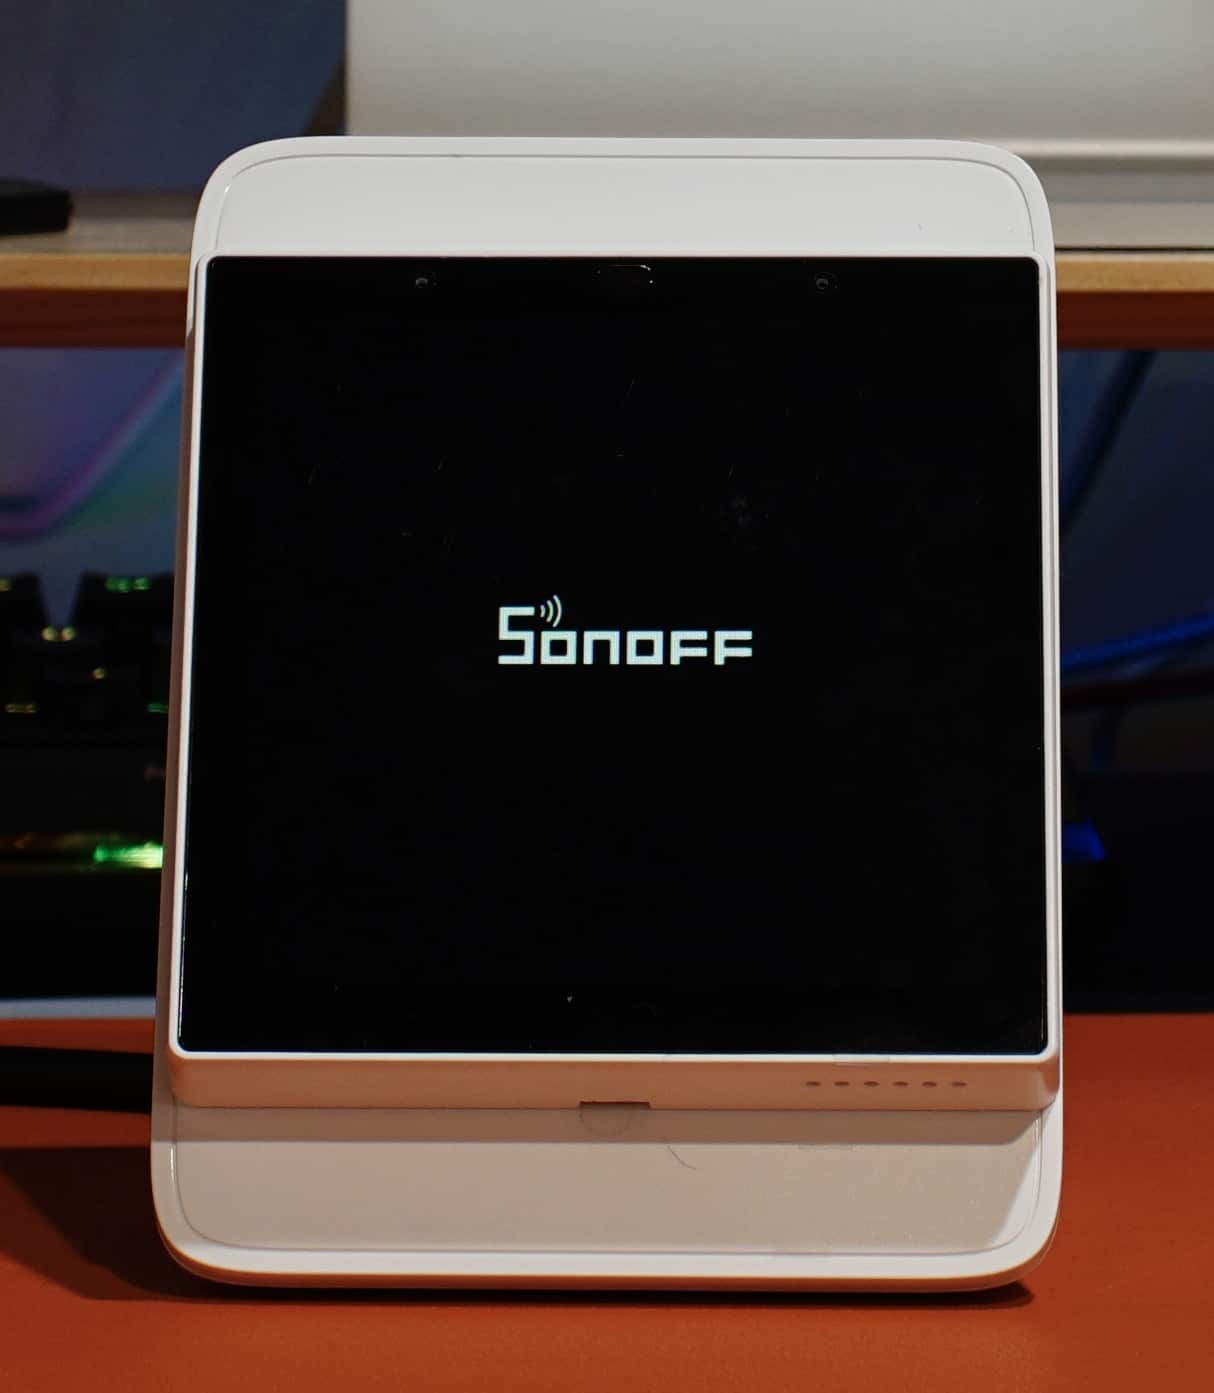
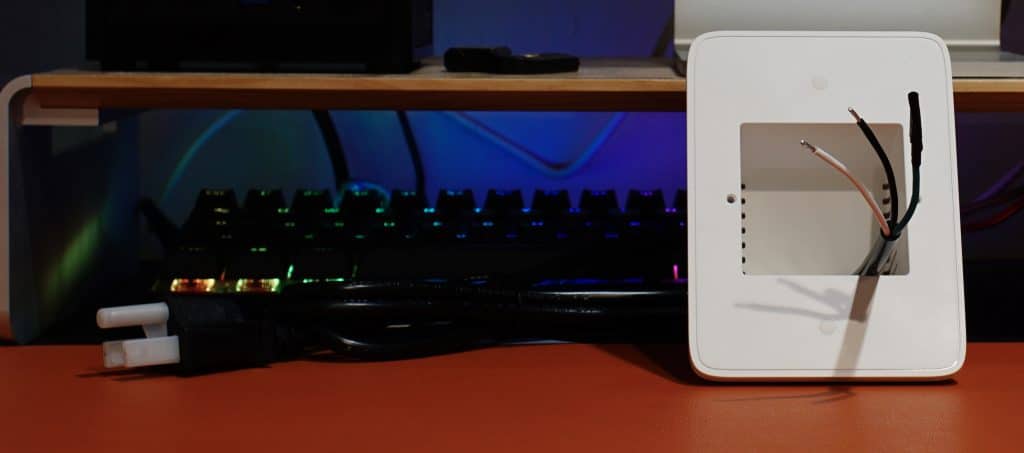
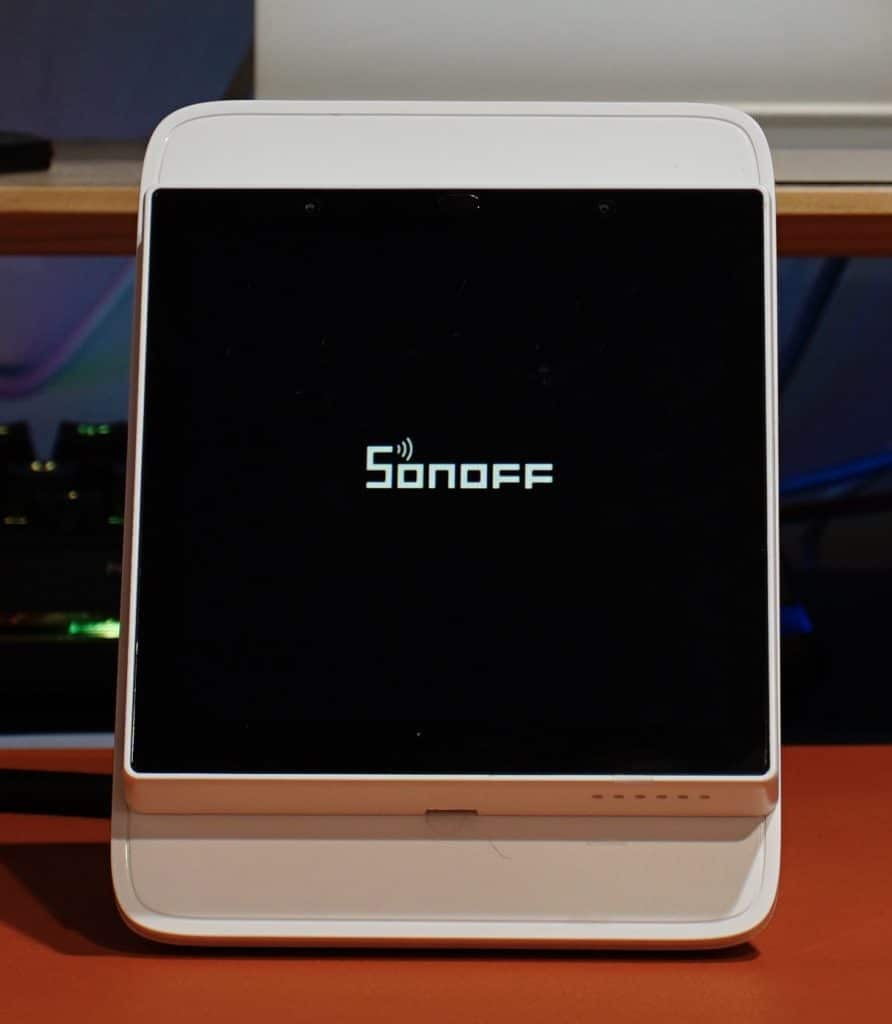
Set up is about the same. Instead of connecting it to the power directly, you purchase a cable like these and screw the mounting bracket in place. If it sounds intimidating, it really isn’t too bad. The big thing is to make sure to understand what you’re doing, get things firmly in place, and ensure things are positioned correctly (Sonoff logo will appear on the bottom right if installed correctly).
Most of the products sent by Sonoff have similar levels of involvement to install. For example, take the sensors. A lot of companies will have a simple way to remove the back, whereas SNZB-03 needs a screwdriver to pry it off. Not the biggest deal, just a little more than, say, SimpliSafe’s system.
Motion Sensor (Sold Separately) Closed and With the Back Off
If you go the powered route like I did, this is also where the Enclosure Stand would come into play. You just pull the wires through the back, connect them, mount it to the device, and then slap NSPanel Pro into place. If done correctly, it shouldn’t be obvious anything is different about the cable and it will function normally.
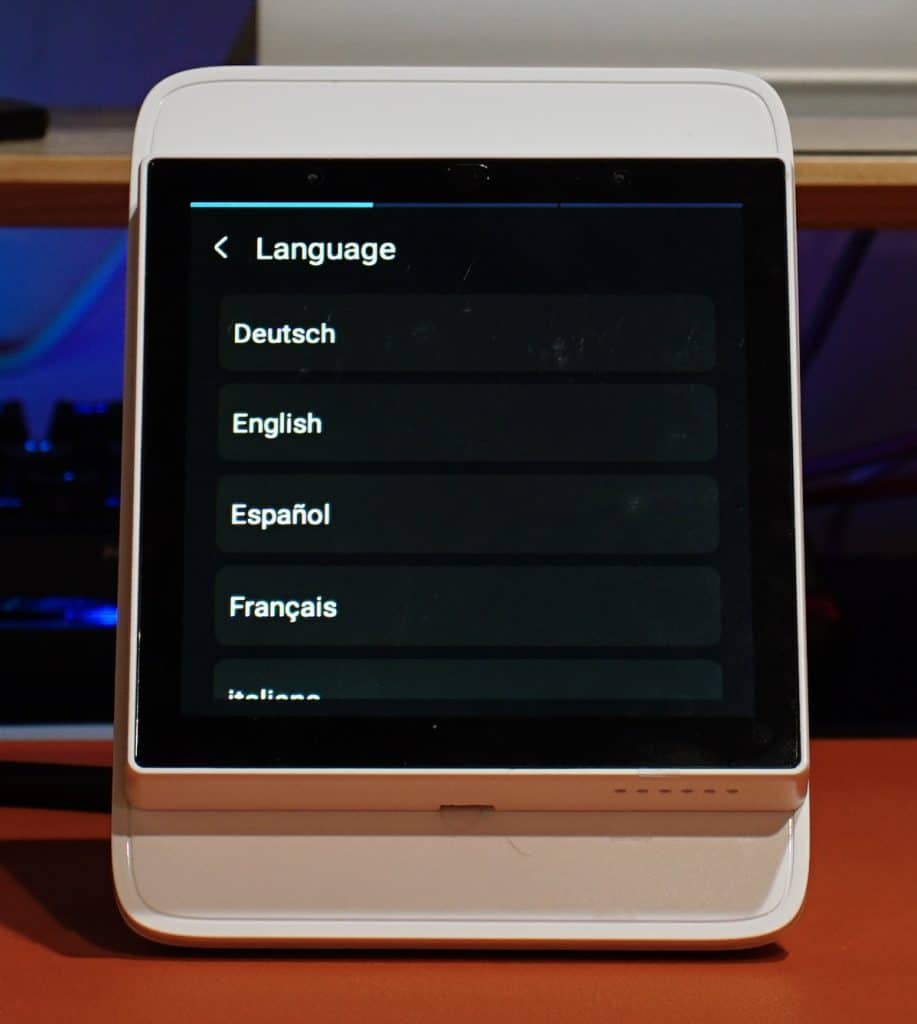
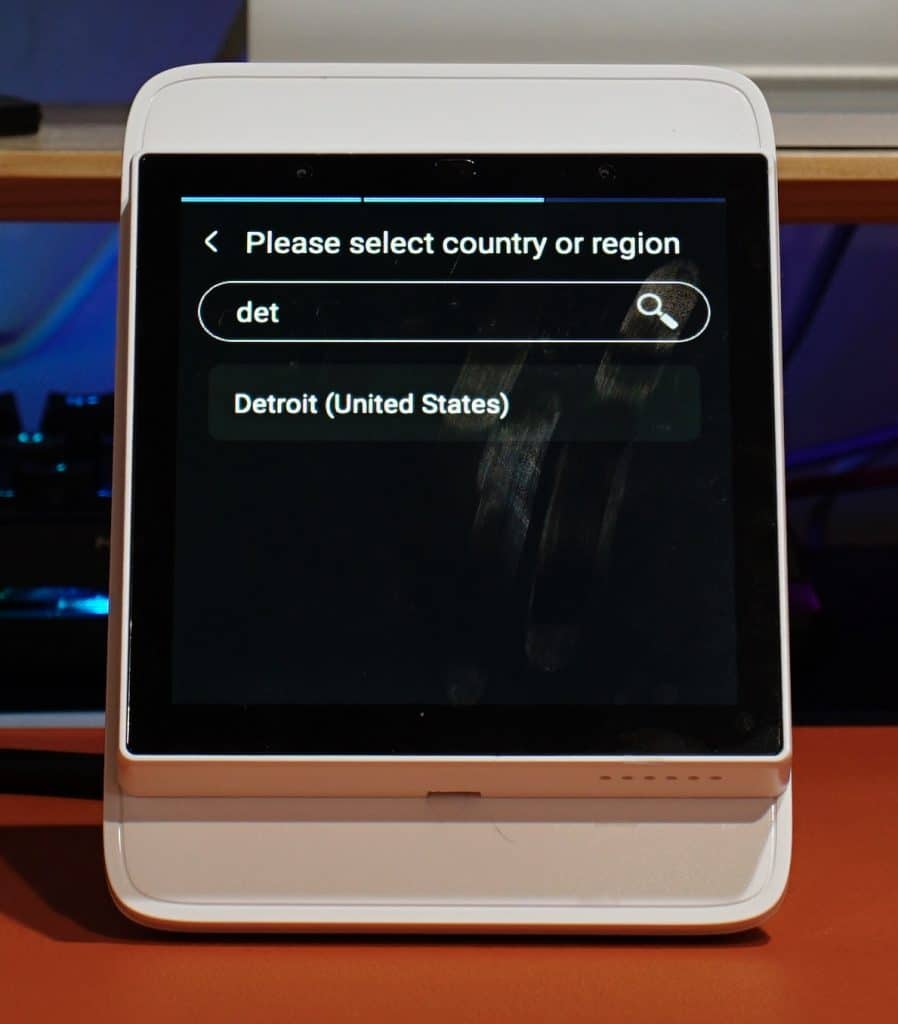
When everything is ready to go you need to connect these devices with the panel. A few require your phone, such as Cam Slim, though most can connect directly. While I had some issues with the camera and temperature initially, they all eventually connected. In the event there are issues Sonoff offers some helpful guides and fantastic support to get it done.
Mounted to the Enclosure Stand (Sold Separately)
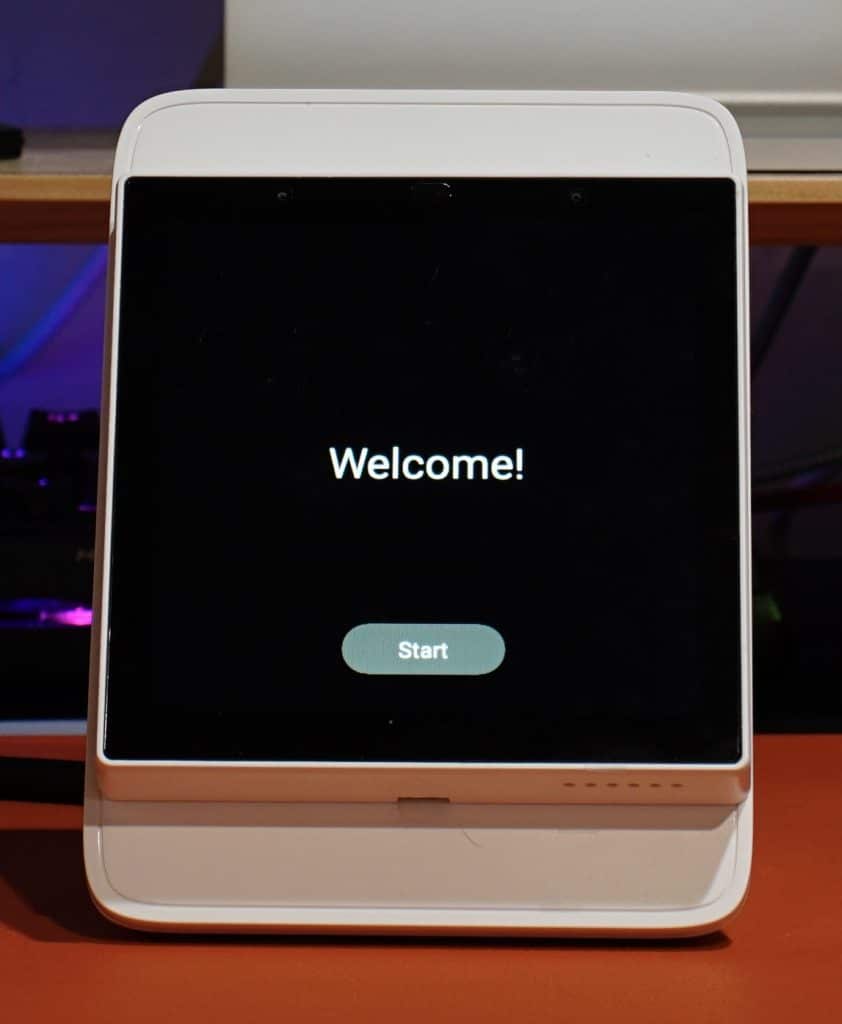
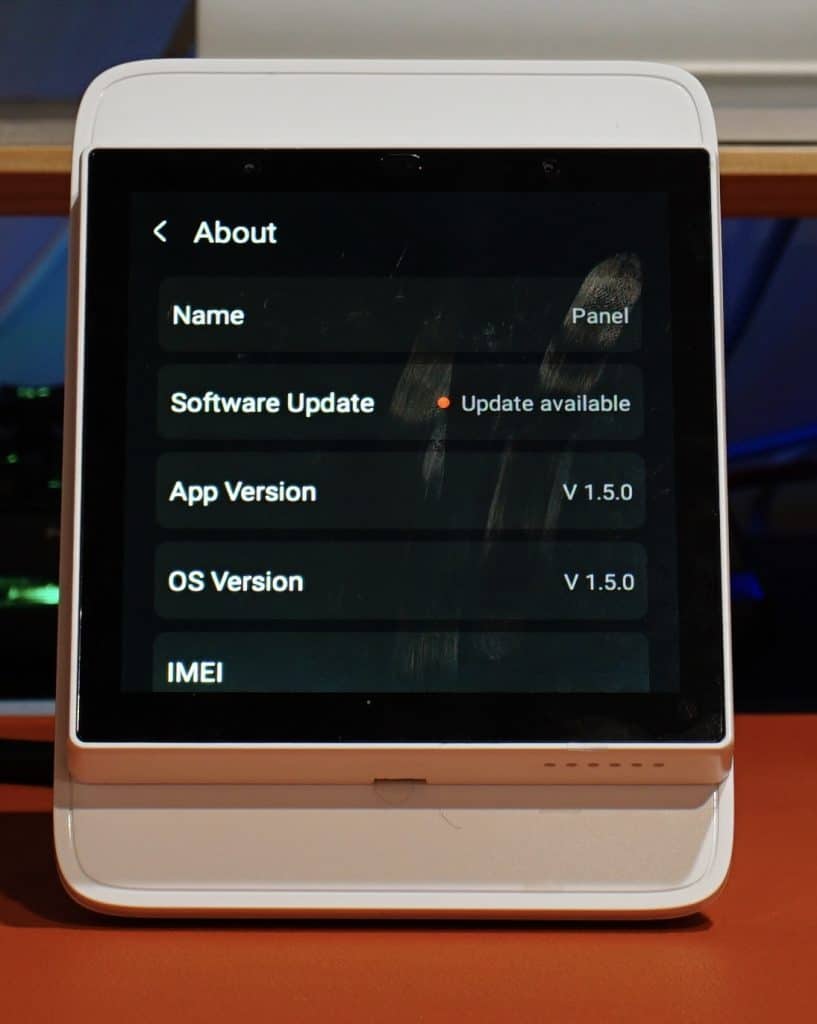
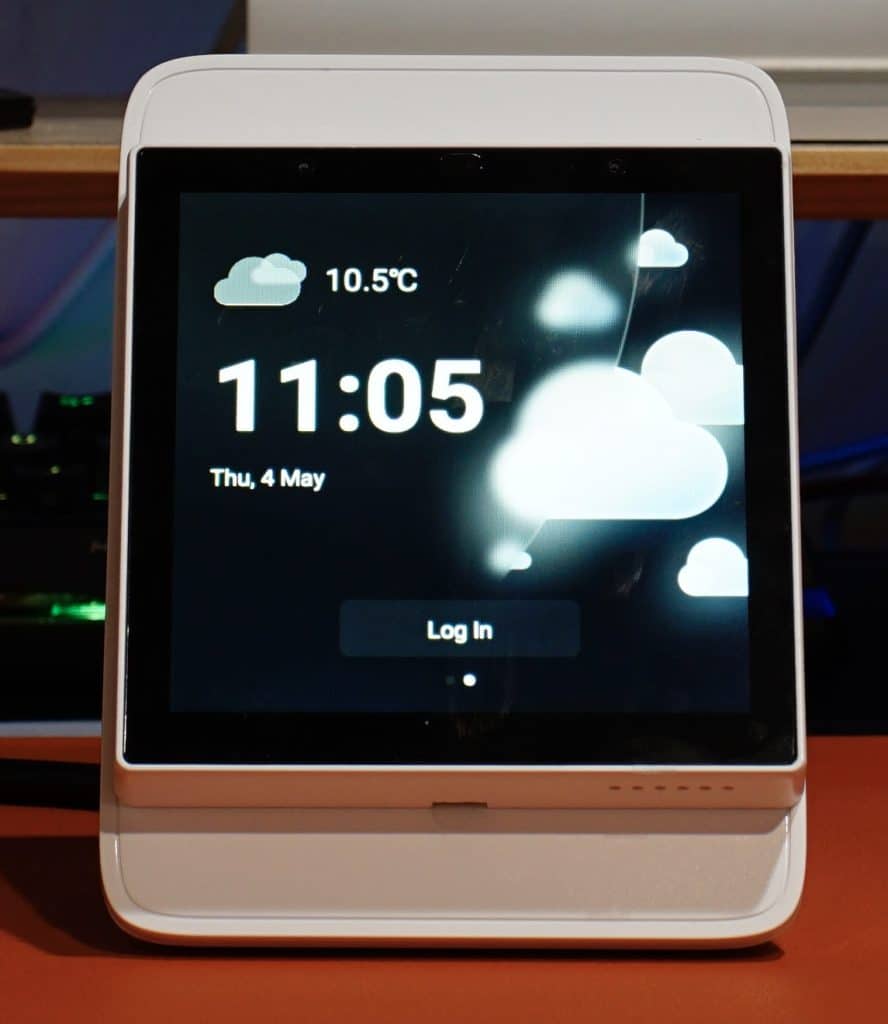
Once everything was set up, NSPanel Pro was updated to the latest firmware, and accessories are in place you’ll be able to experience what it offers. Despite having a simpler interface than Google’s Nest Hub, it’s pretty intuitive to use. Main page shows the date/time, current forecast, camera, and alarm status. Selecting any of these options will give more information, like a seven day forecast, connect to your camera or option to select one, and arming options.
Connected devices give various/data when connected. Temperature shows changes over time with a handy chart. Sensors offer a log that tells when something changes. These are also presented in an extremely simple way, just a time and action being performed. Plugs will toggle on/off with a poke. And the camera will work the same way as the version on the home screen.
A Brief Look at the NSPanel Pro in Action
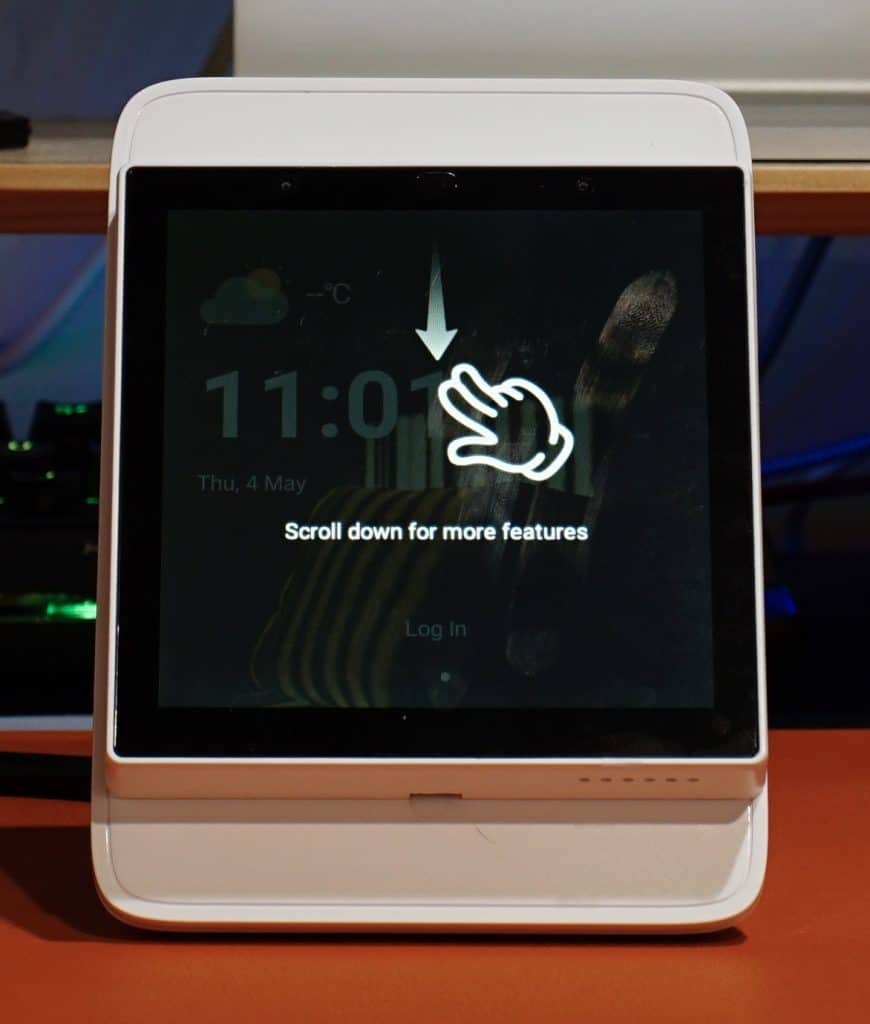
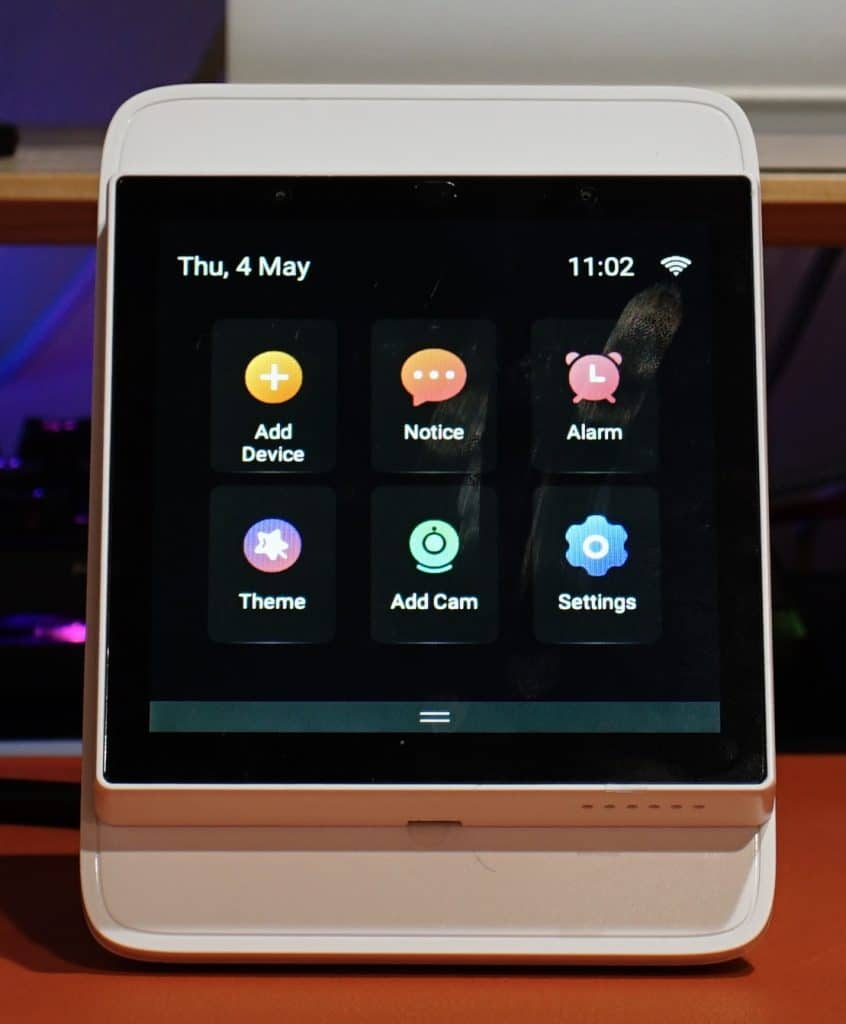
Standard gestures work as expected. Scrolling down reveals the ability to add a device, notifications hub, alarm, theme, camera adding system, and settings. With the app screens can be added/changed as well. One solid addition it the ability to load website pages. This is great if you want to watch a cooking tutorial, read an article, or just access a remote smart home page. The app also shows the same information with a little extra functionality.
One nice function is an intercom system. I can just call my NSPanel Pro, have someone in that room pick up, and have a brief conversation. Great for kids that might not have a phone, or getting someone’s attention. This function can also be done with multiple NSPanel Pro units, though we only received one and could not test said functionality.

A divisive aspect will be compatibility. Since this is part of the Zigbee ecosystem there will be a number of options besides Sonoff. Companies like Philips, Sengled, Sylvania, make products that support Zigbee that should in theory work. Some of the options are also pretty affordable. I was considering Sonoff’s L3-P LED light strip, which is $27 for 16.4′. But, a lot of the big names do not currently support Zigbee.
Another weak point is NSPanel Pro’s speed. It moves fast enough to work, but most actions take a moment or two to complete. Where this is weakest is the camera, and loading websites. Opening the camera takes about 2.3 seconds. Again, not bad, but not fast either. Websites perform much worse. It takes about 3.6 seconds for our homepage to be usable, pushing 10 seconds for the main page’s images to actually be visible. These are again fine for the use case, it’s just important to understand what you’re getting into.
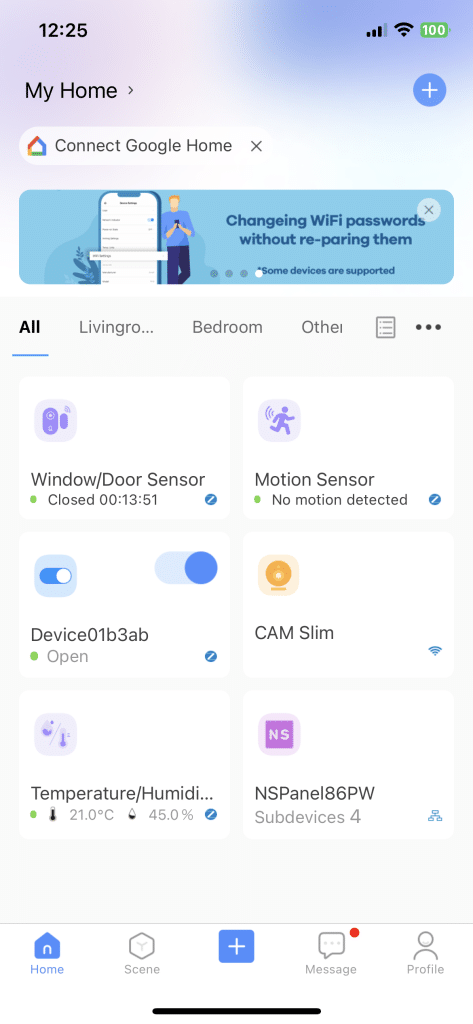
Functionality is also rather limited to being a hub with the default firmware. For those looking for more there are tutorials on how to sideload applications, and gain more functionality from NSPanel Pro. It’s a strong advantage given it opens the panel up to more possibilities.
Sonoff NSPanel Pro Review
NSPanel Pro is a neat device that has a rather unique use case. If I had a good light switch to swap with it; I absolutely would. Even without going that route it honestly functions as you’d expect. I wouldn’t say anything about NSPanel Pro blew me away, though I can say once I had it up and running it was reliable. Another thing I’ll give Sonoff a lot of credit for is their commitment to the device.
Even if the initial release was rather bumpy, Sonoff has added a good number of features promised. For these reasons, if you’re looking to build a system in Zigbee, or have a system that you’d like a dedicated hub for, it’s a solid addition to your system.
[Editor’s Note: Sonoff NSPanel Pro was provided to us for review purposes.]

