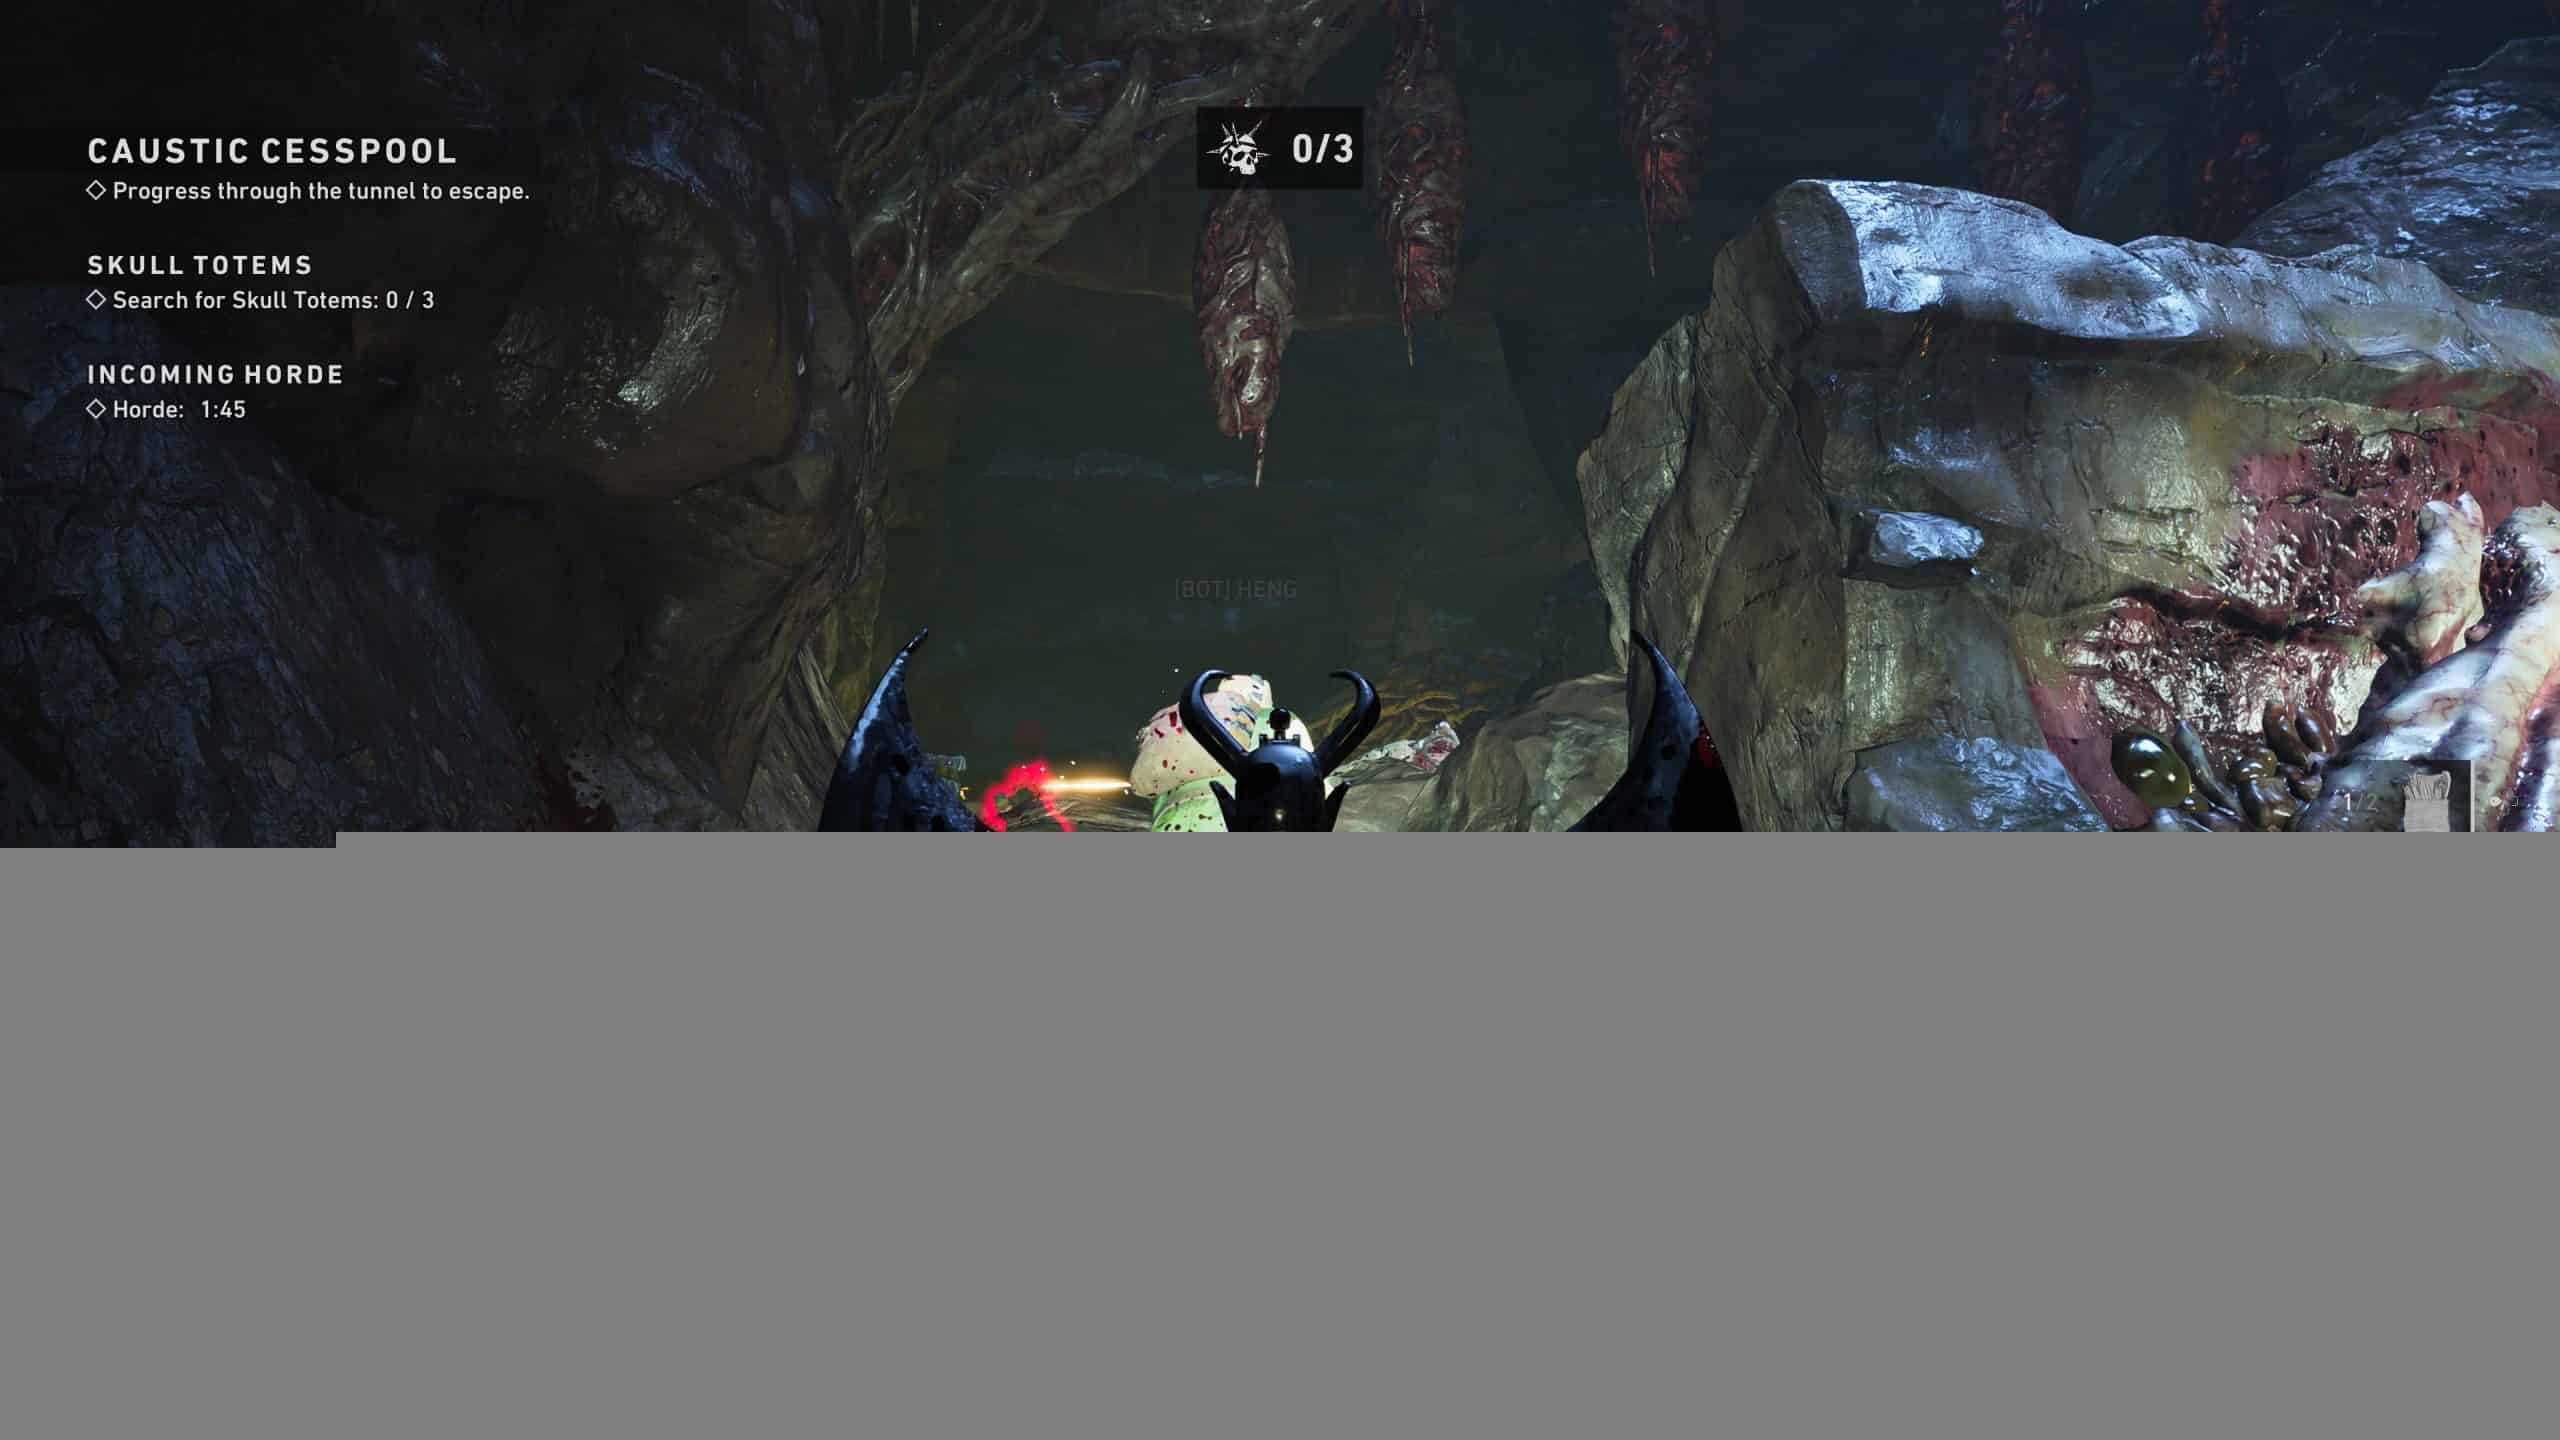
Back 4 Blood‘s Tunnels of Terror is a unique DLC expansion. Instead of just expanding the existing game with new levels or specific elements, it changes existing maps. Needless to say, this has some people wondering where are they, what are they like and what do they do. While we will offer an expanded view in our review later this week, here is how to access the Tunnels of Terror DLC in Back 4 Blood.
How to Access the Tunnels of Terror DLC in Back 4 Blood
Make Sure it’s Possible to Find a Hive
So, this is a good news/bad news sort of thing. With “Ridden Hives” enabled, an option you can see at the top right of the screen, you can find one, but they’re random spawns.
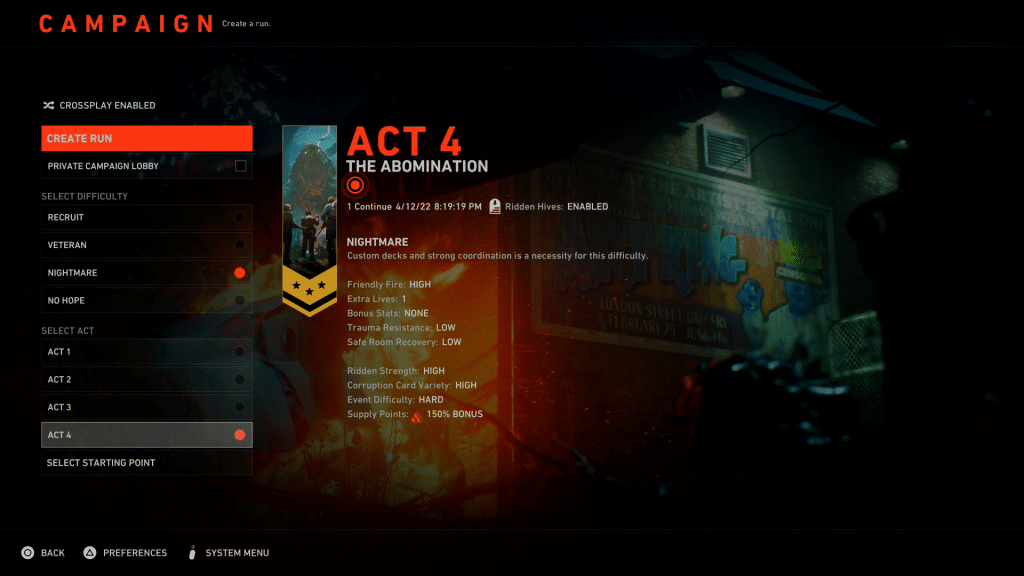
At this time the exact logic behind them is not known, but the basic idea is set locations can spawn a hive. The good news is that they’re pretty easy to find and probably set to spawn in patterns like supply rooms.
Finding a Hive
The first possible hive is located at the end of the first stage, with reports indicating they’re typically at the end of a level.

As you can see, they’re not particularly hidden or easy to miss. Once one is located, the team needs to run to it and it will start a countdown. If someone does not want to do one, it’s up to the team to decide what to do. Entering it will end the level and take you into a new location with various tasks and objectives.
Obtaining Skulls
The whole point of doing these levels is to gain additional resources and most notably skulls. These are a new currency used to purchase the new cards, skins and costumes behind this mode.
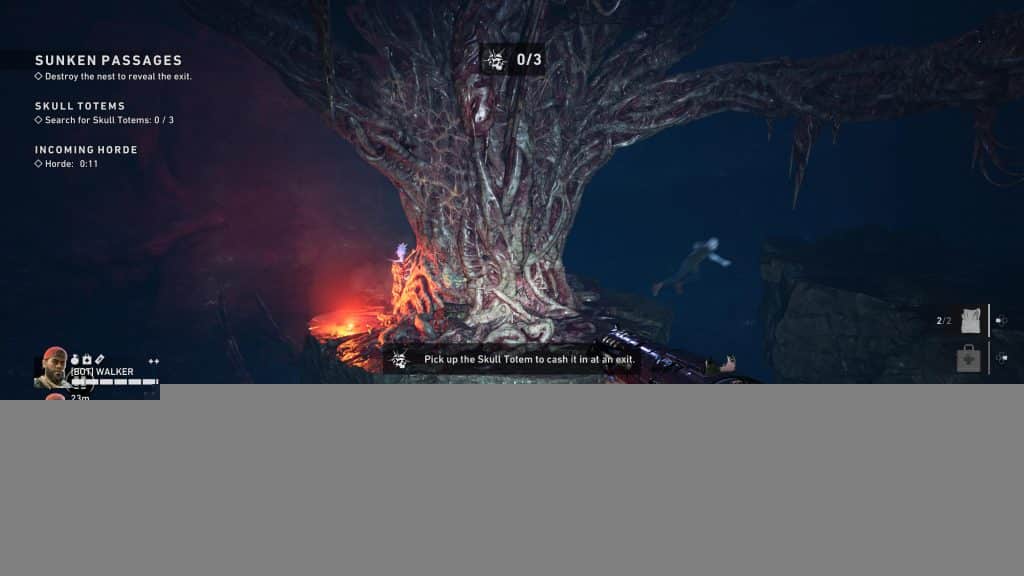
While it isn’t a great picture, you can see one to the left on the island. Picking it up will give you a new melee weapon, one that gives a trophy/achievement after a couple kills, and can be combined with the various totems to both increase the attack power and reward.

Once you either get all of them or decide it’s no longer worth it, run to the exit to collect your loot and other rewards.


