
Odds are the final trophy/tasks you’ll need to complete in Returnal will be the surveys. These annoying trophies ask players to go through the six main zones and locate all the Xenoglyph Ciphers, Scout Logs and even clear the containment gates. What makes these task annoying isn’t the lack of details, most of which stem from the PlayStation 5’s activity card, it’s finding them. Since both Xenoglyph Ciphers and Scout Logs are based off random chance, it isn’t actually possible to explain their exact location, but this guide will make the grind far less stressful.
Basic Information
Even though it’s possible to unlock most, if not all, of the items needed for a survey before finishing Act Three, I strongly suggest doing so. There are a good number of collectibles hidden behind later powers and abilities, with somethings outright requiring the true end to locate. Instead of trying to figure out where the lines are, it’s simply easier to casually do it while working on everything else.
Understanding the Map
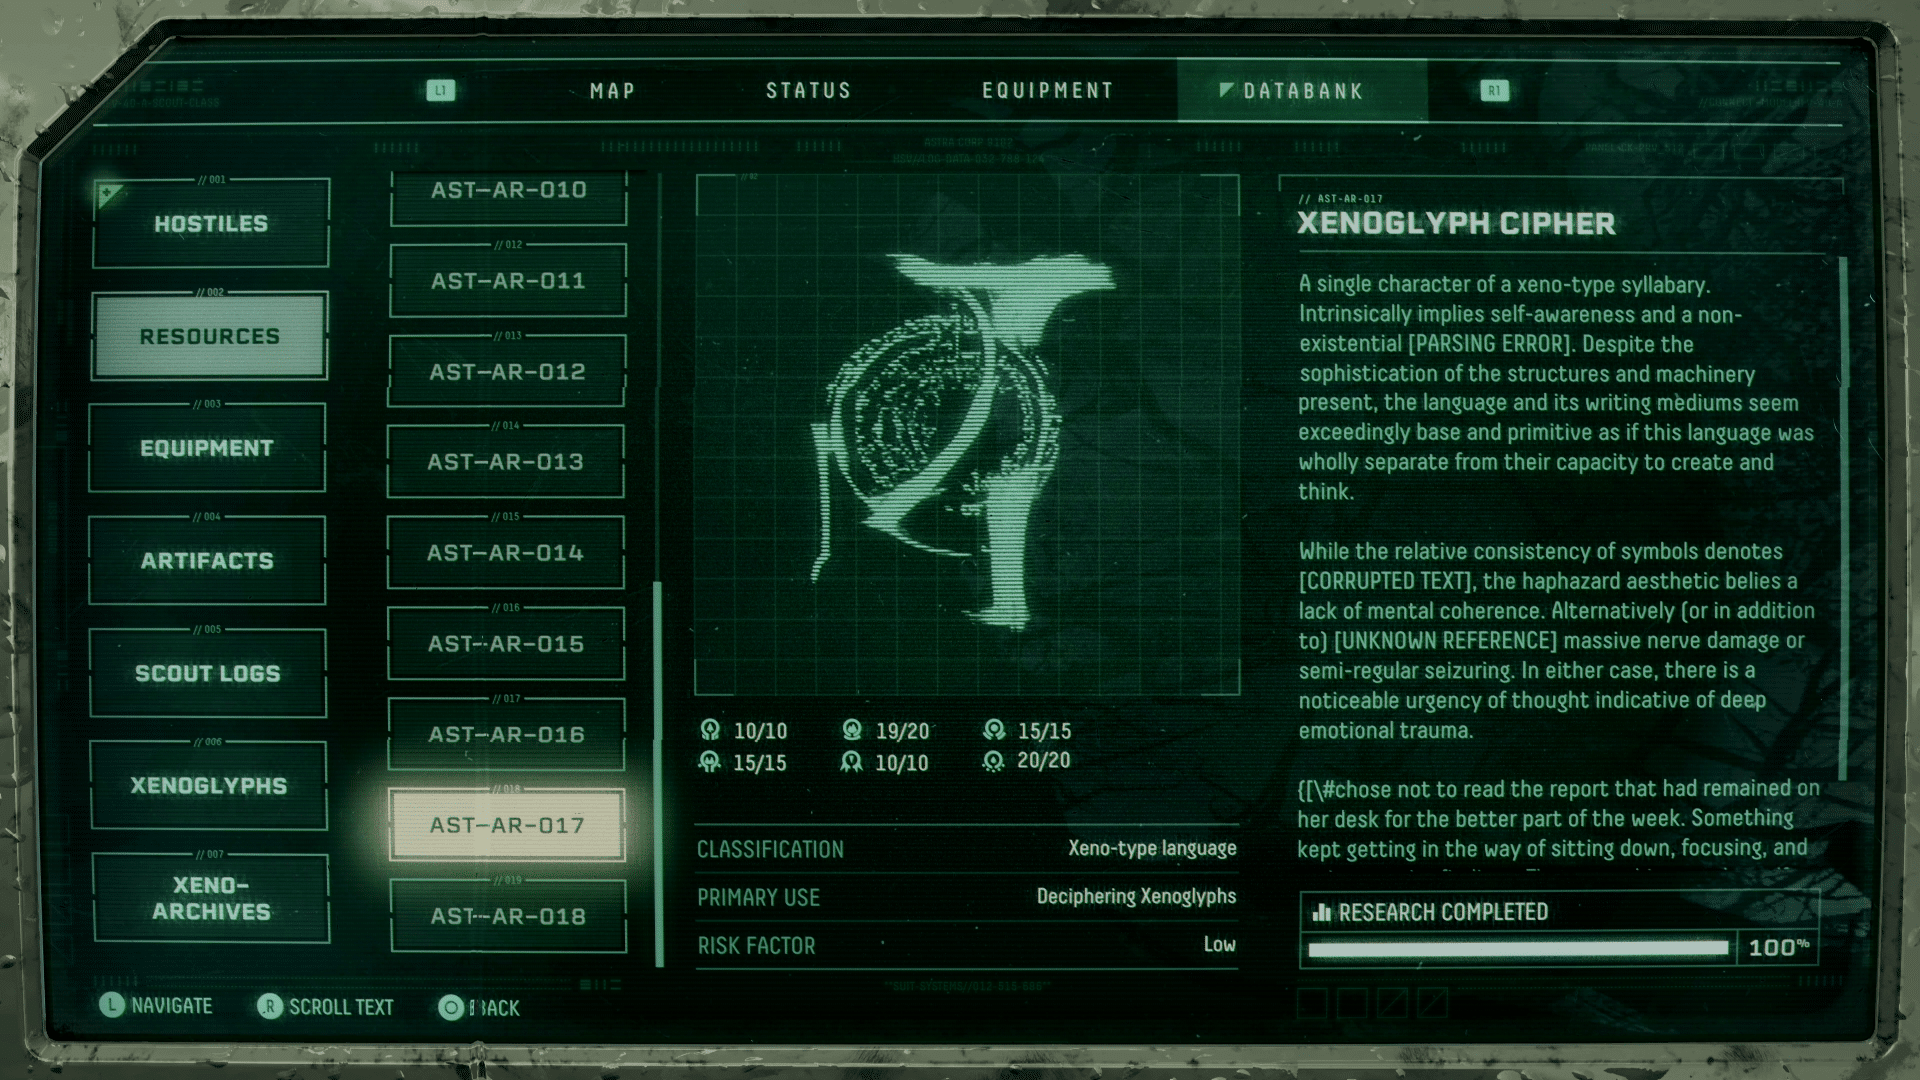
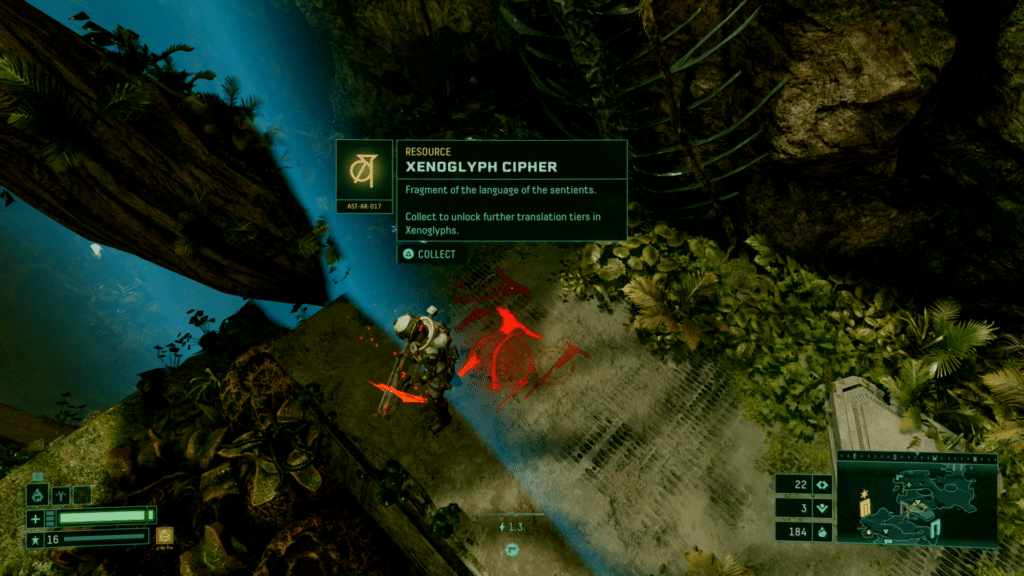
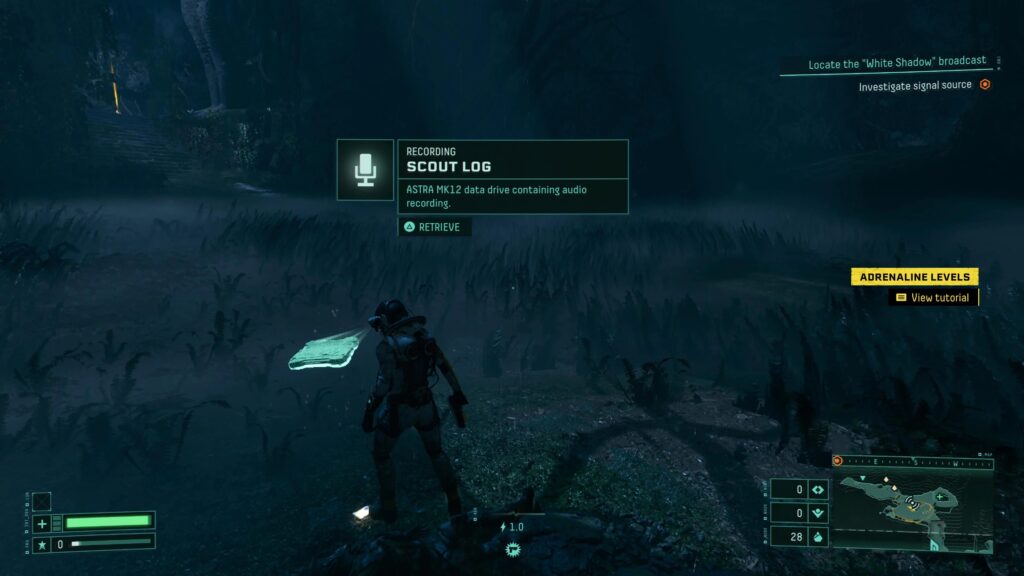
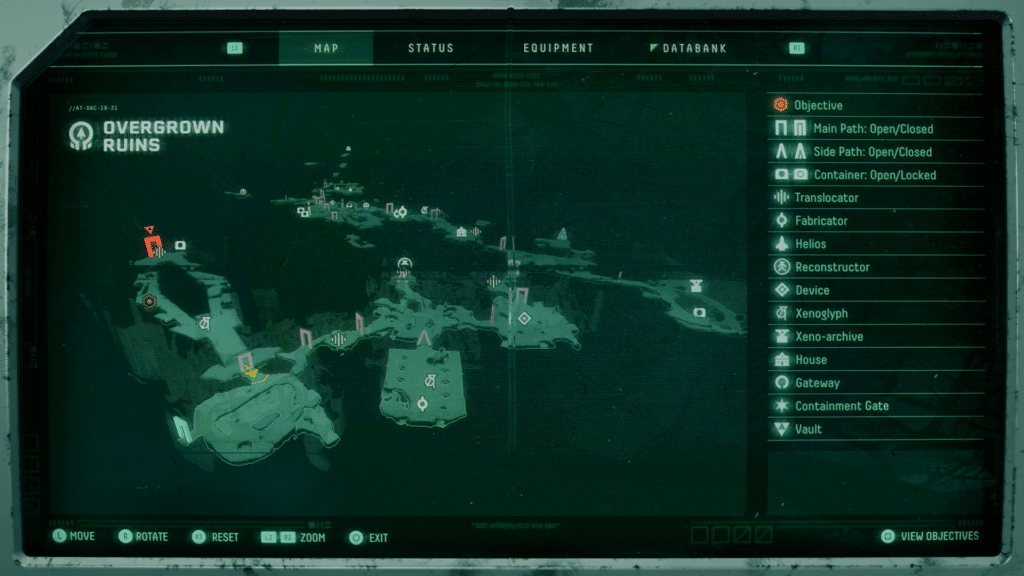
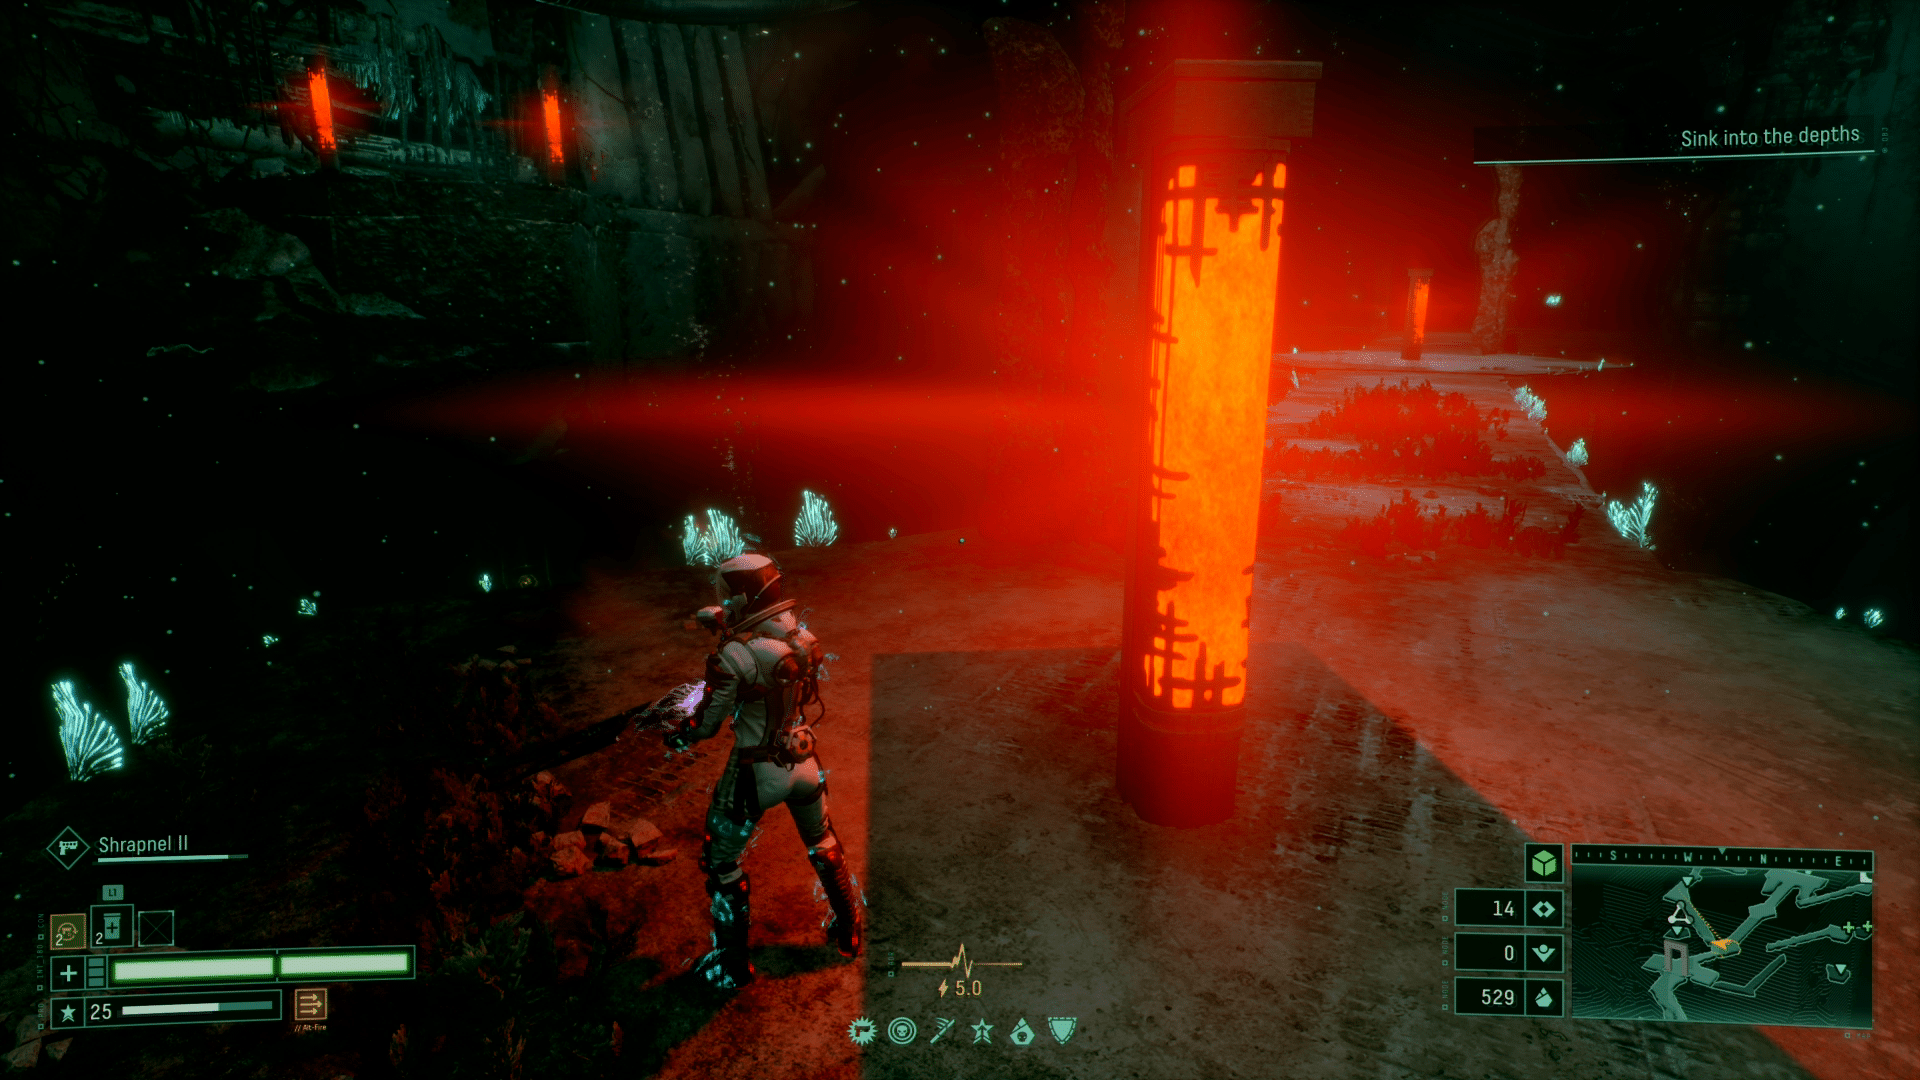
Before worrying about finding either collectible, it’s important to understand the map tells you where both items are. In any given room you might see an icon that looks like a broadcast, which indicates something related to scouts. It might be a new log or a fallen player, so always keep an eye out for them. Xenoglyph Ciphers are a little harder. Instead of having a dedicated icon, they appear as a greenish colored diamond. These can also indicate items and proficiency boosters, so don’t get too excited until you confirm it’s a cipher. If these explanations are confusing, both icons can be seen below.
How to Effectively Find Xenoglyph Ciphers and Scout Logs
For this strategy, it’s also important to understand where to go and how to get there. Since these items appear randomly, the best tactic is to simply rush every level. Dying isn’t overly important, unless you miss a item, since you can figure things out pretty quickly.
The main idea behind this tactic is simple. As soon as a level starts, explore every square and triangle door you can find. Simply enter the room and if you notice either icon, find it, see if it’s important and then move onto the next thing. If you finish the biome you’re currently in, simply follow the square doors on the map until there is one with a circular icon above it. This indicates a gateway to another area.
Which Areas Can you Skip?
Part of what makes these so annoying to find is the sheer number of places they can be and whether you’re looking in the right places or having bad luck. While I can’t confirm with absolute certainty, prior to writing this guide I completed my surveys, locating about half of the total Xenoglyph Ciphers and Scout Logs. In these runs, I noticed certain details that will make your runs significantly easier.
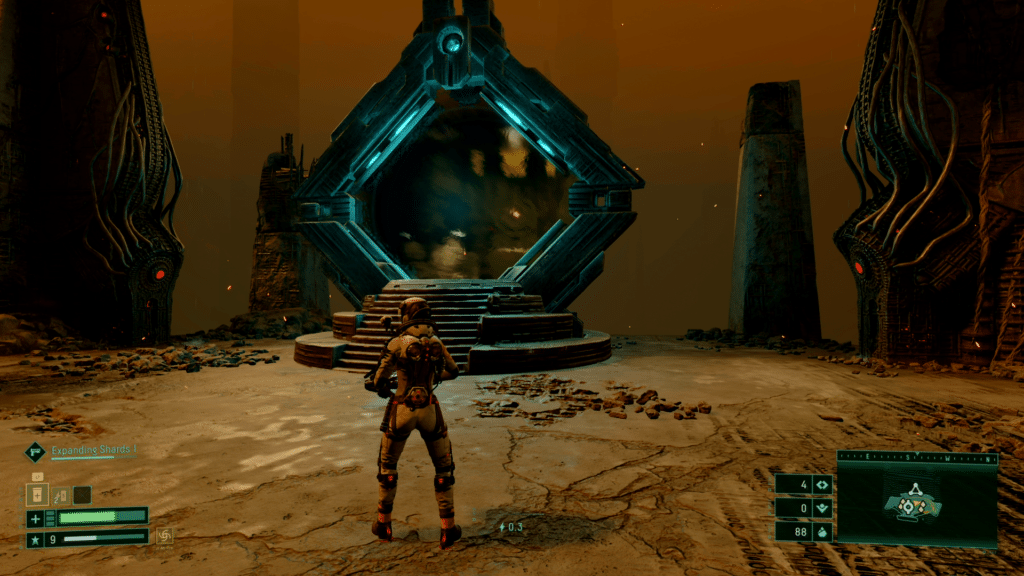
None of the items I was missing were behind a locked door, required the melee perk to break yellow gates, were located in one of those side rooms you fall into, behind a containment gate, required completing a timed section (they have the green lights that turn red) except one on Abyssal Scar that requires the left path to get (see above), bosses room or any of the rooms that are only accessible after defeating a boss. In addition to these rooms, you can also eliminate any room behind one of those warp gates, besides the one pictured above from Derelict Citadel. Update: Reddit user x3000gtx said there is at least one scout log behind a locked door in Echoing Ruins.
If this isn’t enough, there are also a couple dead zones. None of the pieces I needed were on the other side of the bridge in Derelict Citadel, so only look on the side that lowers the gate. Areas leading up to the bosses generally don’t change and can be ignored, meaning you never need to explore the full path in Crimson Wastes or the walkway in Echoing Ruins. Most static spots can also be ignored after a single investigation. Also, keep an eye out for rooms that look different. They won’t always have what you’re looking for but it’s a good indicator of which rooms are worth fighting to stay alive in.
By doing this and remembering a couple notable spots you know don’t have it, you should be able to finish an area in a couple minutes. But, please note, no matter how dire it seems, it really is just luck. No matter how many times I thought I was doing something wrong, it always ended with some spot I happened to notice or place I had never seen before.
