
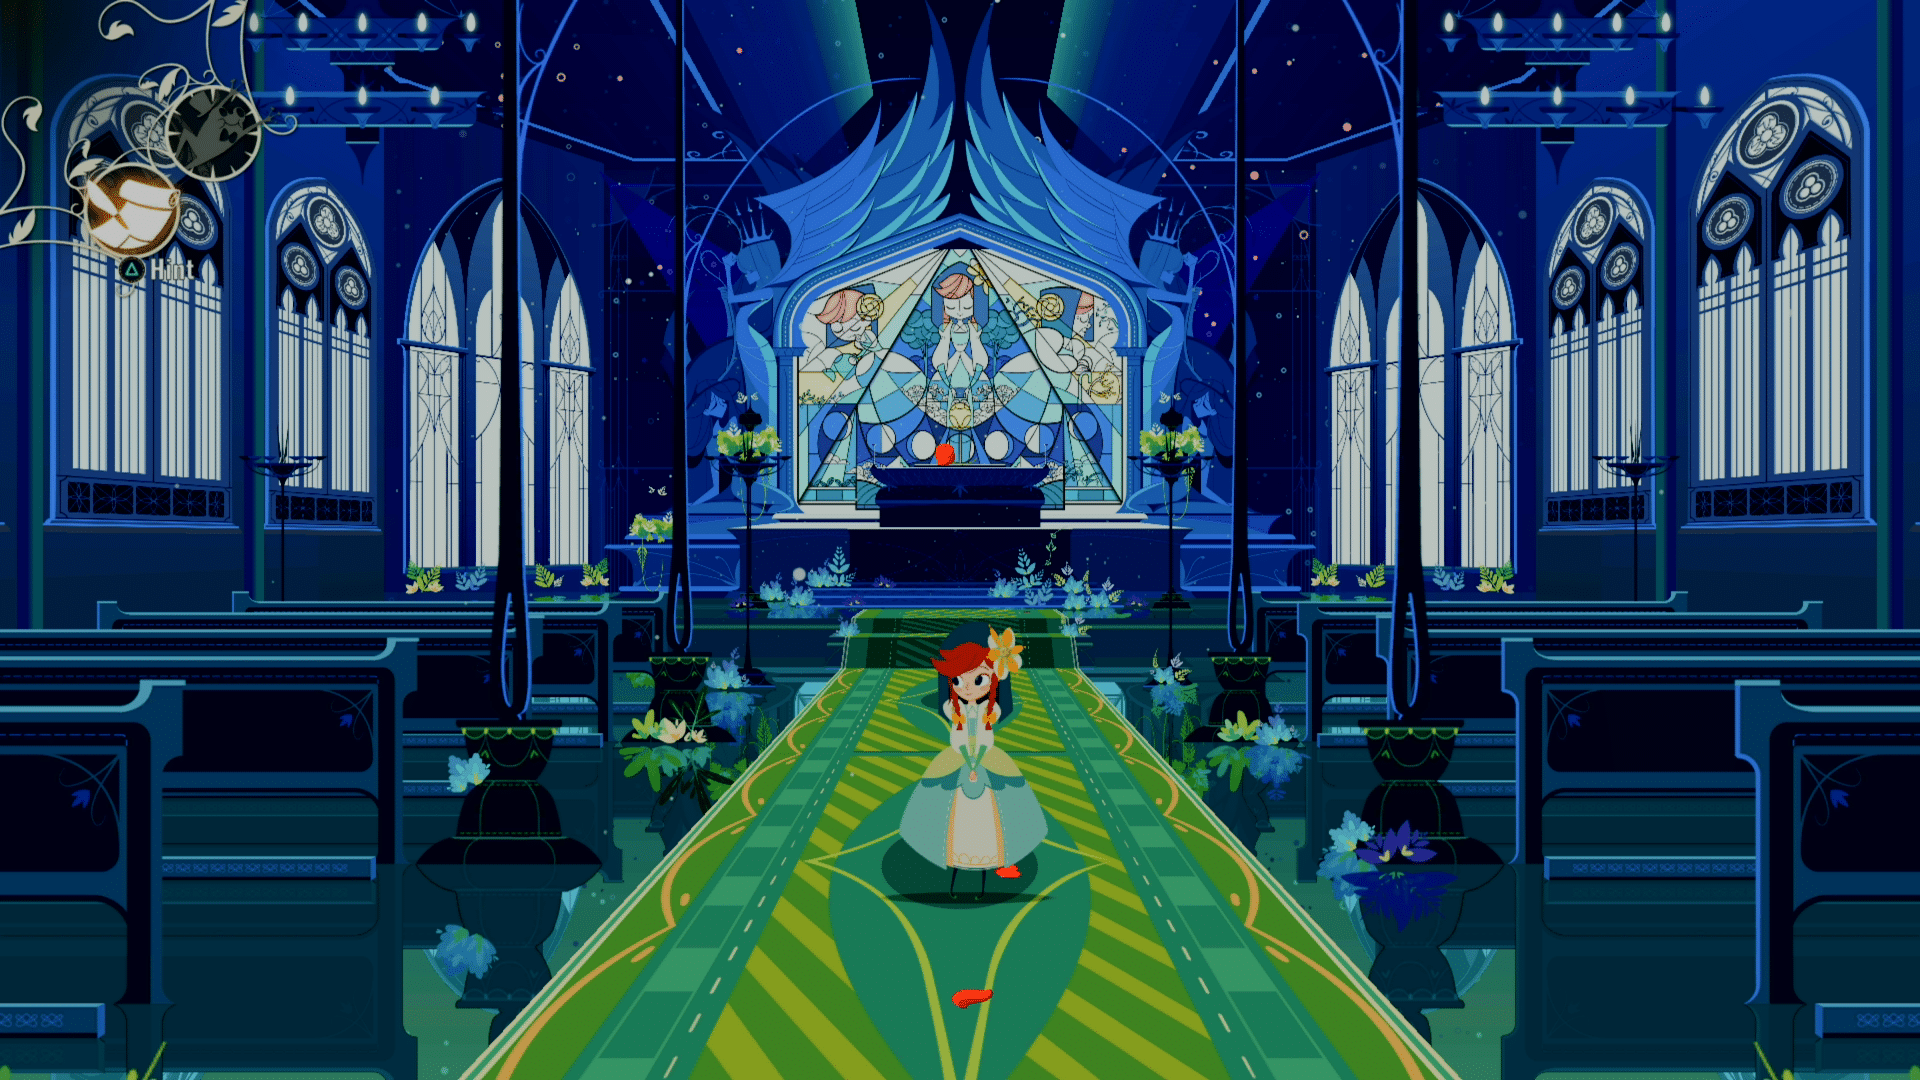
Cris Tales might look like a pretty game, but it has some rough fights. Some of this stems from how the game is designed, limited heals, and no HP when saving or leveling will do that, but most of these are manageable. That is until you fight Cris Tales’ second boss, the Machine Core. What makes this boss harder than the first one is partially due to the tutorial boss being explained and your progress, thus difficulty is set in stone. While this isn’t true for the Machine Core, it isn’t so overwhelming if you have a good tactic, like the one found in this guide.
Here’s our guide on how to defeat the Machine Core in Cris Tales:
Set Up
Let me start by saying, if you’re lower than level like seven, you won’t win. This fight requires certain skills I recall gaining at level seven and without them, especially Willhelm and Cristopher’s, make the fight too large of a hill to climb.
Also, while the boss itself is level 14, you can quickly mitigate some of the struggles by returning to St. Clarity to make your team more fearsome.
Using St. Clarity
If you forgot or possibly never explored, there are two extremely important locations in the town. The first is in the flooded part of town. On your way to the stairway to the other part of town, there is a second walkway on the right side. This is an Inn, which can be used to restore HP, MP, and CP. What makes it better than the other one is, in addition to being closer, it only charges 50 marbles over 200. With the other one, you usually get some kind of resource, like a healing potion but the point of being in town is to minimize marbles spent and visiting the merchant in the upper part of town.
While many of the upgrades will help you, I purchased a couple of Iron Gauntlets to minimize damage. At level eight with each character having one, I took about 20 to 30 damage per attack I blocked. It won’t save you but it will make it easier to use this tactic.

Fighting The Machine Core
This fight is really hard, simply due to the enemy’s level and the need for a good tactic. If you’re at a higher level and/or got the supplies as I suggested, you’re in a good place to fight.
Before getting into the basics of the fight, you can find the results of Willhelm’s basic scan for the two areas I suggest attacking below. This will give you an idea of what to plan for, though you might want to scan them since it will tell you how much health it has left.
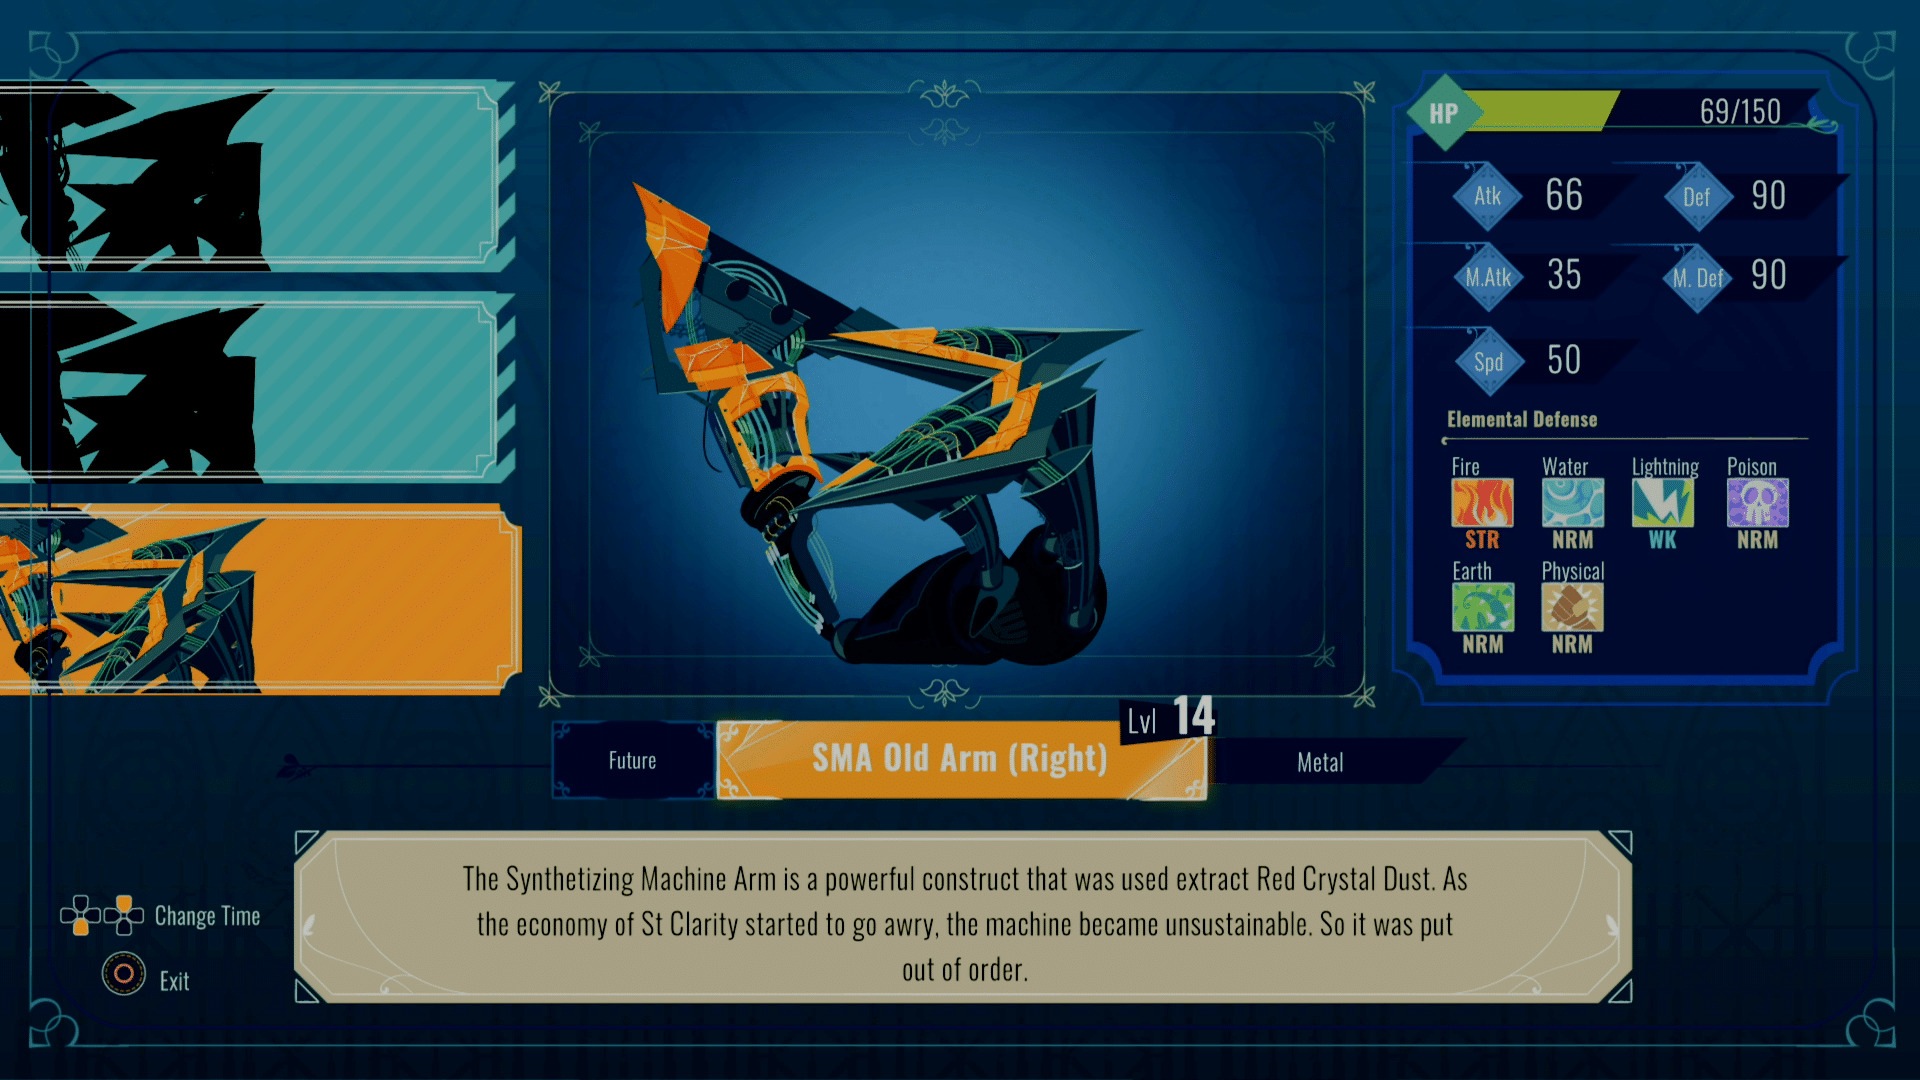
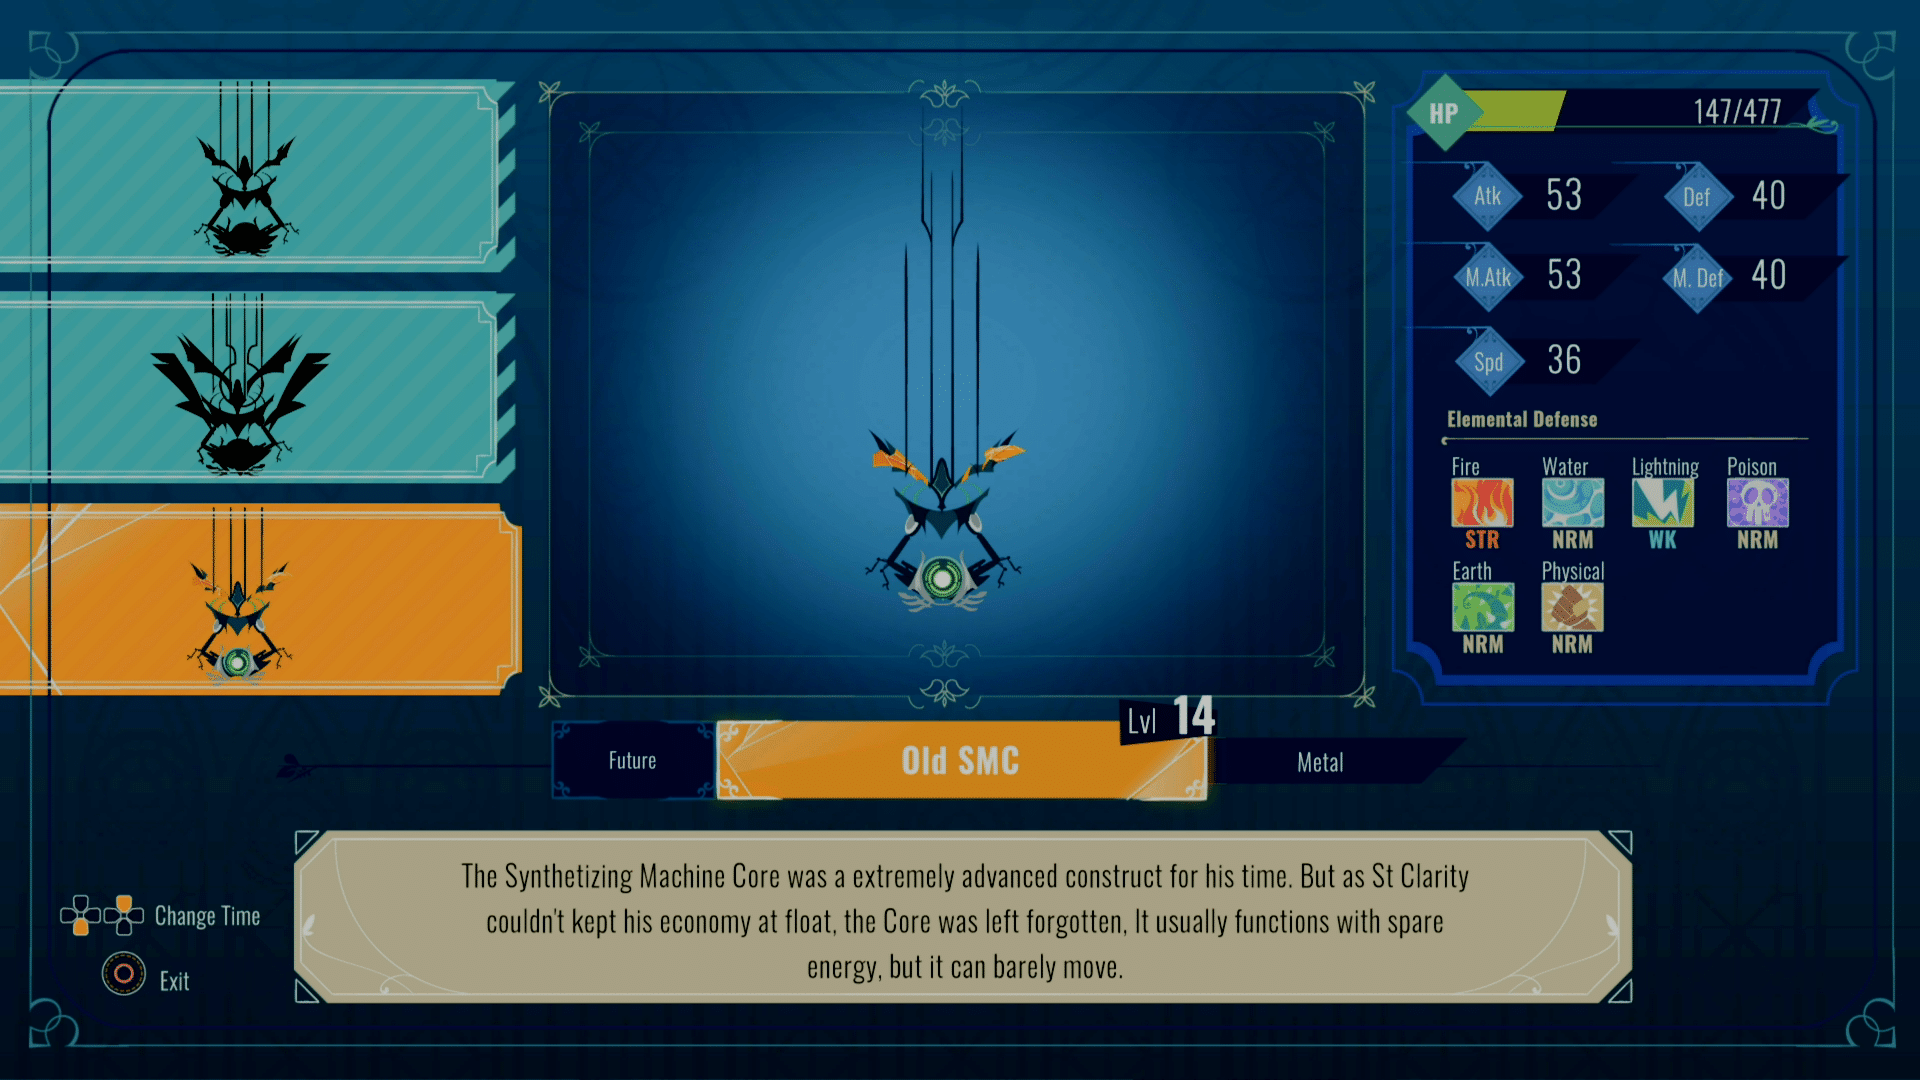
The basic tactic is simple. On Crisbell’s turn, use the future crystal on the right side. This will change the arm and SMC into the version found above, making it a little easier to damage. The same can be done on the left side, but both sides are not needed.
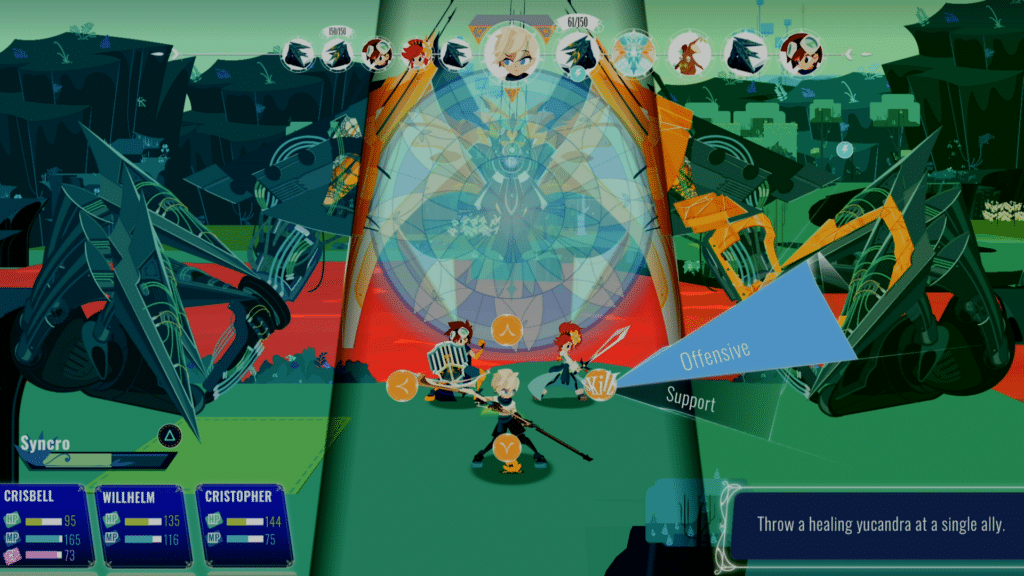
Willhelm can’t do much in this fight, so I strongly suggest just using his delayed Yucandra Restoring skill. It takes a considerable amount of time to activate, and when it does you can see it in the turn order like the image above, but it’s a great way to proactively keep the whole team alive while they do their own thing.
Cristopher is going to be the main damage dealer with his Thunder Spheres skill. This does considerable damage to both the arm and SMC and will be your main source of damage.
Once everything is in place, the tactic comes down to maintaining things. The Machine Core can’t do its charged attack is one of the arms breaks, so your goal should be to focus on breaking one, damaging the core, and keeping a constant heal in the background. By doing this, and saving a Syncro for a quick burst attack, the fight hinges on two things. Who claw attacks, though in my experience it focuses on Willhelm, and getting your defends in. After about four full cycles the Machine Core will die and unlock the exit.
Extremely Important Post Fight Information
Killing the Machine Core will create a bridge that leads to a different part of the area. This area is rather sizable, complete with a couple of useful accessories, but the big thing is that there doesn’t seem to be a location to save. In the event your team is weak or you’re afraid of dying, I strongly suggest backtracking to the last save point, saving, and then finishing the area. I personally ran into about four fights on the way out and it would be a shame to lose progress over a mistake like that.
