

Last week Bungie released Destiny 2: The Final Shape, with the latest raid, Salvation’s Edge, offering players a significant challenge. While most of the encounters are relatively straightforward, the fourth encounter, Verity, is causing a lot of confusion. Some of this is due to earlier guides overcomplicating it, or containing incorrect information. At this point guides on the subject have become something of a meme, though I figured I would try my hat at explaining this deceptively simple encounter.
How to Complete Verity in Salvation’s Edge
Suggested Build
There are two basic things you need to be successful at this encounter. The first is a way to stun unstoppables, as two ogres will spawn for those on the outside. It doesn’t matter how this gets done, just that it happens relatively fast due to their high threat level.
Along with something for unstoppables, it helps to make your character recognizable. This will help during the Ghost section. The simplest way to do this is to find distinct gear, and then use something that matches it.
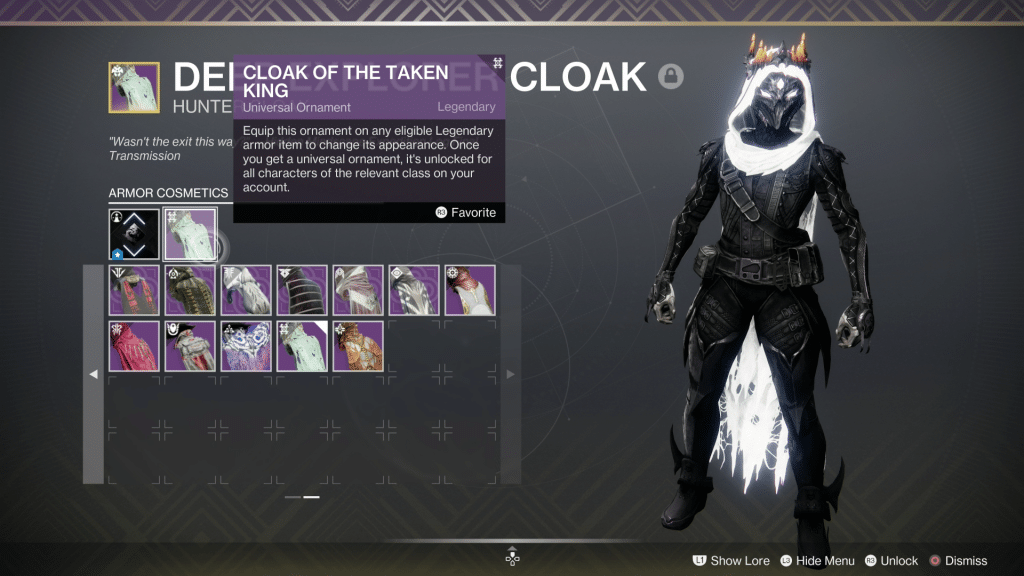
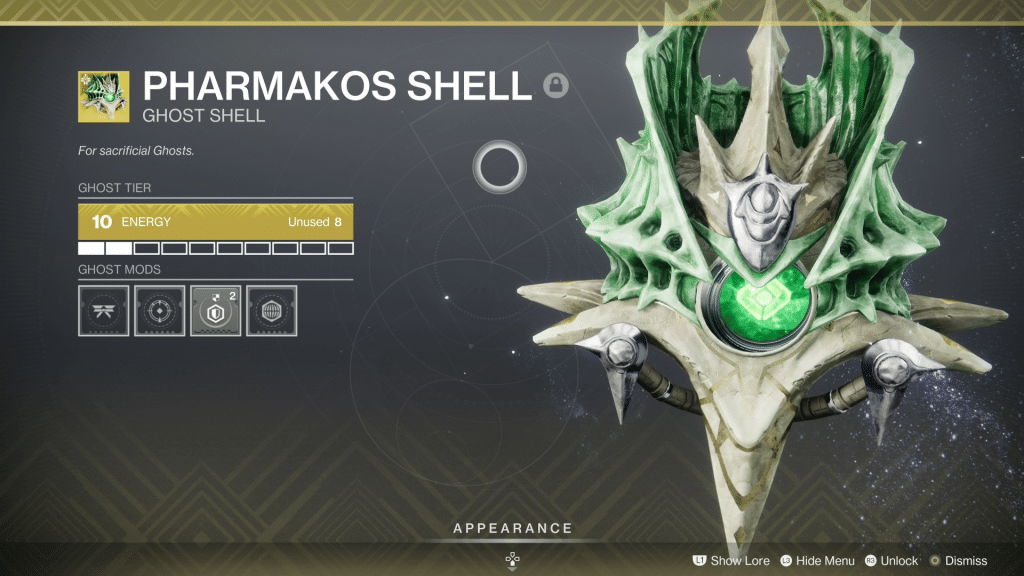
For example, I typically run Hunter, so Cloak of the Taken King and Pharmakos Shell make this easy because they look very similar. Be warned, certain combos might make sense, but there is no guarantee anything will be recognizable by those you’re playing with. It helps to ask them if you’re unsure, or possibly say something before hand.
Editor’s Note: While I will try to use the shapes name as much as possible, I will sometimes shorthand the main symbols as C (circle), S (square), and T (triangle).
How to Complete Verity
Inside
When someone is transported to the inside section they will be alone and need to examine the three Guardian statues. One of the three people needs to callout the order, so if left is holding Circle, and right is holding Triangle, you’d say Circle, Square, Triangle.
From there, two shapes will be flashing on the wall, which generally come in two distinct patterns.
- Perfect stack (3x Circle, 3x Triangle, 3x Square)
- One perfect stack (3x shape), and two pairs (2x your starting shape, 1x the other )
- If it’s confusing, one variation would look like SSS, CCT, TTC
All that needs to happen is both initial shapes need to be traded to a different Guardian, and all three players must end up with all three shapes. To do this there are two methods, both of which do not require communication.
Quick Method
Unless you start with the perfect stack, which would be the easy method, all you need to do is see what your non-matching shape is. Going back to my previous example (SSS, CCT, TTC), if I am Circle, then my non-matching shape would be Triangle. So I would give Triangle my Circle, and they would give me their Triangle giving me a non-matching pair. From there I simply need to trade one of the shapes with the perfect stack person (Square) to complete the first part.
If the written explanation is confusing, here is a brief chart showing the actual swaps.
- SSS, CCT, TTC
- SSS, CTT, TCC
- S, CTTS, TCCS
- SCT, CTS, TCS
In practice it will look a bit messier, as one should get a square before the other, but that is the basic gist of what needs to happen.
Easy Method
The “easy” method is basically doing the opposite. Instead of making a non-matching pair, you’d make a perfect stack. What makes this easier is the first step is to always dunk on the matching symbol. Going back to the previous example (SSS, CCT, TTC), Circle would give Triangle a Triangle, and Triangle would give Circle a Circle. When this is done all three players will have a perfect stack (SSS, CCC, TTT). After everyone has a perfect stack, all you need to do is give your two shapes to the other Guardians.
If the written explanation is confusing, here is a brief chart showing the actual swaps.
- SSS, CCT, TTC
- SSS, CCC, TTT
- SSC, CCT, TTS
- SCT, CTS, TSC
The only downside to this method is it requires more swaps. This isn’t an encounter problem per se, but it will trigger the Ghost section faster.
Ghost Section
My understanding is the Ghost section occurs when six swaps are made. Doing the Easy Method takes more swaps, which means this will occur more often. Regardless, this section is both really easy and kind of confusing.
The three people on the inside will “die,” causing their Ghosts to appear on the outside. They will appear wherever you were standing, so I strongly suggest standing in the middle. The people on the outside need to grab your Ghost, which will have your distinct shell, that they will call it out as they return to the starting area.
When they reach the middle the dead players need to spectate them and callout who is on which plate. Please note, you’ll never see your own Guardian, figuring out two will solve all three, and once two are deposited the third will be obvious through process of elimination.
This is why designs matter. Anyone with a matching set is going to cause confusion, and most LFG teams won’t know who is talking, or what to think. It’s just a lot easier to go “Vow shell,” and then have someone callout the person wearing Vow armor.
Exiting
Players will know they successfully completed the encounter if only their Guardian is holding a symbol. If that is not the case, someone messed up and the correct shape must be traded to that player.
If everything is correct, kill the Knights/Ogre for the shape, pick both up, and walk through the glass when it starts to shake.
Outside
The goal of the outside team is to have each Guardian holding the shape flashing on their wall. This is why Inside team needs to call out which shape they’re holding. By doing this the outside team knows which symbol to remove to make the correct pattern.
That might sound rather confusing, but it’s actually rather simple. Let’s assume left player is Circle again. As a result, their shape must be Trilateral because it lacks a Circle.
Once the goal is understood, players need to dissect the unwanted shape from one, and simply replace it with the desired shape. The best way to handle this is to learn all the combinations and work backwards.
However, if this is too stressful, a few sites exist that give the solution. One of these was created by Jimsalad, and another comes from NecronDOW. Both works rather well; it just depends on which resonates more with you.
Add clear needs to kill the Unstoppable Ogres, which spawn when new shapes are needed and must die for the Knights who drop the shapes to spawn. They also must take care of the previous Ghost Section.
Full Ghost Section
When both sides complete their objective run back to spawn. After clearing adds, all but one of the six players will die, and the remaining player must bring the correct Ghost shell to its owner. Players have about 30 seconds to revive all five players, though it gets easier because every revived player can now assist you.
Complete this two more times to ultimately finish the encounter.
