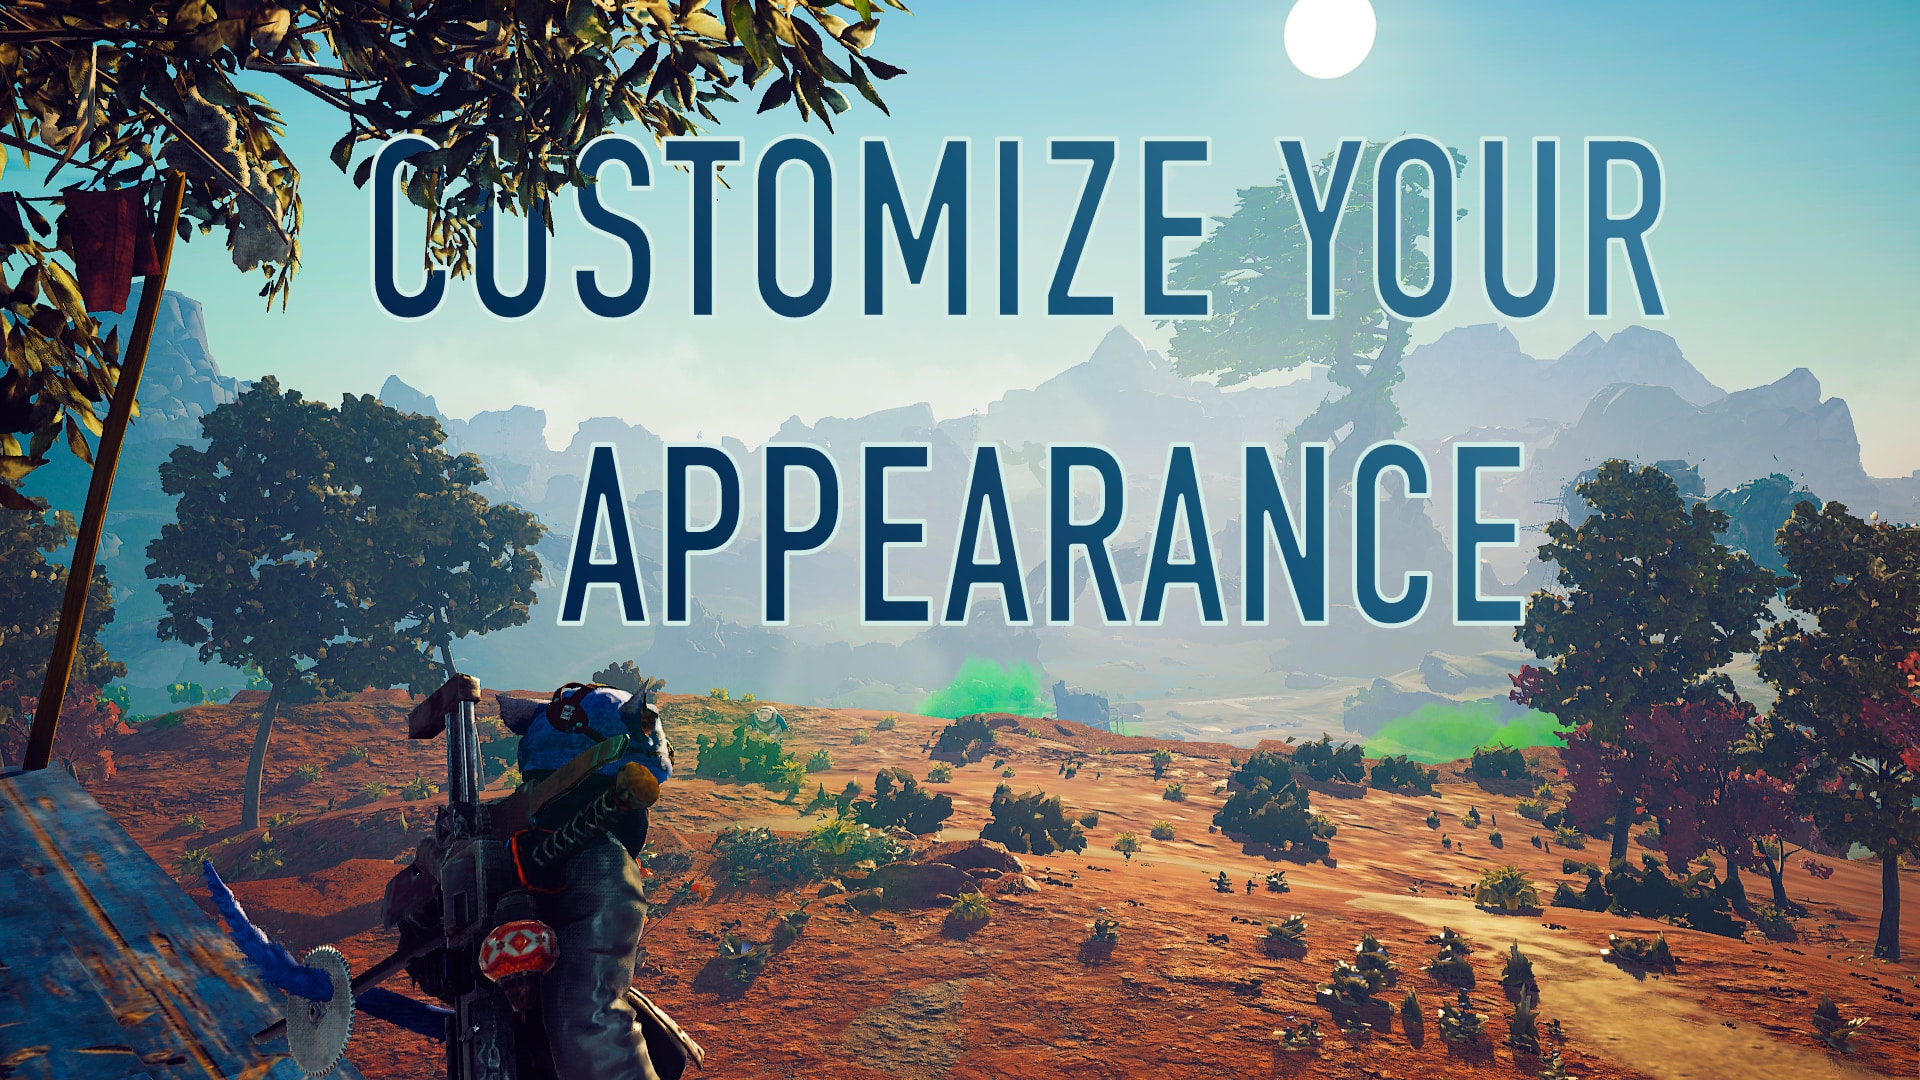

The ability for players to change fur patterns and colors, was one feature that intrigued us the most when Biomutant was first revealed. Out interest was also peaked by the ability to change the way your character looked by changing their body type. We were also a bit concerned when we learned that your looks are affected by the stats you choose during the character creation screen. But now that we have our hands on Experiment 101’s debut game, Biomutant, we’ve discovered that it’s quite easy to change the way your mutant looks without affecting your stats.
If you are not already aware, Biomutant takes place in a post-apocalyptic world where humans are no more and, thanks to the pollution left behind by the humans, the animal life has mutated and become sentient. One of the big contributors to said pollution are the nuclear plants scattered throughout the Biomutant world. These locations are known as Bio Nucleus. Each of these locations are distinguished by their sectors. For example, Bio Nucleus 10K or Bio Nucleus 8C are in sector 10K and 8C respectively.
You may be asking yourself, why is any of this important to change fur? Well, each Bio Nucleus location has an underground area that houses a Mutation Spot where you can spend 1 Bio Point and mutate your character, allowing you to change the way they look. The big problem is that each of these Bio Nucleus locations exists in an area where the radiation is so bad, you cannot stay there for very long without taking damage.
The good news is that when you enter any biohazard zone, a side quest is triggered, and your map is marked with the location of a Pingdish. Head to the Pingdish location, solve the rotation puzzle and spin the Pindish until it is pulsating like crazy. Once it is, use it to mark your map yet again. This time the marker will lead you to the location of a biohazard suit that will give you 100% resistance to whatever biohazard zone that triggered these side quests in the first place.
With that being said, I highly recommend spending all the bio points you collect in these zones on your biohazard resistances. These suits are designed for exploration, not combat and as you get higher in level, the boss mobs in these areas can easily one shot you.
Like I mentioned in my 20 Tips to Get You Started guide, looks are not important during the character creator screen because you can simply change fur patterns and colors by visiting a barber named Trim. You can find Trim and his shop at a spot called Spurftop located between Urfidurf Outpost and the Flibberdit Village, just south of the Landmark 7G sundial. It’s this little hut hidden under the tree. He’s also playing some ice cream man type music from his shop so if you’re having a hard time spotting him, just listen for the jingles.
Now once you get there, Trim isn’t quite ready to let you change fur styles just yet. He then sends you on a side quest to get him some new clippers. A new location called Faraway will be marked on your map. Head out there to meet Juju the clothing vendor. She’s willing to sell you some new clippers but first she needs you to collect something for her. Once your map is marked, head out to the new waypoint climb up the mountain and retrieve the item in question. By the way, do not forget to mark the travel points as you go to these new places. Doing this will make traveling back much faster.
After you give Juju her item, she is then willing to sell to you. Purchase the clippers and BEFORE you head back to Trim make sure to collect the unique outfit on the stand next to Juju’s shop. Once you head back to Trim and give him the clippers, you can stop here if you want to, but Trim won’t be able to change fur colors and he will charge you each time you want a trim.
On the other hand, if you decide to help him further by collecting a can of Spytdue he will be willing to give you your first trim for free. Starting the new side quest will mark your map indicating the town of Suburbia being not too far away.
In Suburbia, the Spytdue can is in the underground area under the colorful broken-down building, it’s pretty hard to miss. Once you’ve collected the can, head on back to old Trim to receive your free cut and color.
If you are a member of Amazon Prime, you can get a total of 9…
One of the most celebrated action titles of 2024, Black Myth: Wukong which is based…
DEATHLOOP is free on the Epic Store. Finally one can play this game without paying…
Turn Based RPGs are the bread and butter of gaming. PC gamers know this well,…
The launch of the Nintendo Switch 2 was today. The upcoming games for the system…
id Software's prequel title, Doom: The Dark Ages, received its first significant patch, and it…
View Comments